How To Organize Your Pantry

I love organizing and I love to travel. As a professional organizer, I sometimes get to do both. This pantry was in Malibu, CA. In this video, you may actually be able to hear the ocean in the background.

Pantries are one of the most satisfying areas of the kitchen to organize. It’s amazing how once you declutter and create categories, then put them back into the pantry, what a big difference it makes. It helps you save time, money and be less stressed. When it’s time to cook, shop, or just look for a quick snack you are fully supported by a well-organized panty.

In this video, I go through the Space to Love® 5 Step Method on how to organize your pantry.

Setup, Sort, Select, Sanitize, Style™

4 Quick tips from the video I want to share.

1 - Take everything out.

2 - Create categories for all your items and group them together.

3 - Get rid of everything that is expired.

4 - When putting food into airtight bins cut out the directions, write the expiration date on it and keep it in the bin.

Watch this short video below for the full process.

This is not the first video I have done on organizing a pantry and it probably won’t be my last:) I really can’t help myself!

I hope you found this helpful and we’re always looking for new ways to improve. What organizing tips do you have for the panty that you would like to share? Leave a comment below. We would love to hear from you.

How to Have Better Pot & Pan Placement in Your Kitchen

Did you know that the best place to keep your pots and pans in the kitchen is right by the stove. I know you’re saying, “Of course, where else would you keep them?!”

Yet, so many times I go into a client’s kitchen and other items are in the cabinets right by the stove. This happens time and time again and at no fault of their own. I find that it’s because when they move in they may not be the ones unpacking and that the moving person might not care where the items go or they’re in a rush and put anything anywhere and think the homeowner will change it later.

Well…I hate to say it but that “later” never comes. I know this to be true because when I get into my client’s cabinets and ask, “Are these here for a reason? Because I think I they will be more useful in another area.” The response I hear is usually, “Oh wow, I actually never thought about changing it” or “It was like that when we moved in and we just left it that way” or “I know it’s not working but I didn’t know how to make it better.”

Once I change things around for them they can’t imagine it ever being the other way again.

In this short video we rearrange two cabinets in this kitchen that my client was so thrilled about…sometimes it’s the little things that make a big impact.

What can you switch around in your kitchen today that would make your cooking life a whole lot easier? If you need any suggestions don’t hesitate to reach out to us. We are here to help when you’re ready:)

How to Be More Efficient in The Kitchen

When you think about organizing your kitchen drawers what comes to mind? How would you make improvements? Some might say get better drawer organizers and/or get rid of stuff. This is true but did you think about the items that were in the drawers and where they should be placed within the kitchen?

The drawers were a small part of this overall kitchen organization project but it really made a big impact for this New York client. It’s amazing how many times I am organizing kitchen drawers and see the cooking utensil far from the stove or the junk drawer having the prime real estate and I ask “What made you set it up this way?” nine times out of ten, I hear “We moved in and just put things away and that’s where they stayed.”

I can’t tell you the joy that I get, as a professional organizer, when I rearrange and organize a few things and then my client is like “I wish we had you here sooner or had you here to help us when we moved in!”

Check out this short video where I show you how things can be placed in the kitchen to be more efficient while prepping and cooking your meals.

I hope you found this helpful. Do you have some kitchen hacks that make your life easier? We would love to hear about them. Share in the comments below.

Happy organizing:)

How to Organize Your Gift Wrapping Supplies

It’s January and that means it is the official Get Organized Month! Do you have any organizing goals you would like to accomplish this month? If yes, start small with a junk drawer, spice cabinet or a coat closet….

I had so much fun working with this client in New York organizing her coat closet that was also part gift wrapping closet. You never know what you are going to find or what is the best organizing solution until you get in their closets and see what’s going on. However, it didn’t take any time at all with this closet because when I saw all those rolls of wrapping paper and ribbons and bows I knew right away what organizing system this closet needed.

As you watch the video below you will see how we used the Space to Love® 5 Step Method to get this coat/wrapping closet whipped in shape. Then we added the Elfa Gift Wrap over the door rack to help my client get and stay organized.

I hope you found this useful and feel free to share your organizing goals with us. We are here to help:)

Happy Get Organized Month!!!

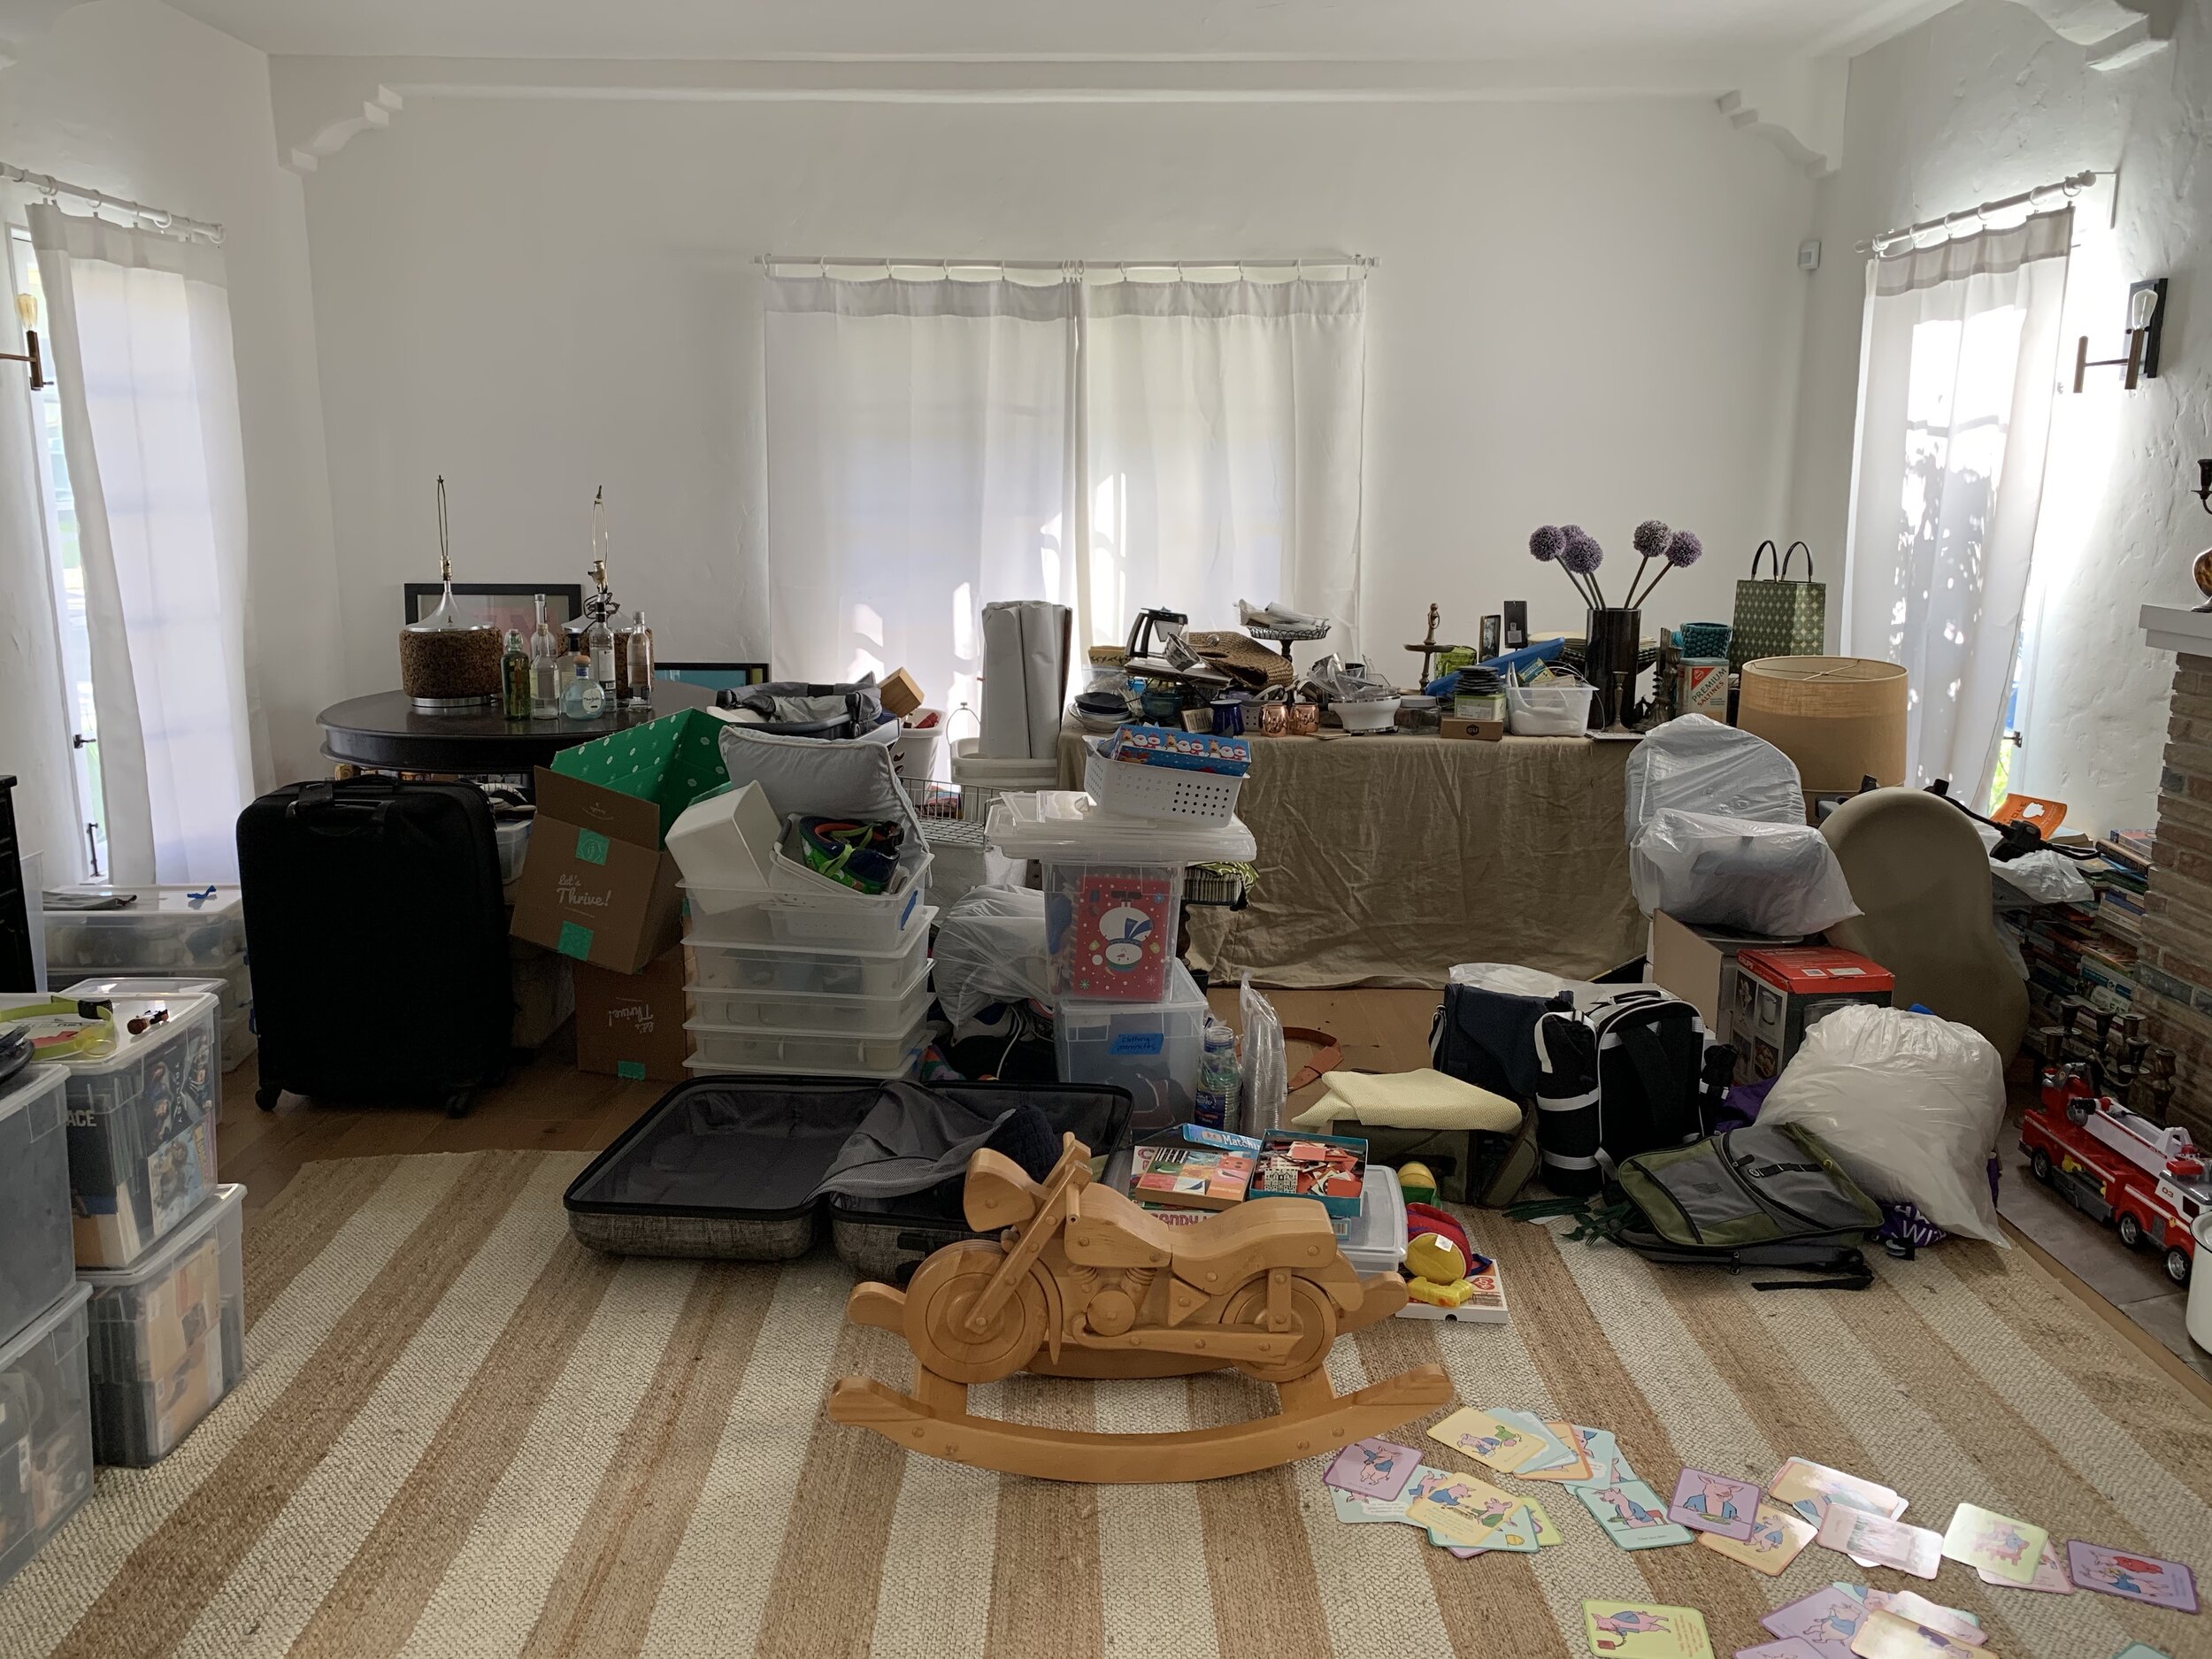
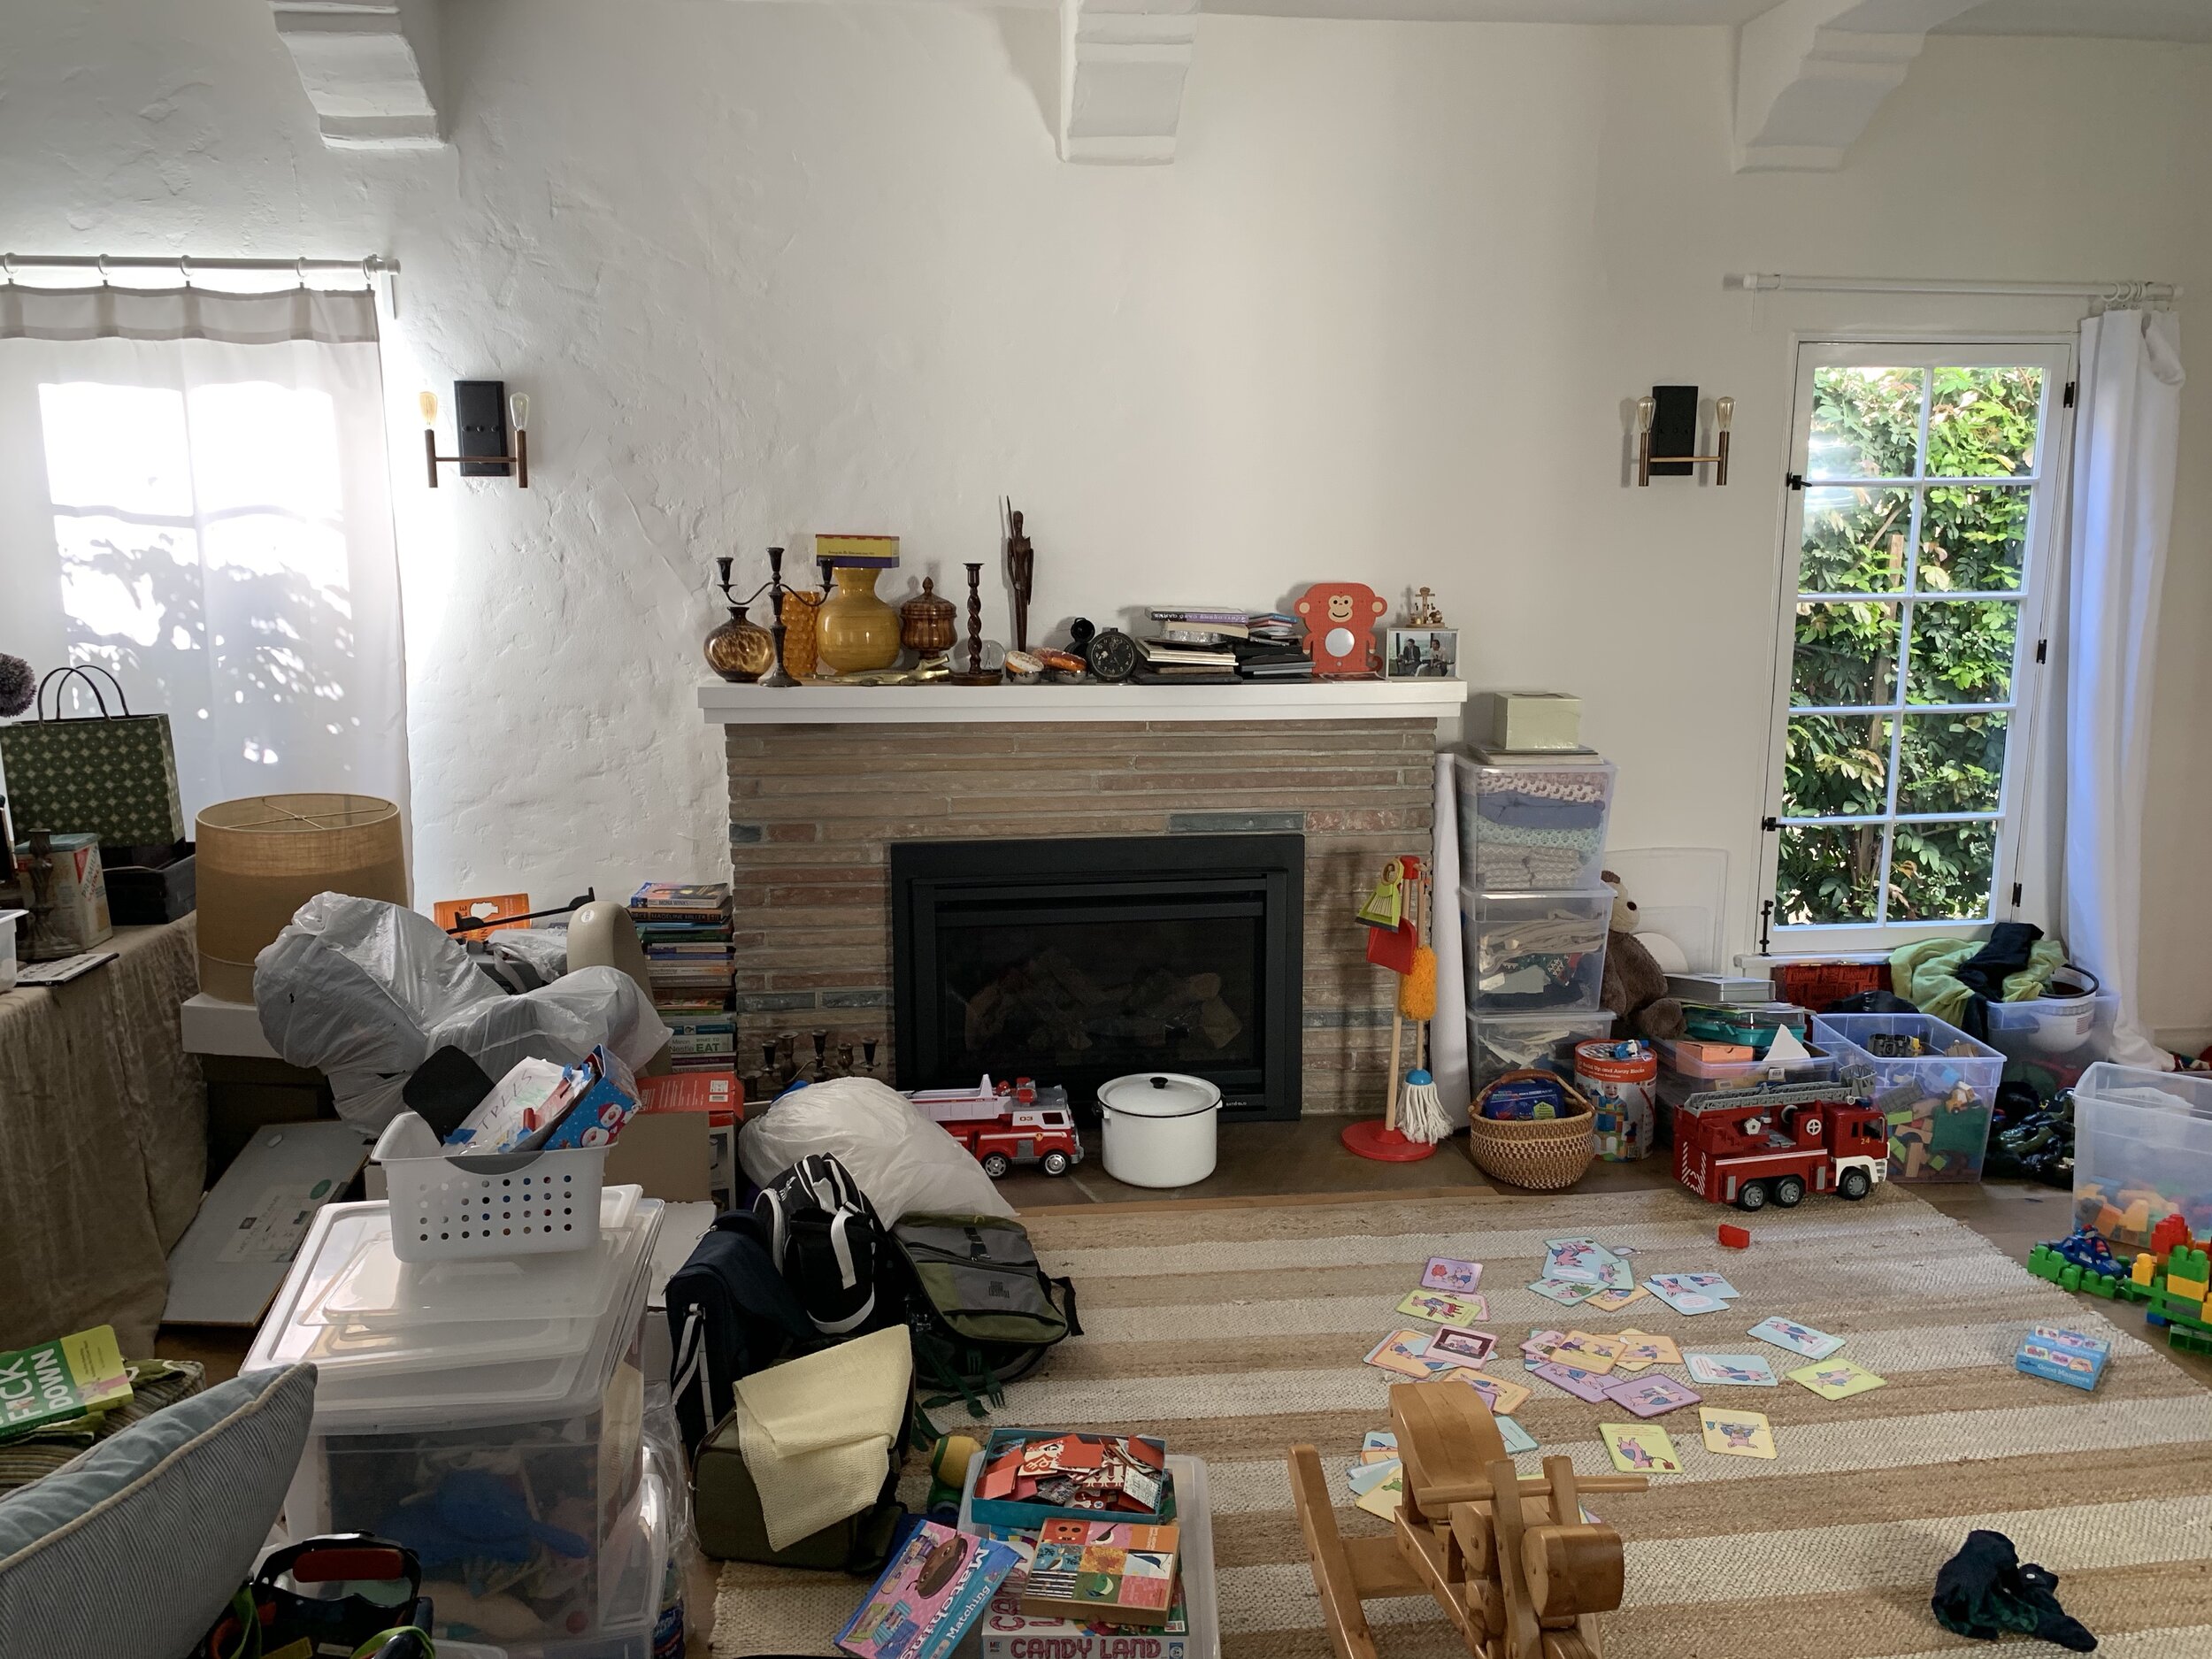
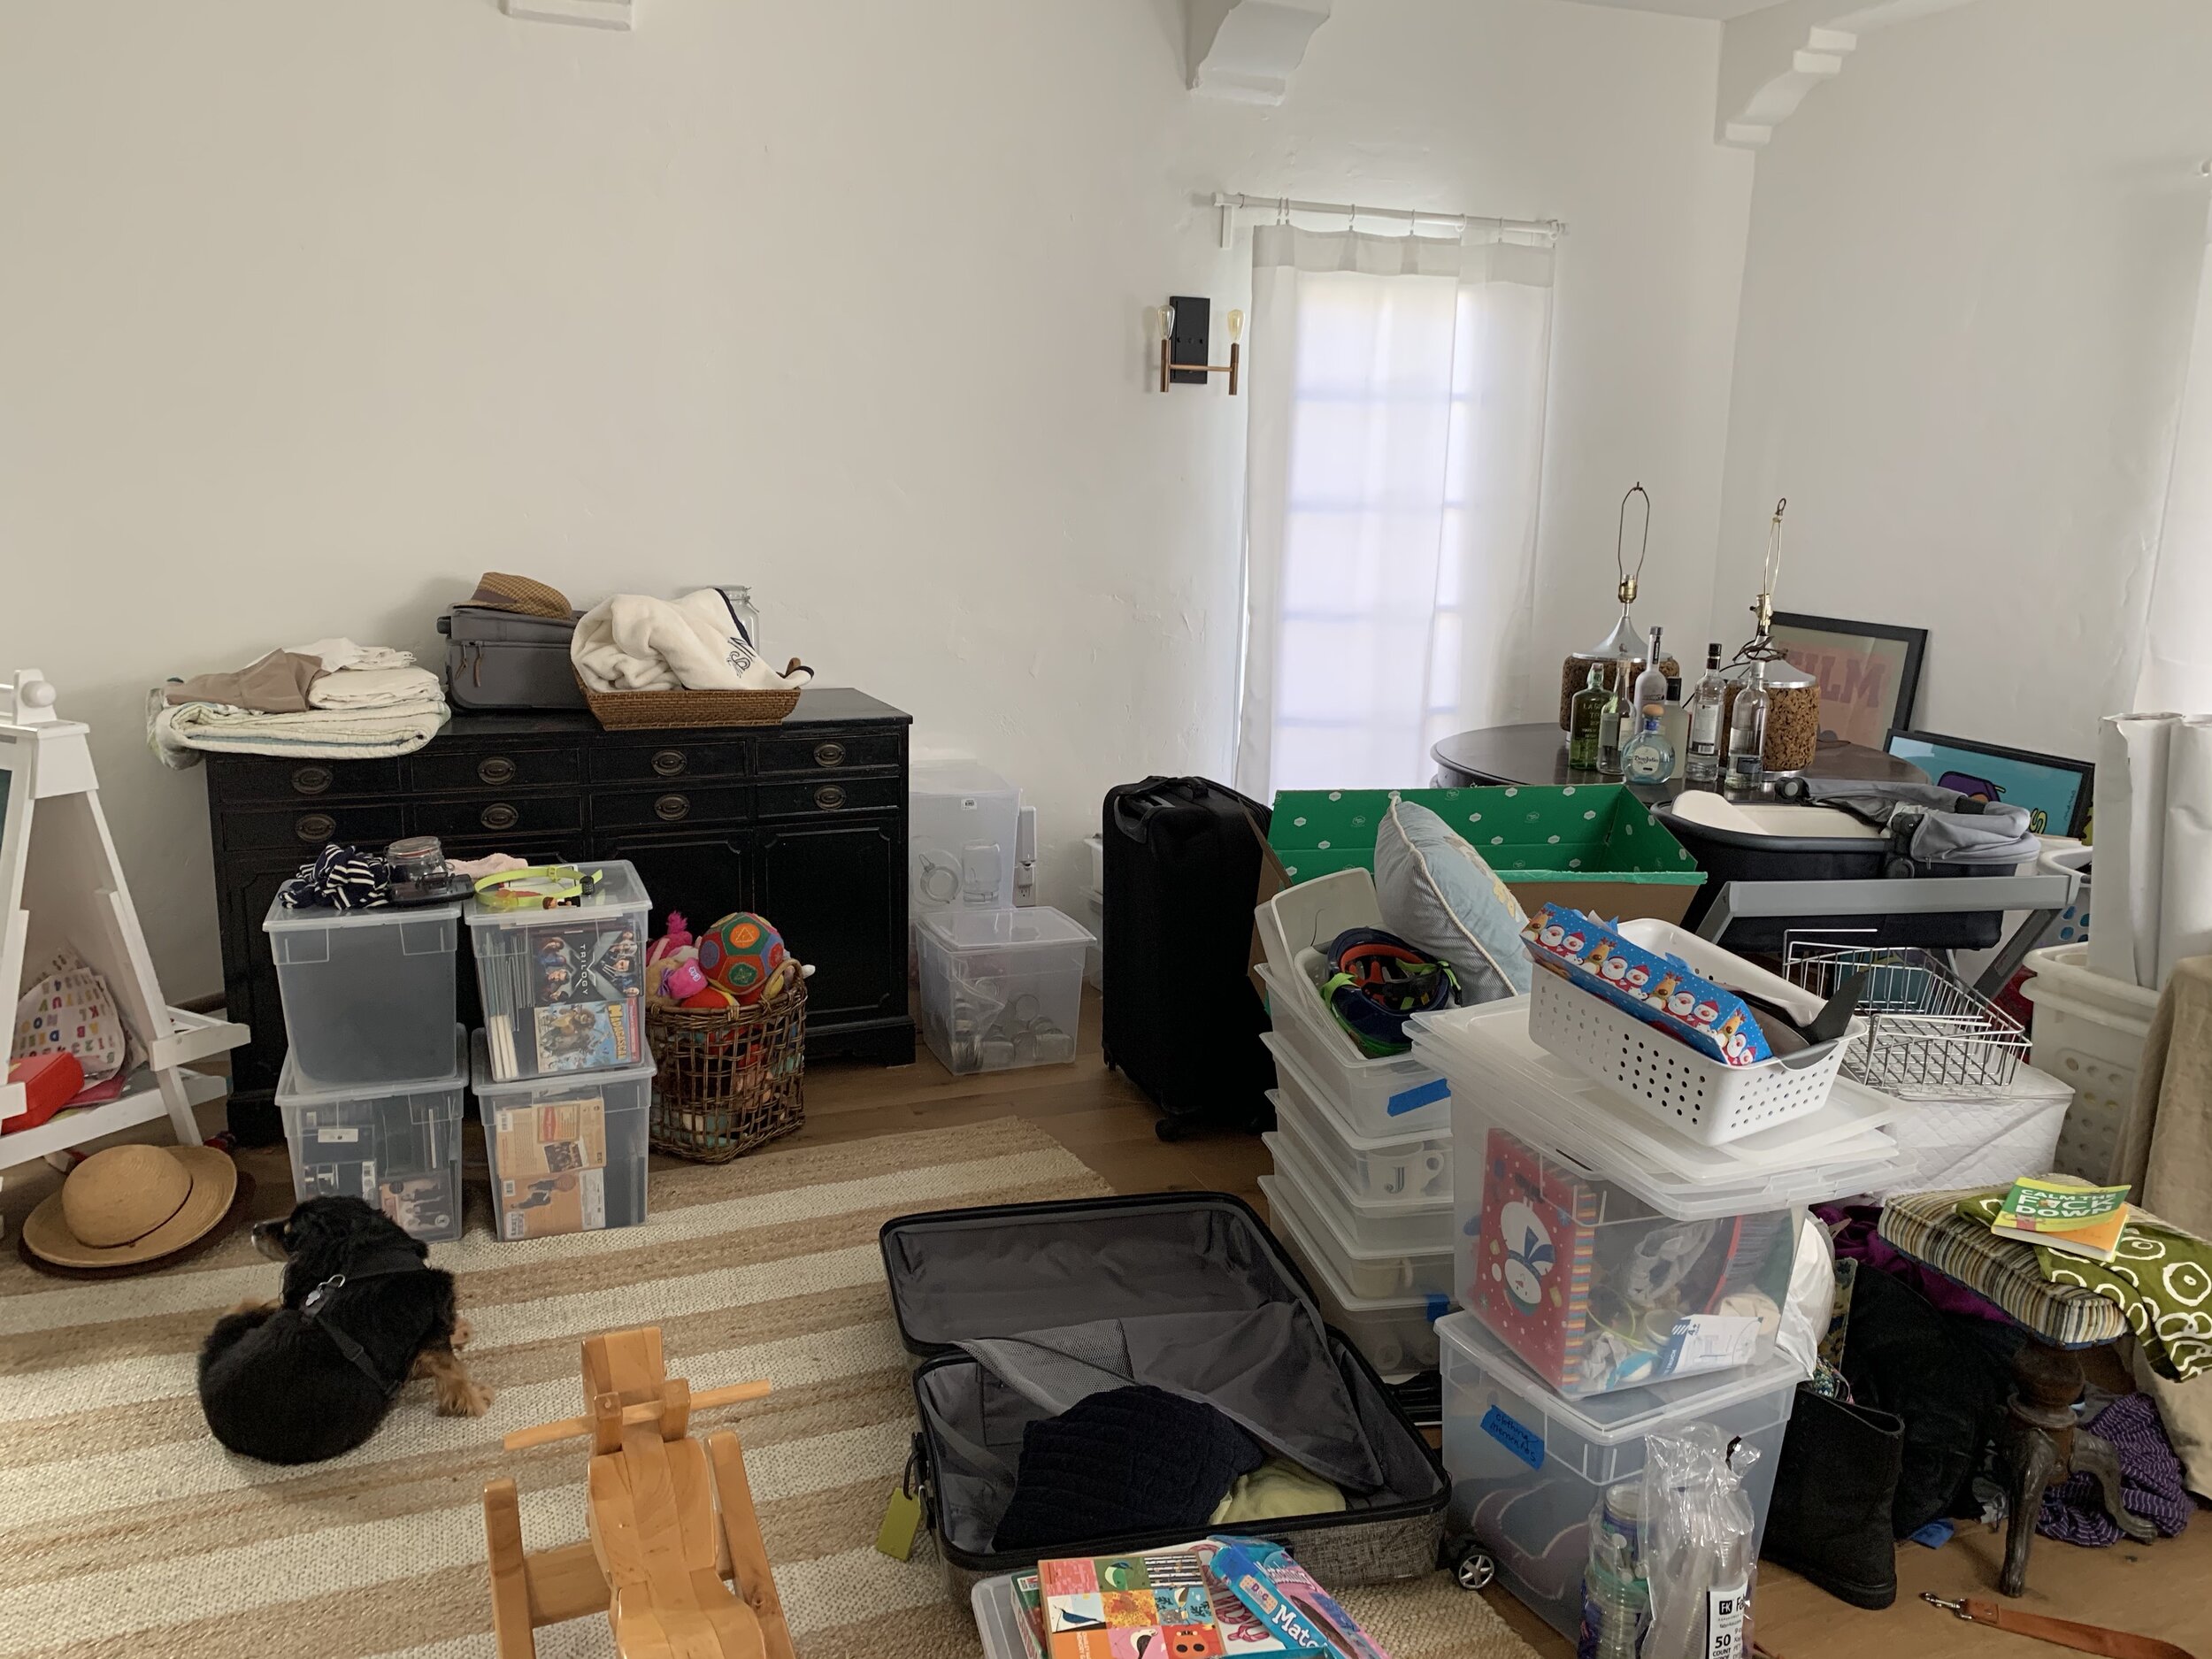
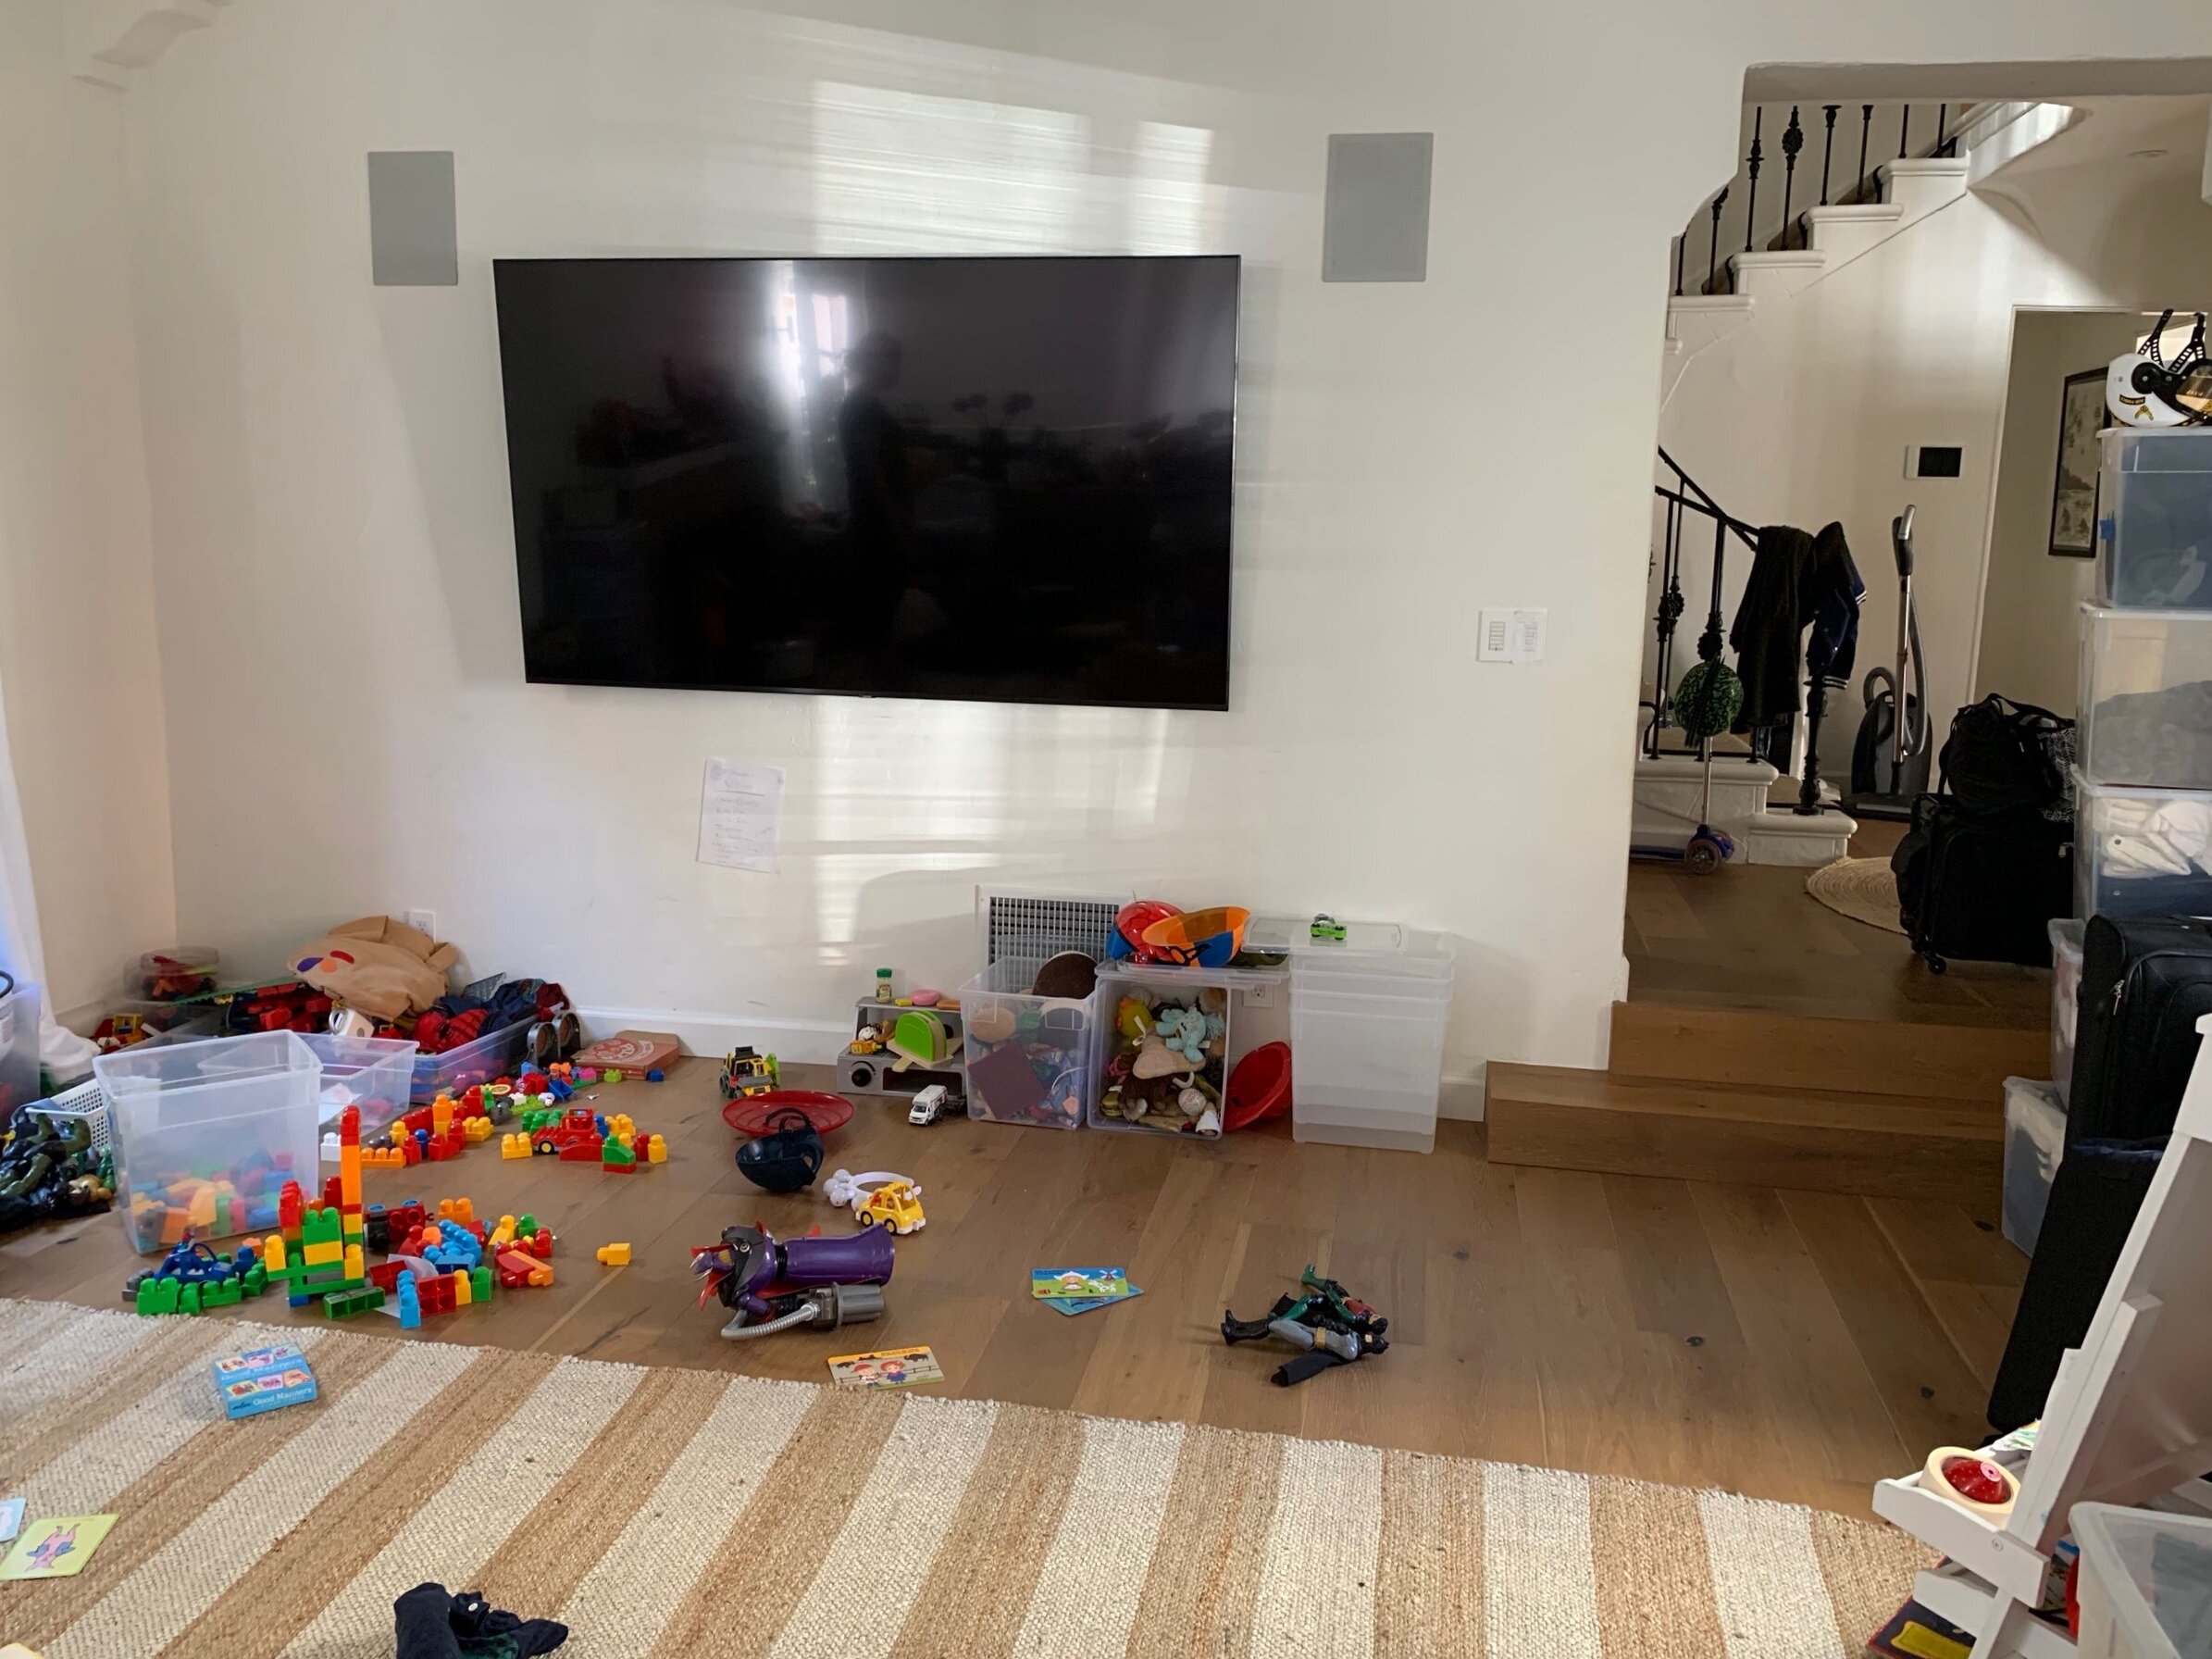
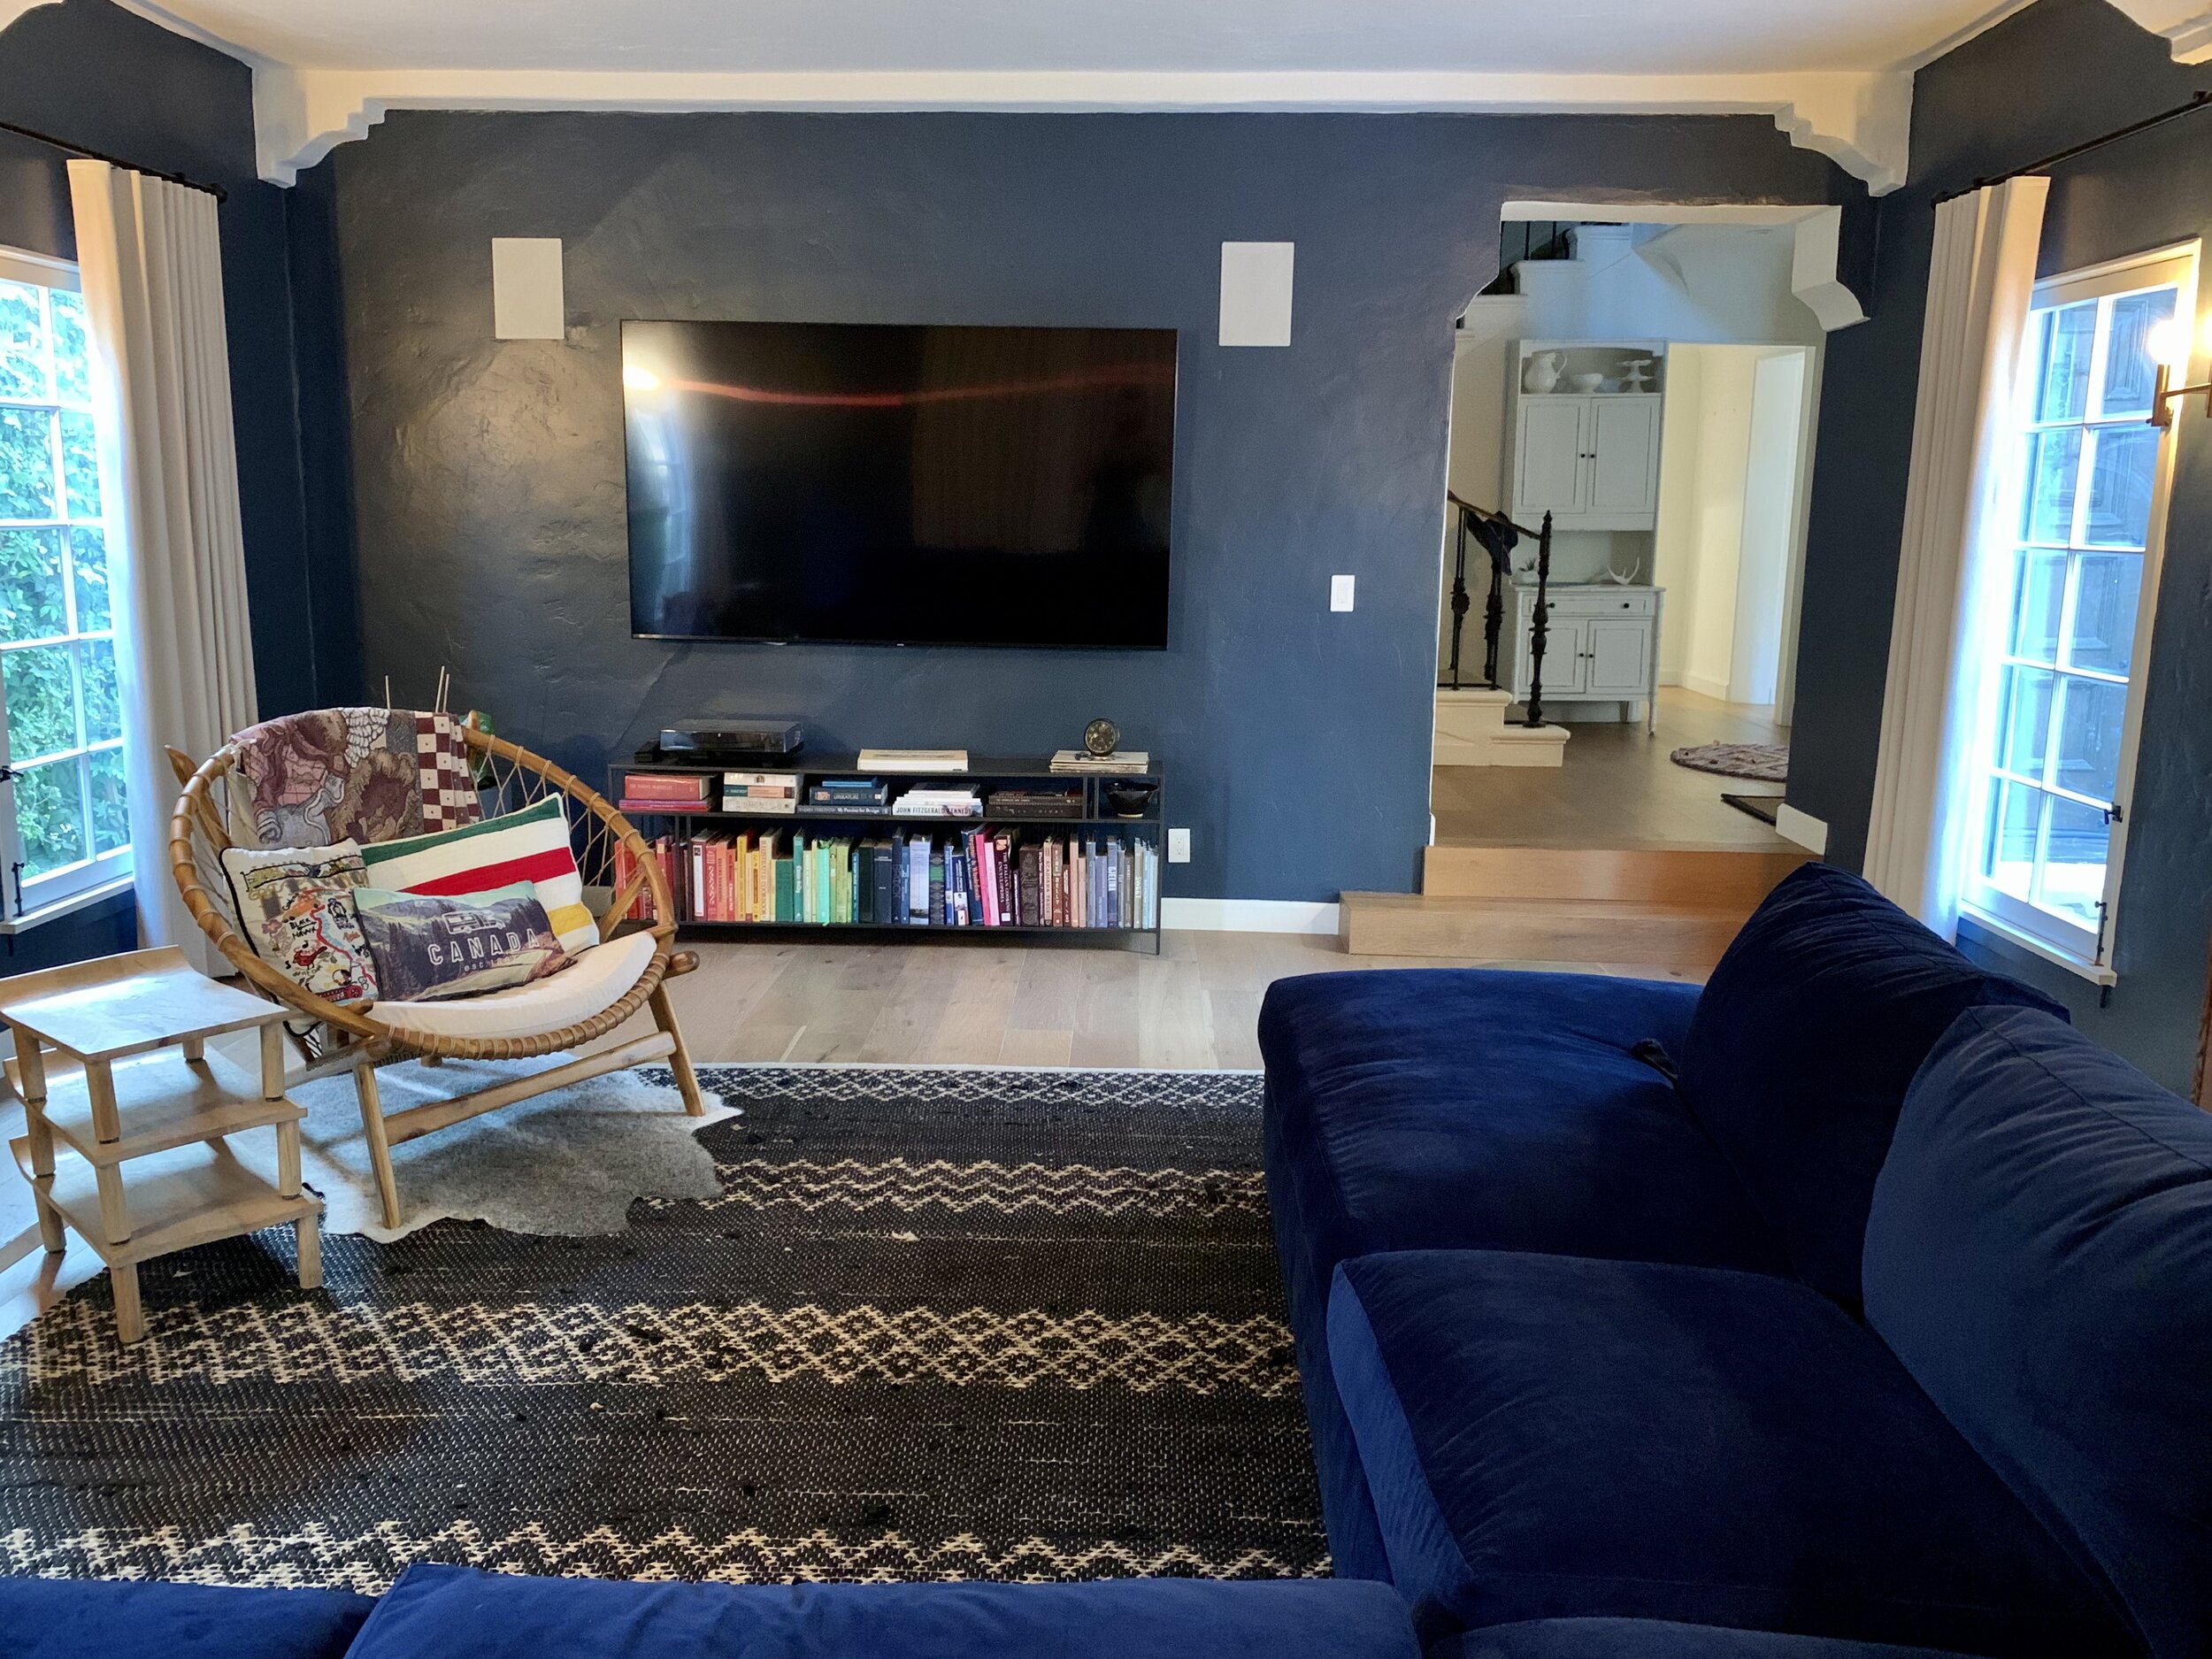
From Chaos to Comfort: A Living Room Transformation

How many of you have a room in your house that is being used as a storage unit? If you could remove the chaos, what would that room be used for? Now more than ever with the ongoing COVID crisis, I can think of many ideas for extra space: mini gym, meditation, homeschooling, zoom meetings, or a functioning living room for future movie nights.

A recent client of mine in Los Angeles had just moved into their dream home but shortly after was stressed out with the lack of storage. The house was a beautiful Spanish revival that had limitations for their belongings and it was imperative to come up with storage solutions that didn’t involve acquiring a storage unit. That is why their clutter ended up in the living room.

As with all projects, big or small, it is important to visualize what you want to use the space for, how you want it to look, and how it makes you feel. Before we jumped into the 5 step Space to Love® method to getting organized I wanted my client to convey to me what their vision was for the cluttered living room. They envisioned kid sleepovers, out of town family members staying for the weekend, having drinks with friends during game night and movie night with the family. This translated into a large and comfy sectional couch that opened up to a bed. The couch would have a dark-colored fabric that would be more forgiving of kids and pets. This layout also needed to include space for a bar and comfortable seating with side tables. This visualization process allows you to know what you need and is always a big motivator to get started on any project.

After visualizing we went on to assess and prioritize. We did a walkthrough of the entire house and outdoor space to see where, if any, would be an accessible and functional place for storage. I was pleased to learn that they had an unutilized basement. A basement in LA is a rare thing, and this one had ample space to add additional shelving. They had a garage that was being used as an extension of the outdoor space, not for a car. We decided to use one of the walls to build storage cabinets (that will be for another blog). Now, I was able to see where all the items that they wanted to keep would go.

After that, we were ready for the Space to Love® method. For the first step, Setup, we used foldout tables where we could group the like items together and see everything. We created areas in the room for the common categories, such as donations, trash, and recycle. With our post-its and markers ready we moved on to step two, Sorting.

While working through the sorting process I was able to learn a lot about my client. For instance, I could tell what they did for a living and what their hobbies were. This allowed me to come up with an organizational system that would be tailored to their individual needs.

As we continued sorting, everything made their way into specific categories. This allowed them to see which items they had duplicates of, what they forgot they had, and what they weren’t using. I love watching as my clients go through this process because they start to understand what they need, what they want for the future, and what is holding them back. It becomes clear to them how they have changed over the years and what was once important doesn’t have much hold over them anymore. This leads right into step three, Select.

Now that everything is sorted it makes it easier to “pick the best and get rid of the rest”. Here is where they see what is no longer serving or supporting them. This is also an opportunity for them to realize how they have been spending their money and their time. Sometimes feelings like guilt, shame, and regret may come up and bring the process to a halt. This is where having a professional organizer there with you is so important, we help ease the feelings that arise and get you through it. Real change starts to happen during this time. Many ah-ha moments.

After sorting and selecting, the items they decided to keep could be stored in the basement. Which brings us to step four, Sanitize.

We started with the basement. Before we added shelving from Home Depot we made sure we cleaned the area well. Then we put the shelving in place and organized them with items that were not going to be used on a regular basis. We transported the other items that were needed more often out to the garage on temporary shelving until the storage cabinets were built.

Once everything was moved out of the living room we were able to move onto the fifth step, Style. When it comes to living rooms the best place to start is with the couch. We went to The Joneses LA one of my favorite furniture stores in Los Angeles. We brought the measurements with us and presented them to the salesperson and from there we explored various ideas for the couch. We decided on a left side sectional with a chaise lounge that opened up to a kingsize bed. We were able to go through books of swatches to pick the perfect dark-colored fabric. As we perused the showroom we were able to see the different styles of couches and pick the one they liked the best.

Next, we chose to use a console they already owned that worked perfectly for the bar area. As for the window treatments, we went with The Shade Store on Melrose Ave. It was a treat to be able to view all the fabrics and look at the hardware to see how they worked.

We needed to paint the room and ended up choosing this rich dark blue. This color really made a bold statement in this living room and my client fell in love with it. No more boring here.

I love the transformation of this living room. What do you think? Is there a room you would like to transform?


4 Piles to Pitch: Win Back Your Storage Closet

Yes! Clean out that storage closet once and for all. I just helped a client do this, and I want to share a few things that might be useful for the closet you have been ignoring... and the skeletons inside.

My client had recently moved, and didn't have time to purge or organize before transitioning from old place to new.  As a result, her storage closet was riddled with random items (because it had a door to close and hide it all behind). Sound familiar?  Well, it happens all the time. Time to reclaim your space!

To get started, take everything out of the closet. As you remove items, sort them into piles with similar types of items - put like items with like items.

With my client, as with most clients, the piles looked something like this: the first pile was composed of packing supplies, including empty boxes, bubble wrap, tubes for posters, etc.  A second pile contained decor items that worked in her old place but didn't work in her new home, including items that needed to be returned. Off to the side, we had a pile of stuff that was to be sold on eBay and Craigslist, and finally, my favorite pile, the bag of bags. Over 90% of my clients have at least one of these piles:)

We also had piles of old makeup to go through, bedding to make decisions on, and office supplies to sort. However, the 4 piles I want to focus on are the four piles mentioned above: packing supplies, things that aren't working, stuff to sell, and the bag of bags. By just dealing with the items in these four piles, you will reduce clutter by half.  So, in no particular order, give yourself permission to let go of ---

1 - Items that are not working in the new (or current) space. This is often a frustrating endeavor, but it's time to realize that even alternative facts won't make your drawer organizers from your last residence fit your new space, and those pictures that looked great on your former living room wall don't catch the light in the same way in your new (or now) house. Yet, these items get tucked away in the storage closet in hopes you will find someone to give it to or eventually sell it. A big crutch in the letting go process is the "waiting to give it to someone who will need it" crutch. We always want to help someone out (or in some cases, pass the obligation of the item onto someone else), but then the unwanted item ends up chewing up valuable real estate in your space for way too long. So go ahead, give yourself permission. Donate it. And those things that need to be returned that didn't work for the new space that got shoved in the storage closet to collect dust and be forgotten? Put them in your car with the receipt and make sure it gets returned before it's too late.  Or donate them. 

2 - The eBay and Craigslist pile. My client had fancy and pricey dresses; some still had the tags on them, plus other items she thought could be worth selling. Of course, I'm all for donating it. Too often the ideal amount you think you can get for a given item is a lot more then what you can actually get for it. With my client, we started looking up how much similar dresses were selling for online and found that they were going for $20 or $30, and some were being stolen at $10. So I ask, how much is your time worth? $10/hr? $20/hr?  Because the time you use listing the item, the time spent in sale limbo/haggling with a stranger, the time and energy physically exerted in shipping the item... is the sale really worth the trouble and your time?  I suggest establishing a minimum listing item price of $50 or more to make the listing worthy of your time. If you can get at least $50 for an item, then list it.  If not, donate it.

3 - The pile of packing supplies. It will be easier to let these items go when you realize you are donating most of the stuff you thought you were going to sell. The act of breaking down empty boxes from deliveries alone (ahem...amazon) will reclaim a significant amount of space.

4 - The bag of bags, or should I say the whole closet, considering how they seem to fill up space like some magic growing jello. Like many people, my client was keeping every bag that was ever given to her, and all the ones she paid for like the ones from Ikea, etc. We looked through them all, and kept a select few that were in good shape.  We used some to bag donation items, and, get ready, donated the rest.

How many shopping bags does one household need? If you go shopping and use about 5 recycled bags, then keep that amount in your car, and get rid of the remainder.  Rest assured, more reusable bags will come into your life; someone is always giving away a free bag. Oh! And if you get paper and plastic bags every time you go to the grocer's and keep them for trash, then take one bag and fill it up with other bags; whatever doesn't fit in that one bag, you recycle. You will keep getting more every time you go shopping; have faith that you will not run out.

By focusing on items in these 4 piles, and not worrying about the organizing part yet, we saw a huge difference in reclaimed closet space. My client even had drawers in the closet that (I didn't know she had) she could never get to, now ready to be filled with items worthy of storing. 

So, what can you donate today to win back your storage closet?