How many of you have a room in your house that is being used as a storage unit? If you could remove the chaos, what would that room be used for? Now more than ever with the ongoing COVID crisis, I can think of many ideas for extra space: mini gym, meditation, homeschooling, zoom meetings, or a functioning living room for future movie nights.
A recent client of mine in Los Angeles had just moved into their dream home but shortly after was stressed out with the lack of storage. The house was a beautiful Spanish revival that had limitations for their belongings and it was imperative to come up with storage solutions that didn’t involve acquiring a storage unit. That is why their clutter ended up in the living room.
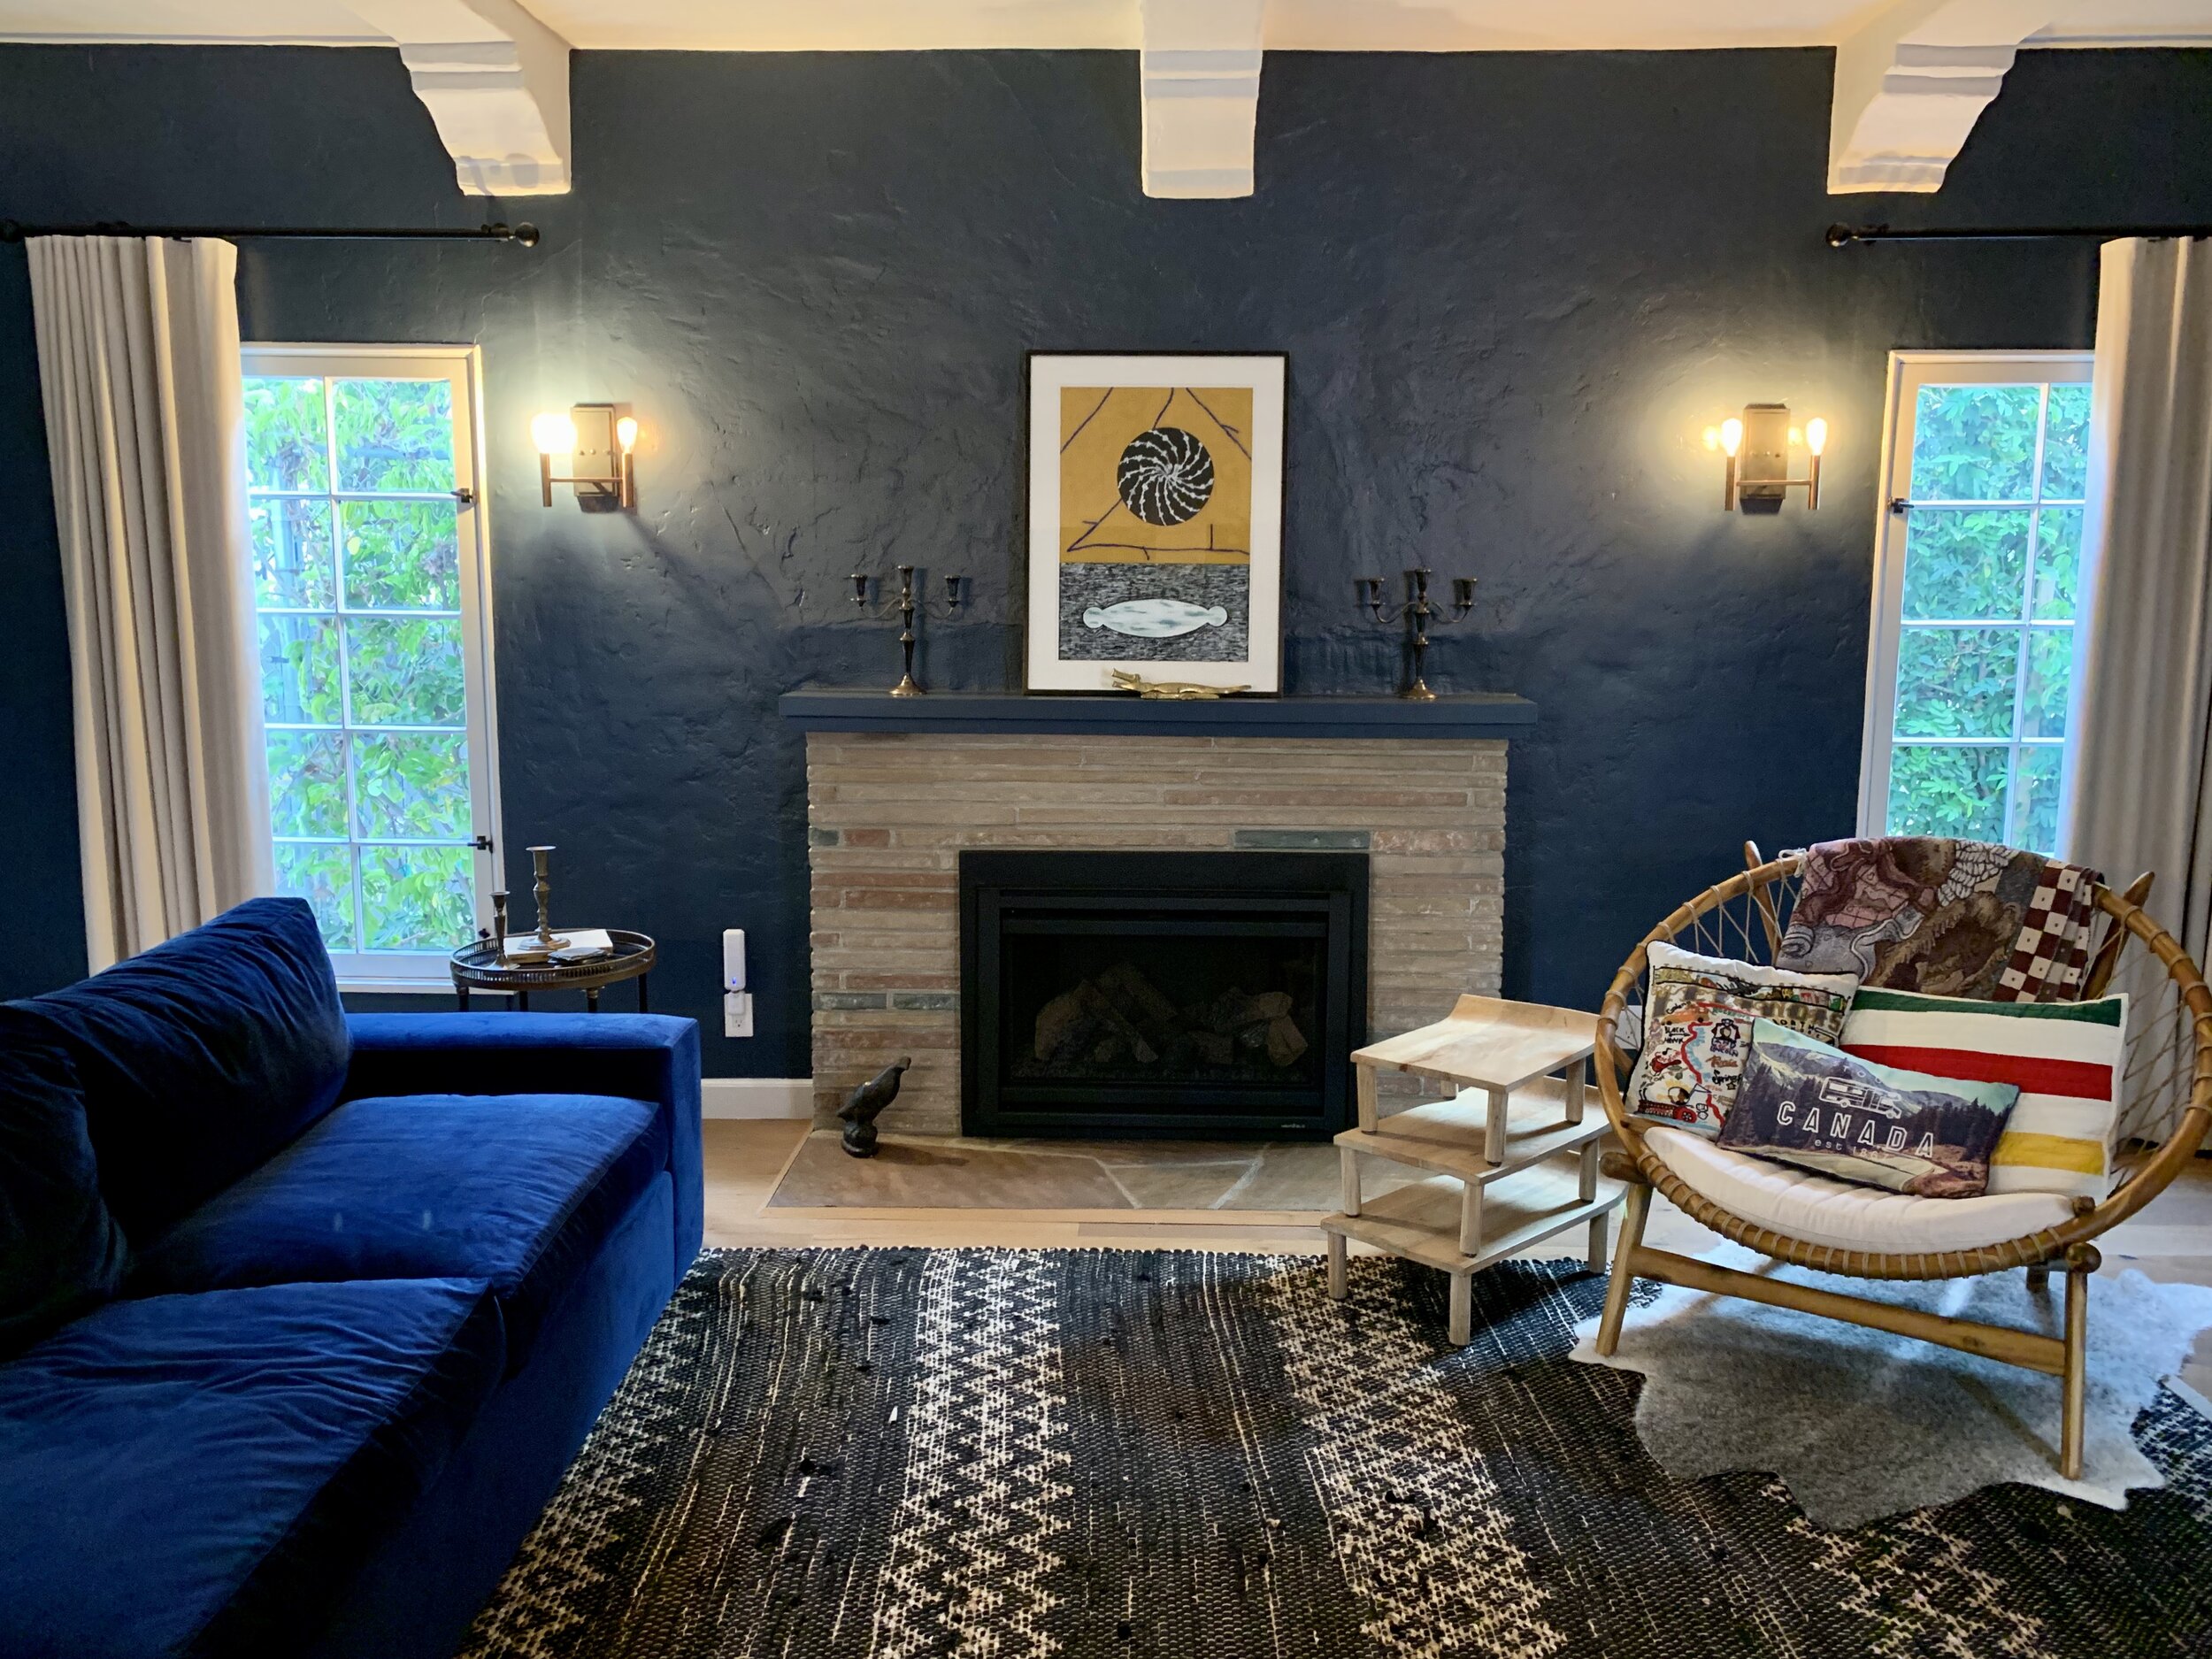
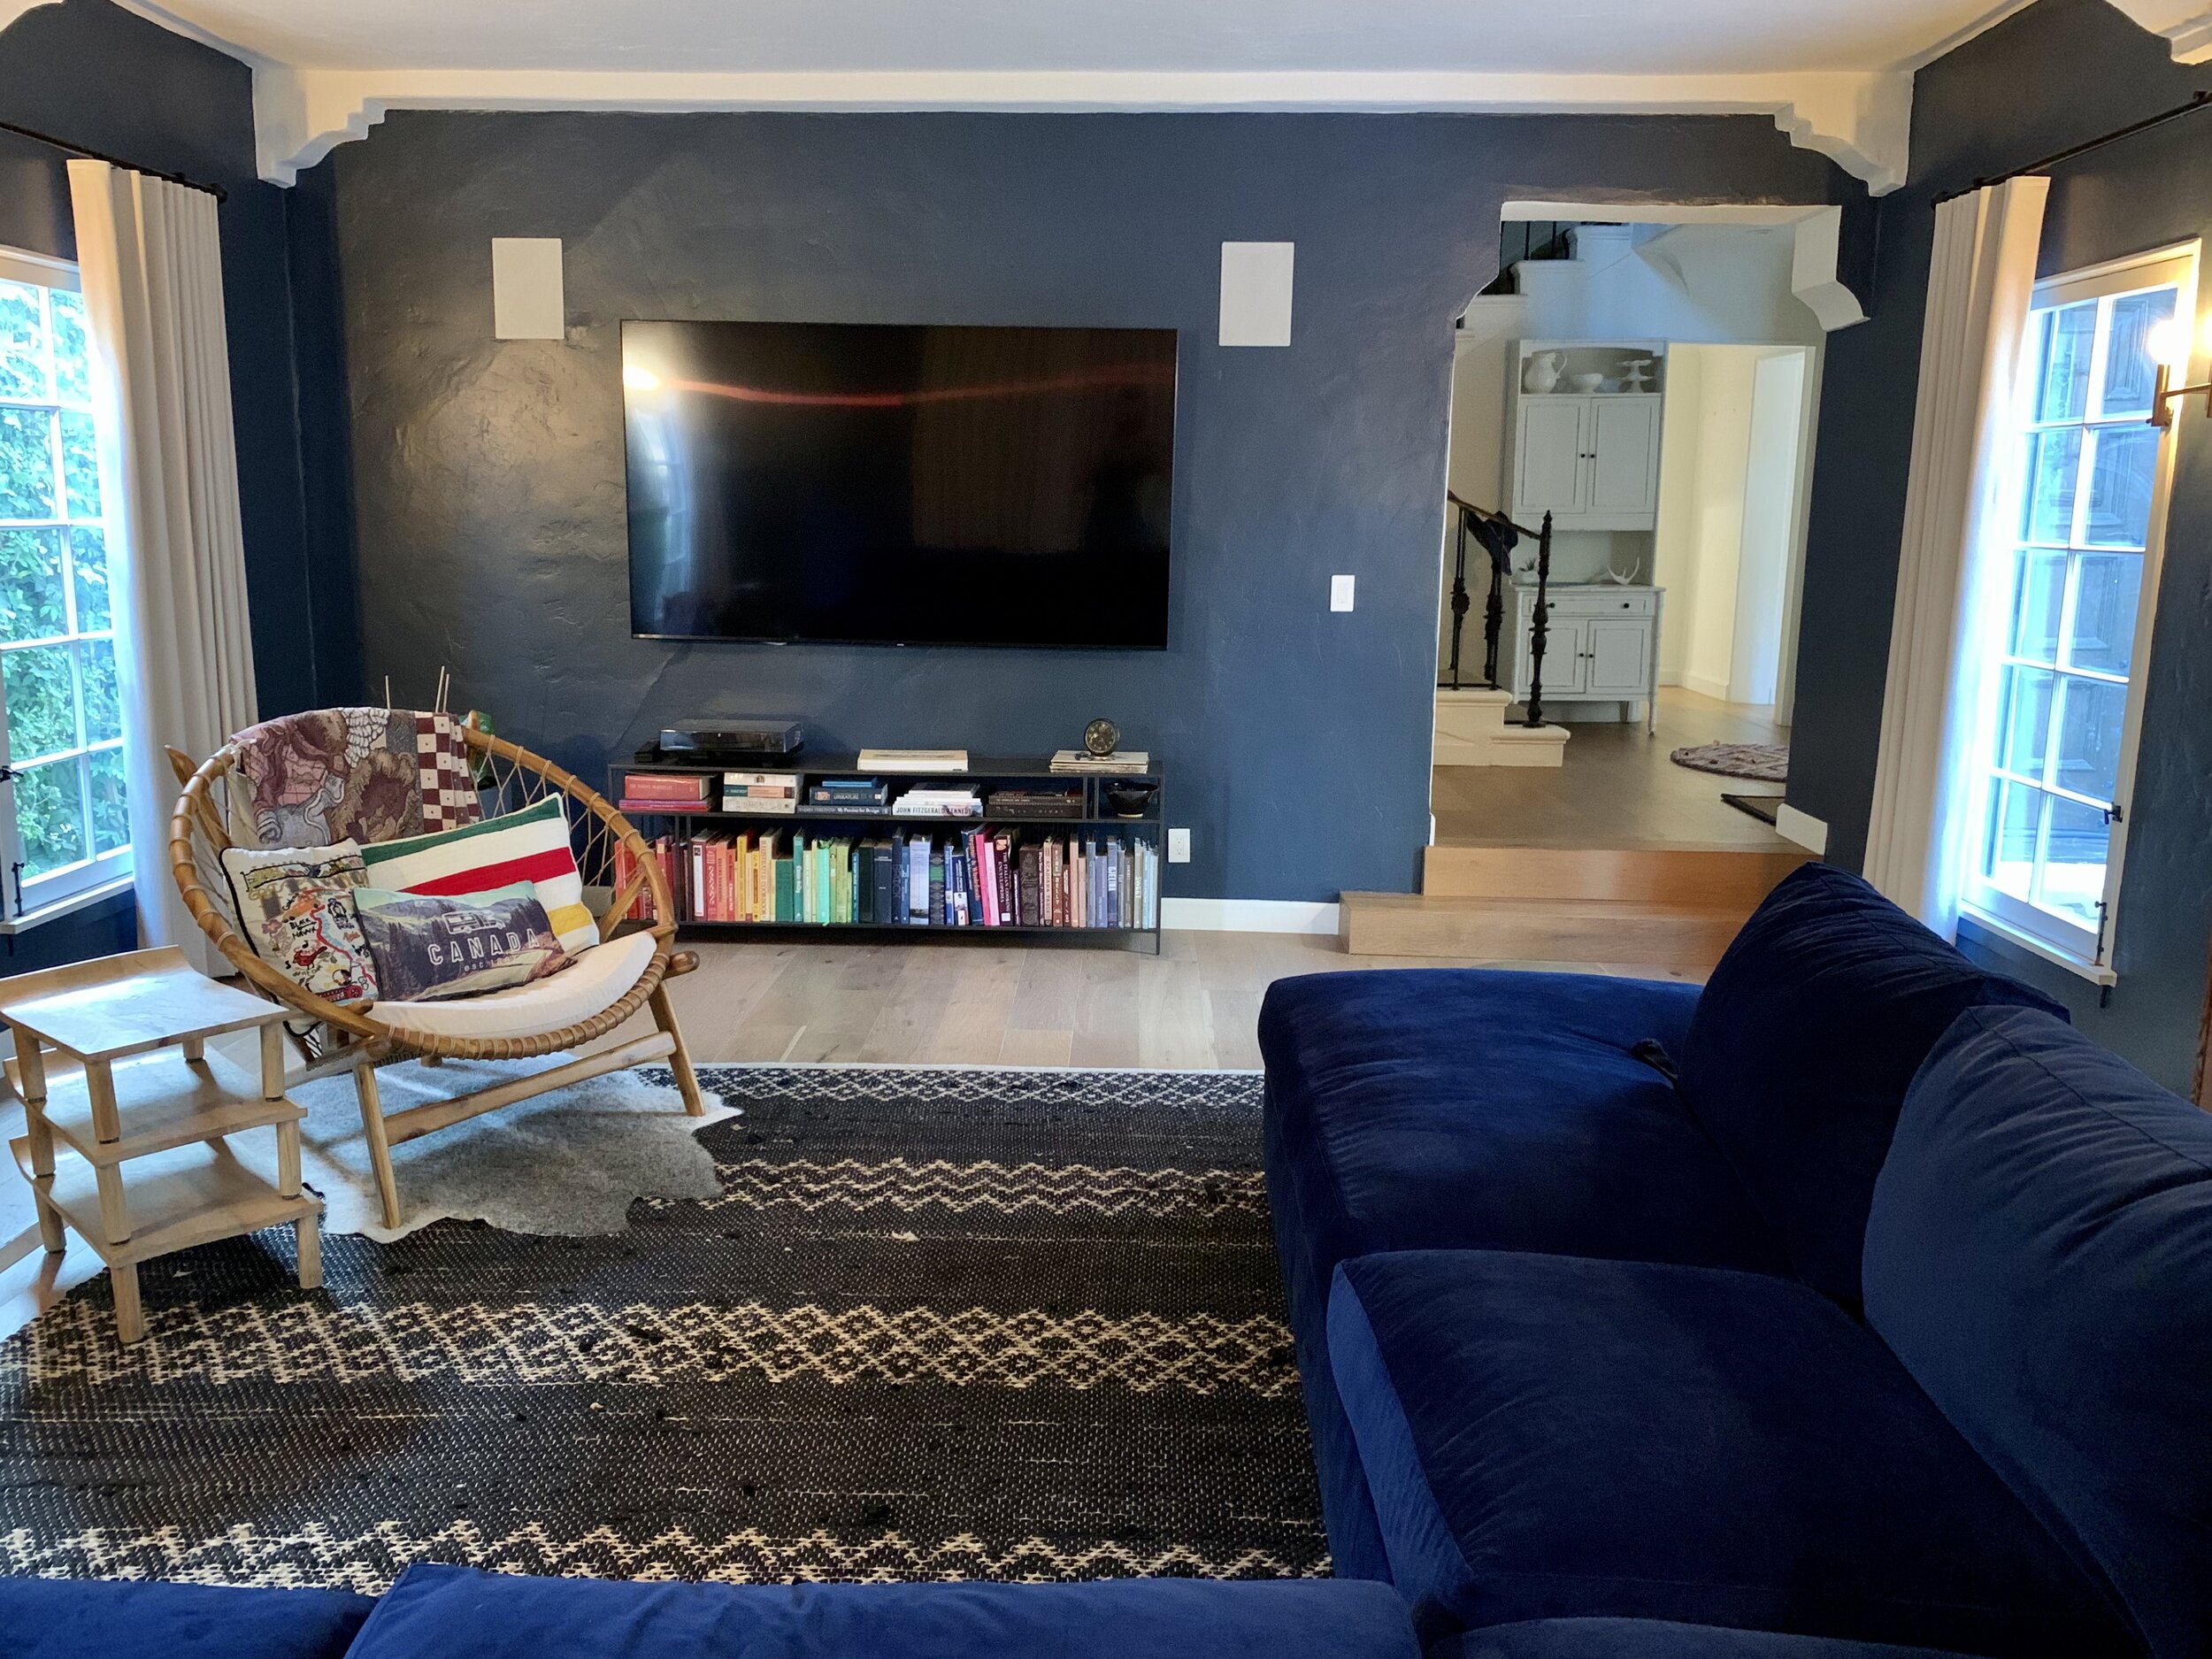
As with all projects, big or small, it is important to visualize what you want to use the space for, how you want it to look, and how it makes you feel. Before we jumped into the 5 step Space to Love® method to getting organized I wanted my client to convey to me what their vision was for the cluttered living room. They envisioned kid sleepovers, out of town family members staying for the weekend, having drinks with friends during game night and movie night with the family. This translated into a large and comfy sectional couch that opened up to a bed. The couch would have a dark-colored fabric that would be more forgiving of kids and pets. This layout also needed to include space for a bar and comfortable seating with side tables. This visualization process allows you to know what you need and is always a big motivator to get started on any project.
After visualizing we went on to assess and prioritize. We did a walkthrough of the entire house and outdoor space to see where, if any, would be an accessible and functional place for storage. I was pleased to learn that they had an unutilized basement. A basement in LA is a rare thing, and this one had ample space to add additional shelving. They had a garage that was being used as an extension of the outdoor space, not for a car. We decided to use one of the walls to build storage cabinets (that will be for another blog). Now, I was able to see where all the items that they wanted to keep would go.
After that, we were ready for the Space to Love® method. For the first step, Setup, we used foldout tables where we could group the like items together and see everything. We created areas in the room for the common categories, such as donations, trash, and recycle. With our post-its and markers ready we moved on to step two, Sorting.
While working through the sorting process I was able to learn a lot about my client. For instance, I could tell what they did for a living and what their hobbies were. This allowed me to come up with an organizational system that would be tailored to their individual needs.
As we continued sorting, everything made their way into specific categories. This allowed them to see which items they had duplicates of, what they forgot they had, and what they weren’t using. I love watching as my clients go through this process because they start to understand what they need, what they want for the future, and what is holding them back. It becomes clear to them how they have changed over the years and what was once important doesn’t have much hold over them anymore. This leads right into step three, Select.
Now that everything is sorted it makes it easier to “pick the best and get rid of the rest”. Here is where they see what is no longer serving or supporting them. This is also an opportunity for them to realize how they have been spending their money and their time. Sometimes feelings like guilt, shame, and regret may come up and bring the process to a halt. This is where having a professional organizer there with you is so important, we help ease the feelings that arise and get you through it. Real change starts to happen during this time. Many ah-ha moments.
After sorting and selecting, the items they decided to keep could be stored in the basement. Which brings us to step four, Sanitize.
We started with the basement. Before we added shelving from Home Depot we made sure we cleaned the area well. Then we put the shelving in place and organized them with items that were not going to be used on a regular basis. We transported the other items that were needed more often out to the garage on temporary shelving until the storage cabinets were built.
Once everything was moved out of the living room we were able to move onto the fifth step, Style. When it comes to living rooms the best place to start is with the couch. We went to The Joneses LA one of my favorite furniture stores in Los Angeles. We brought the measurements with us and presented them to the salesperson and from there we explored various ideas for the couch. We decided on a left side sectional with a chaise lounge that opened up to a kingsize bed. We were able to go through books of swatches to pick the perfect dark-colored fabric. As we perused the showroom we were able to see the different styles of couches and pick the one they liked the best.
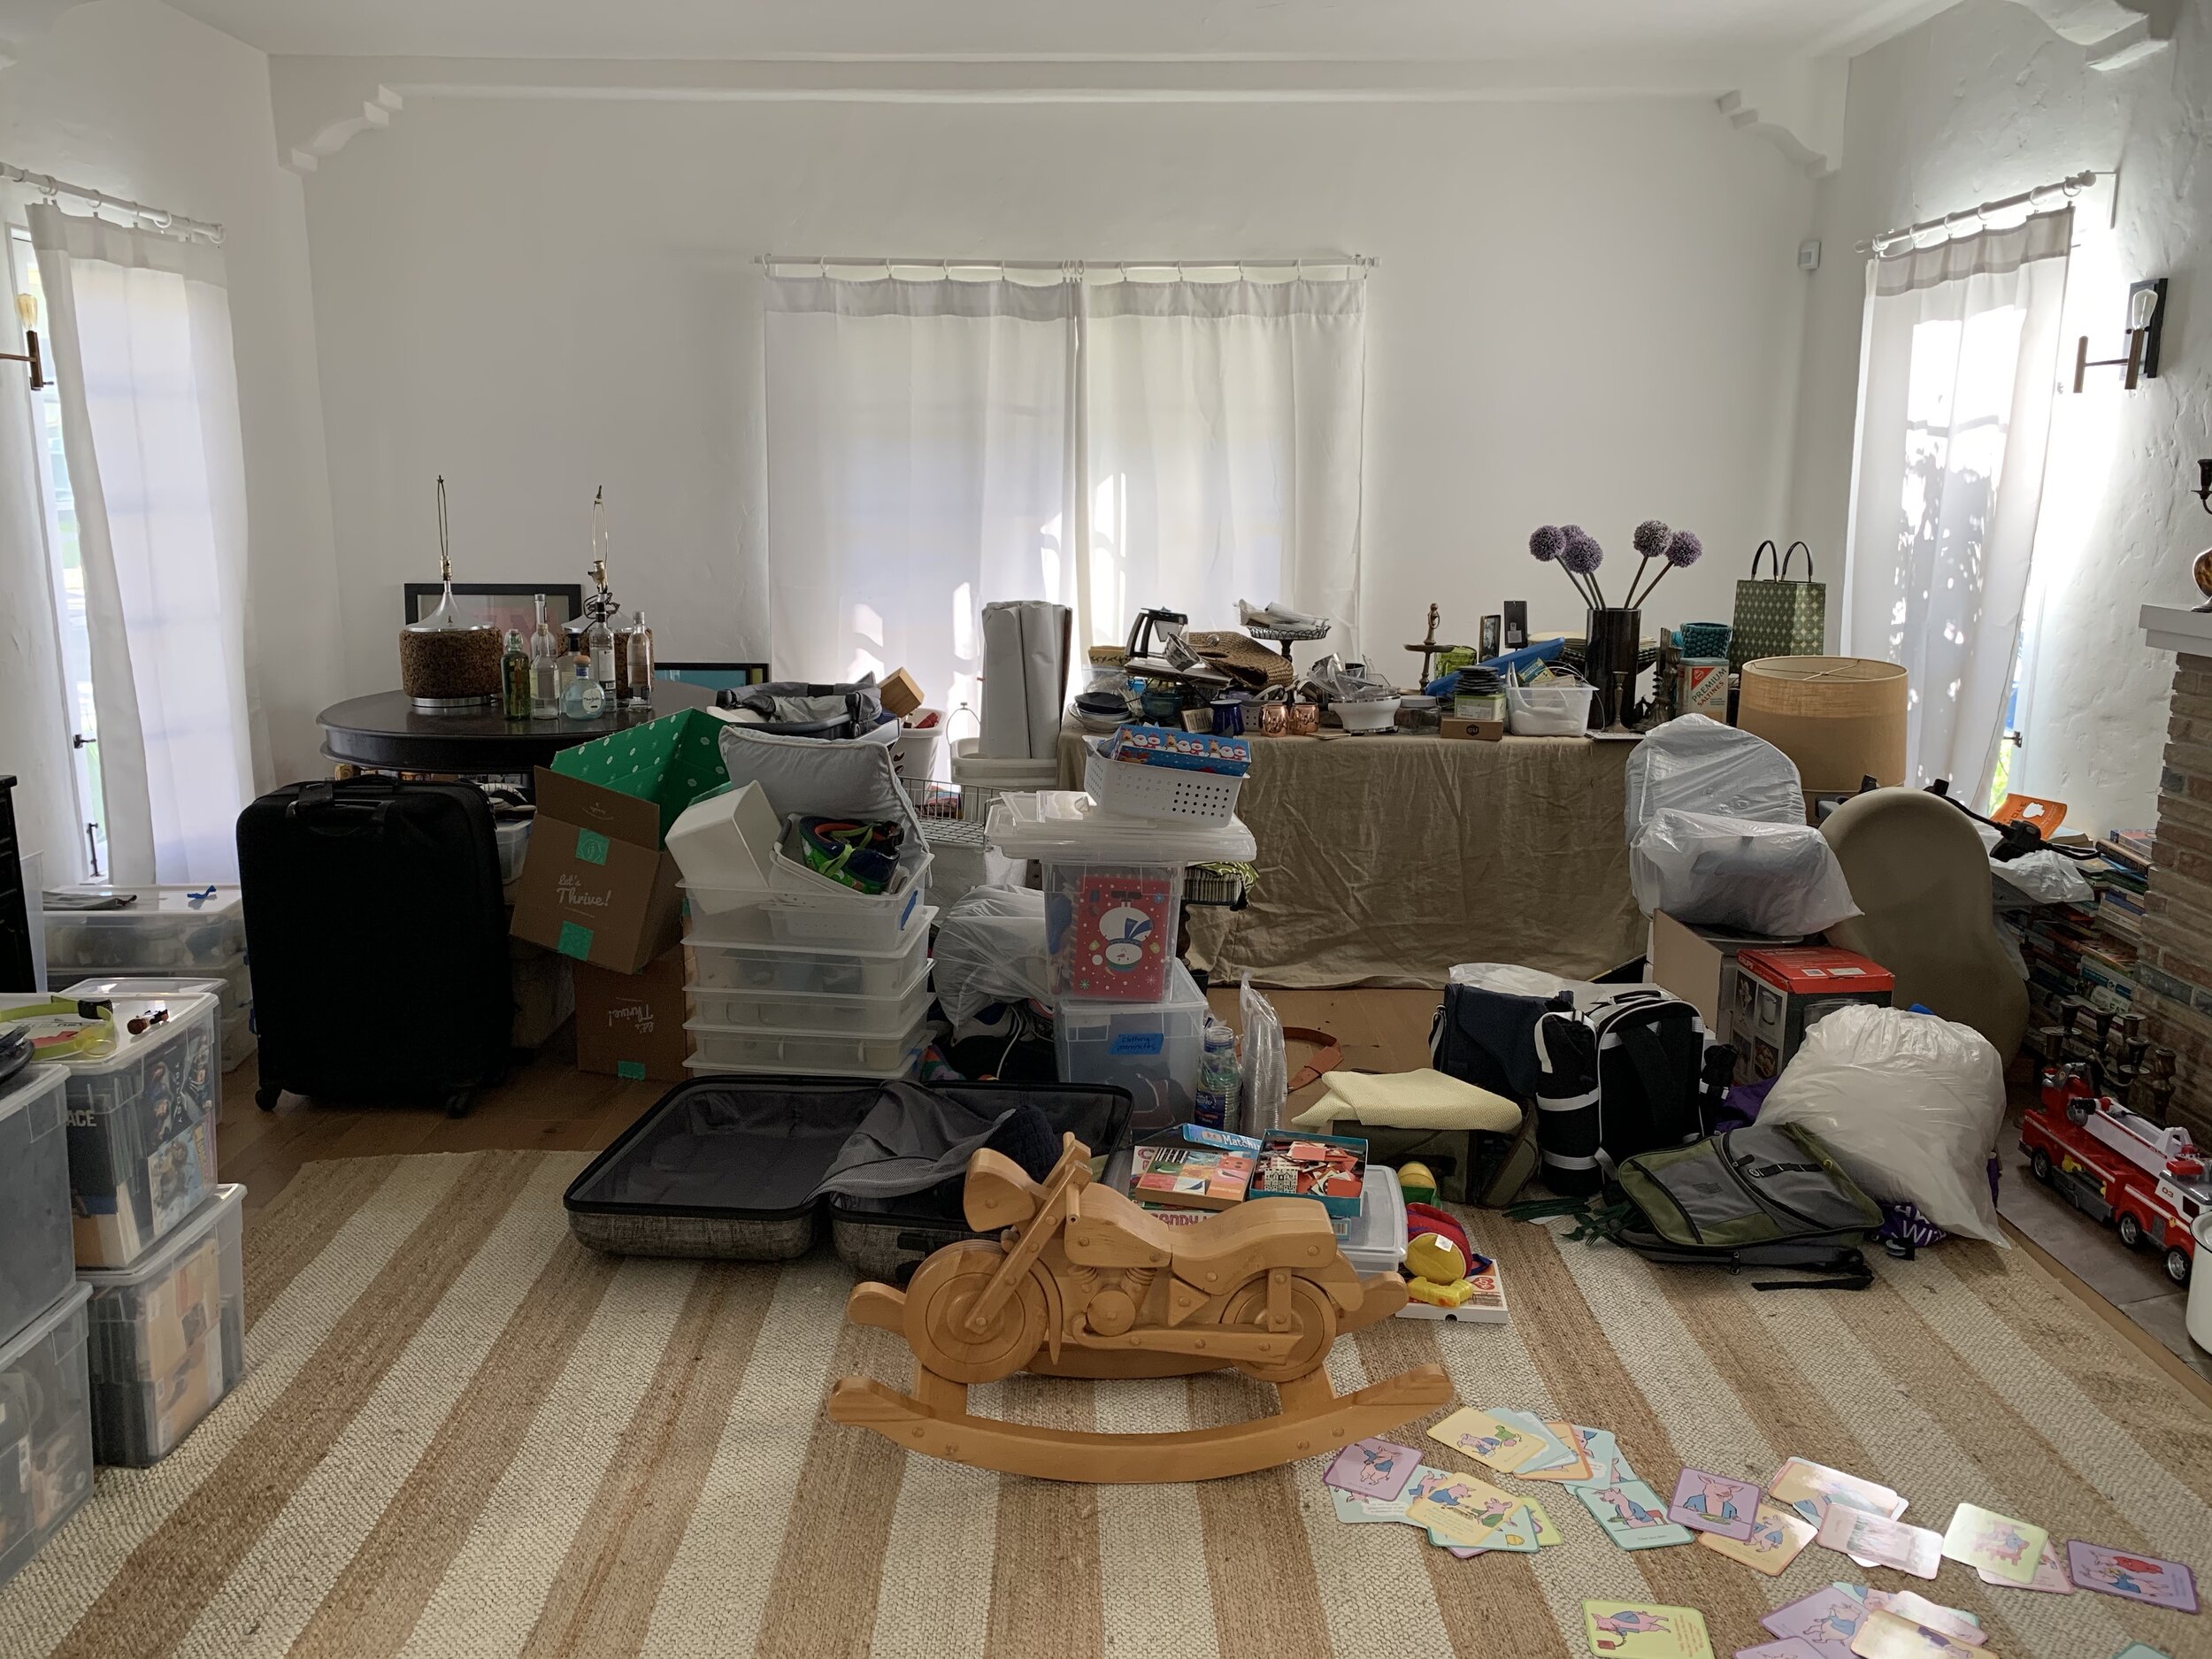
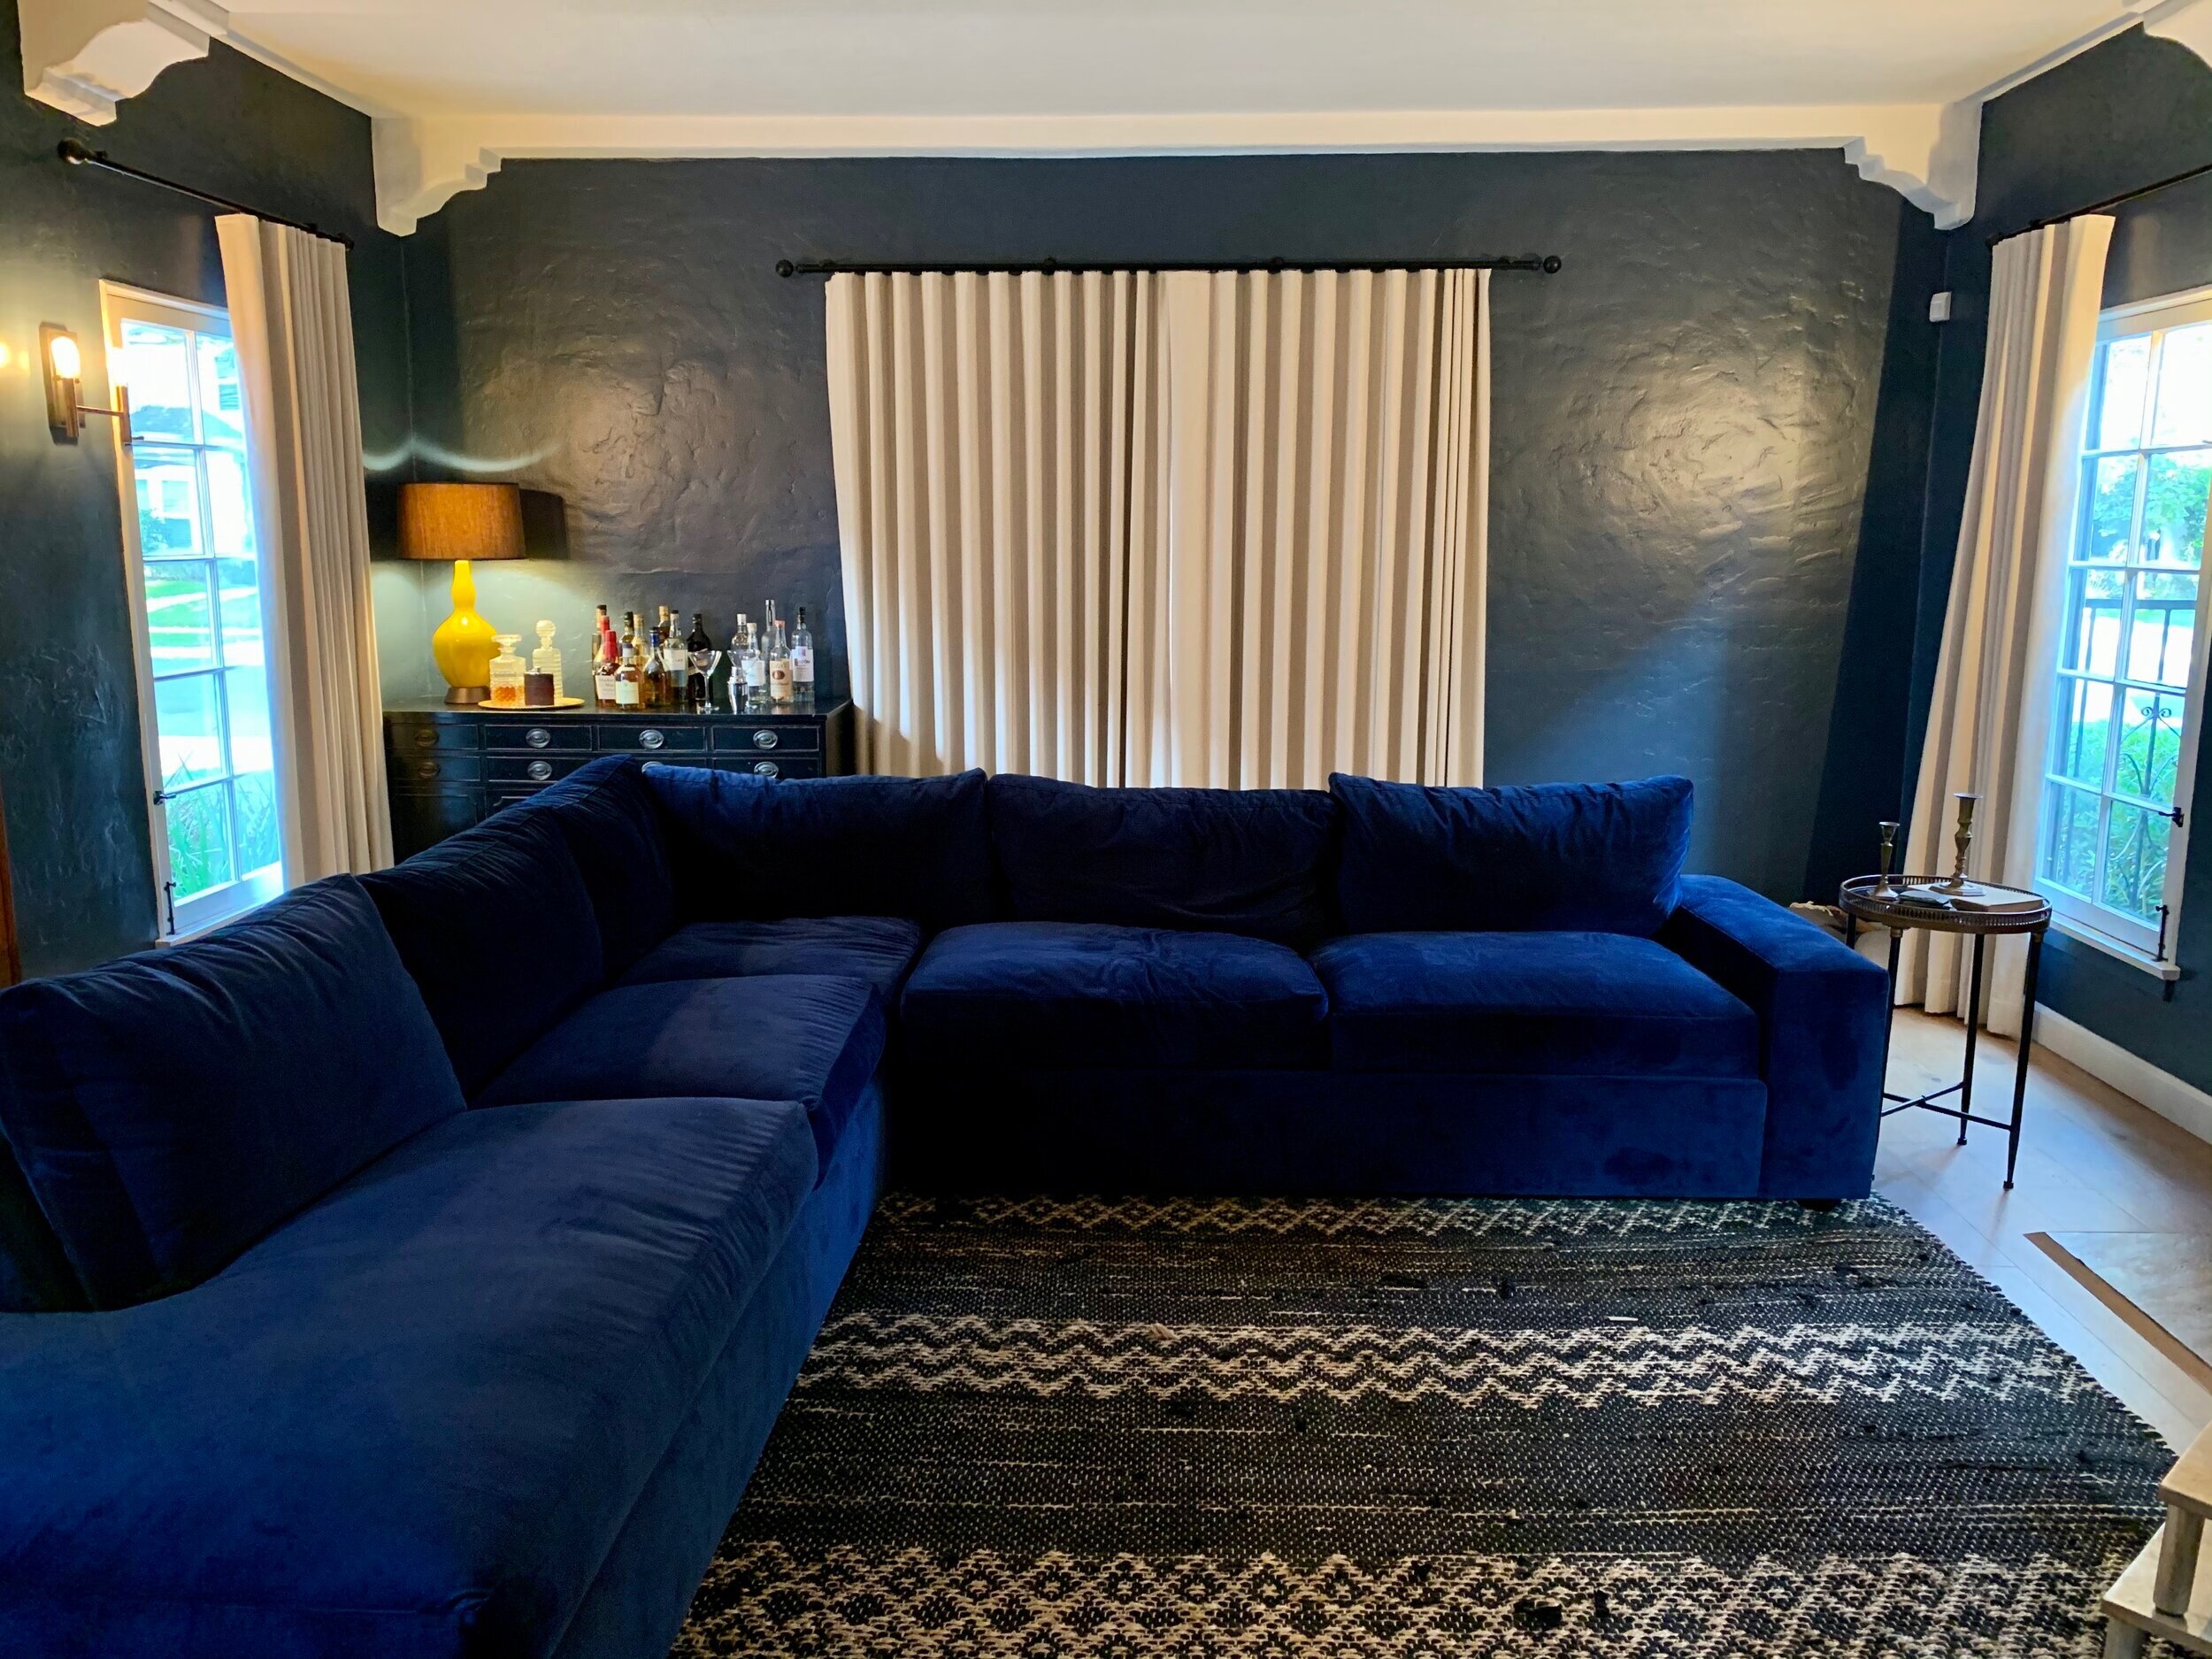
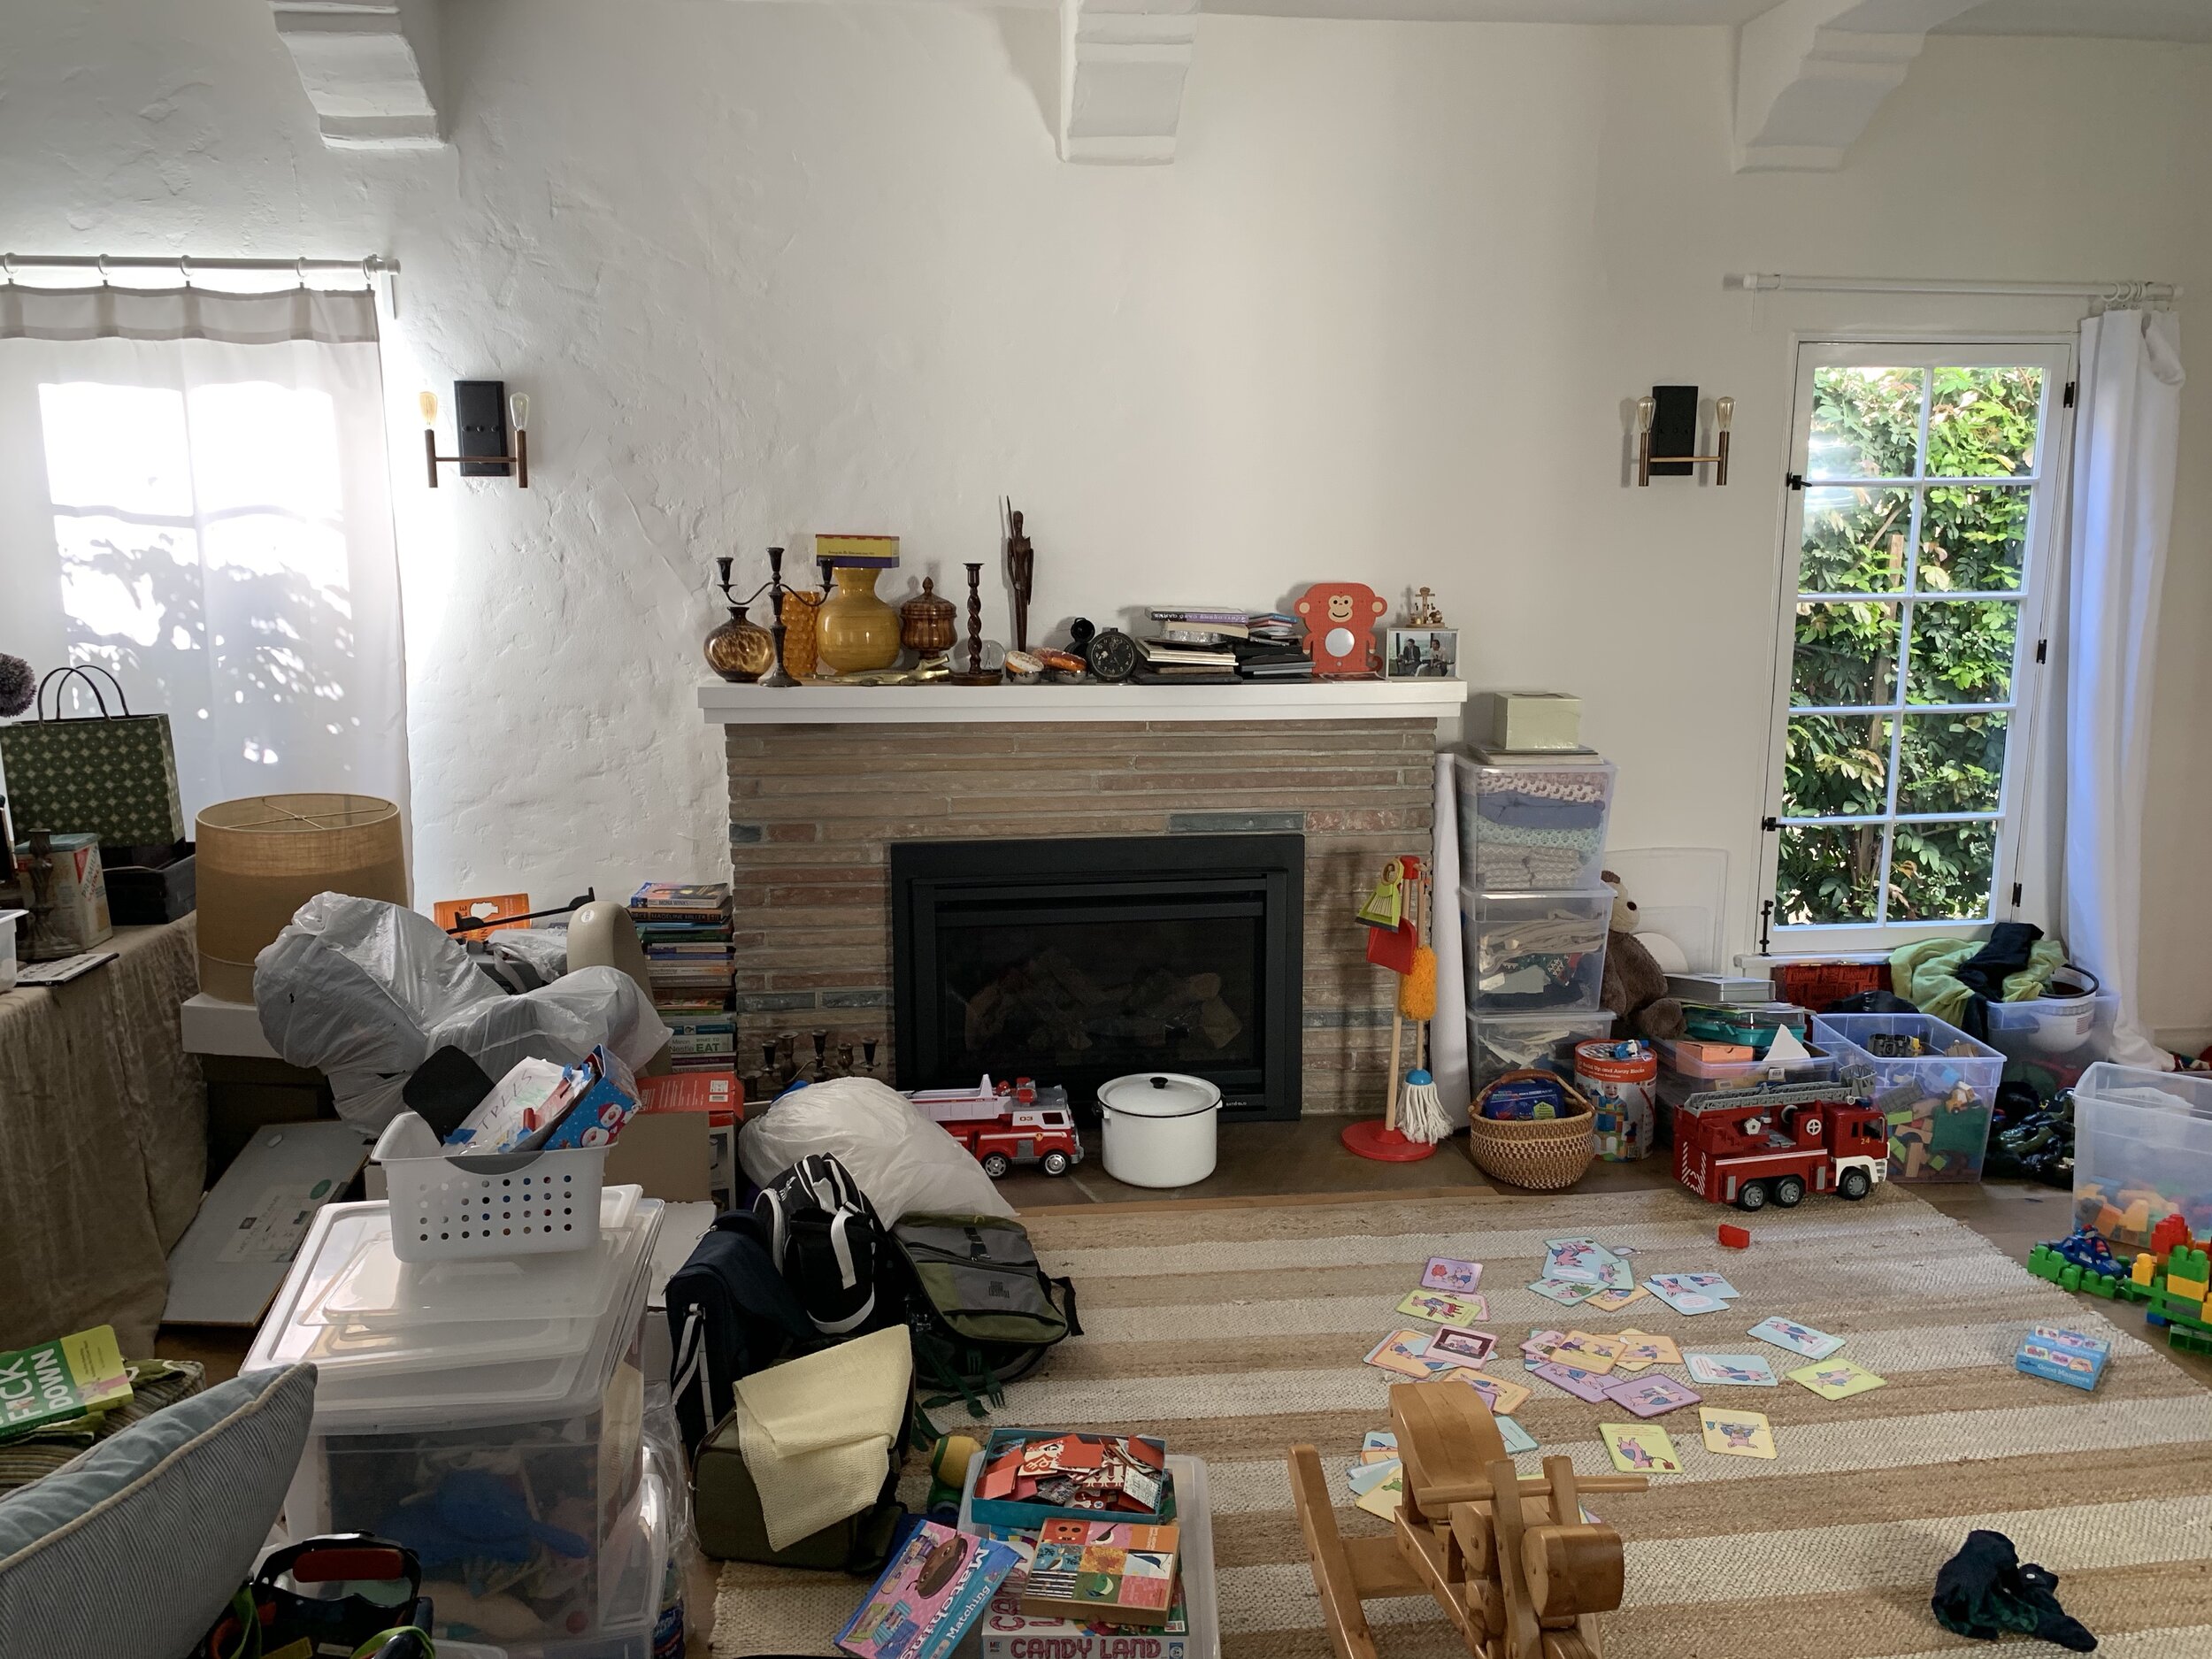
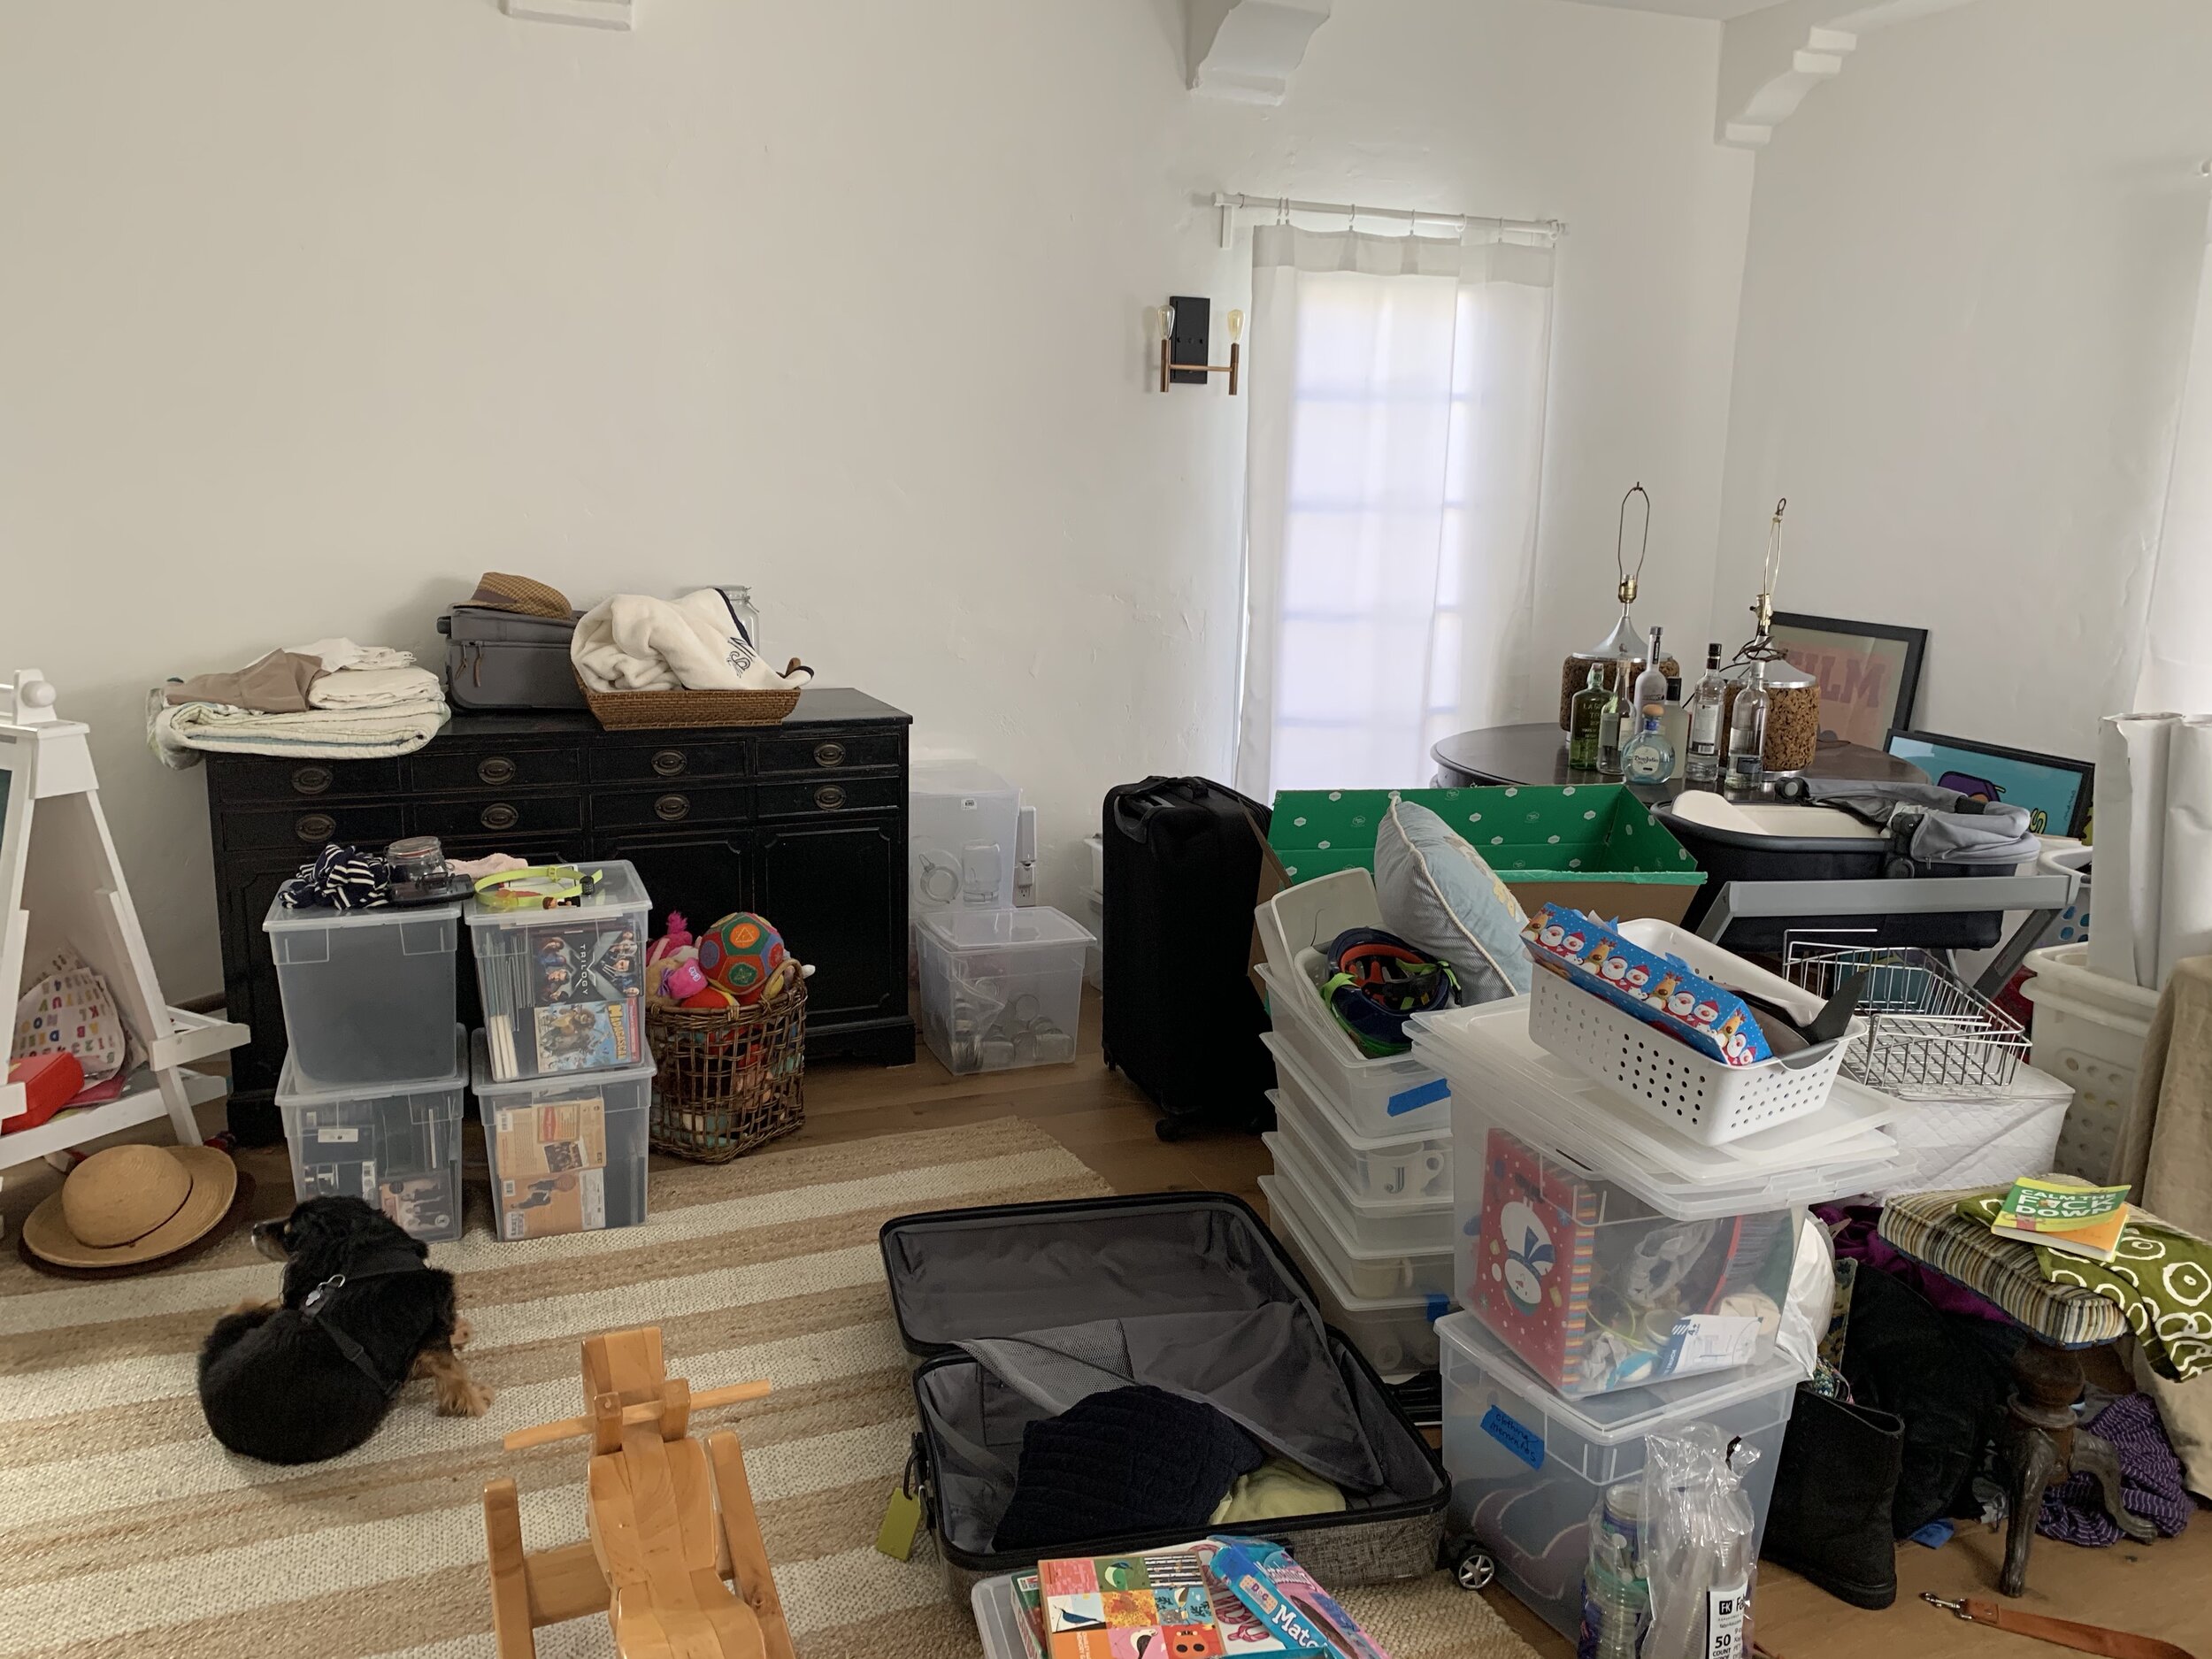
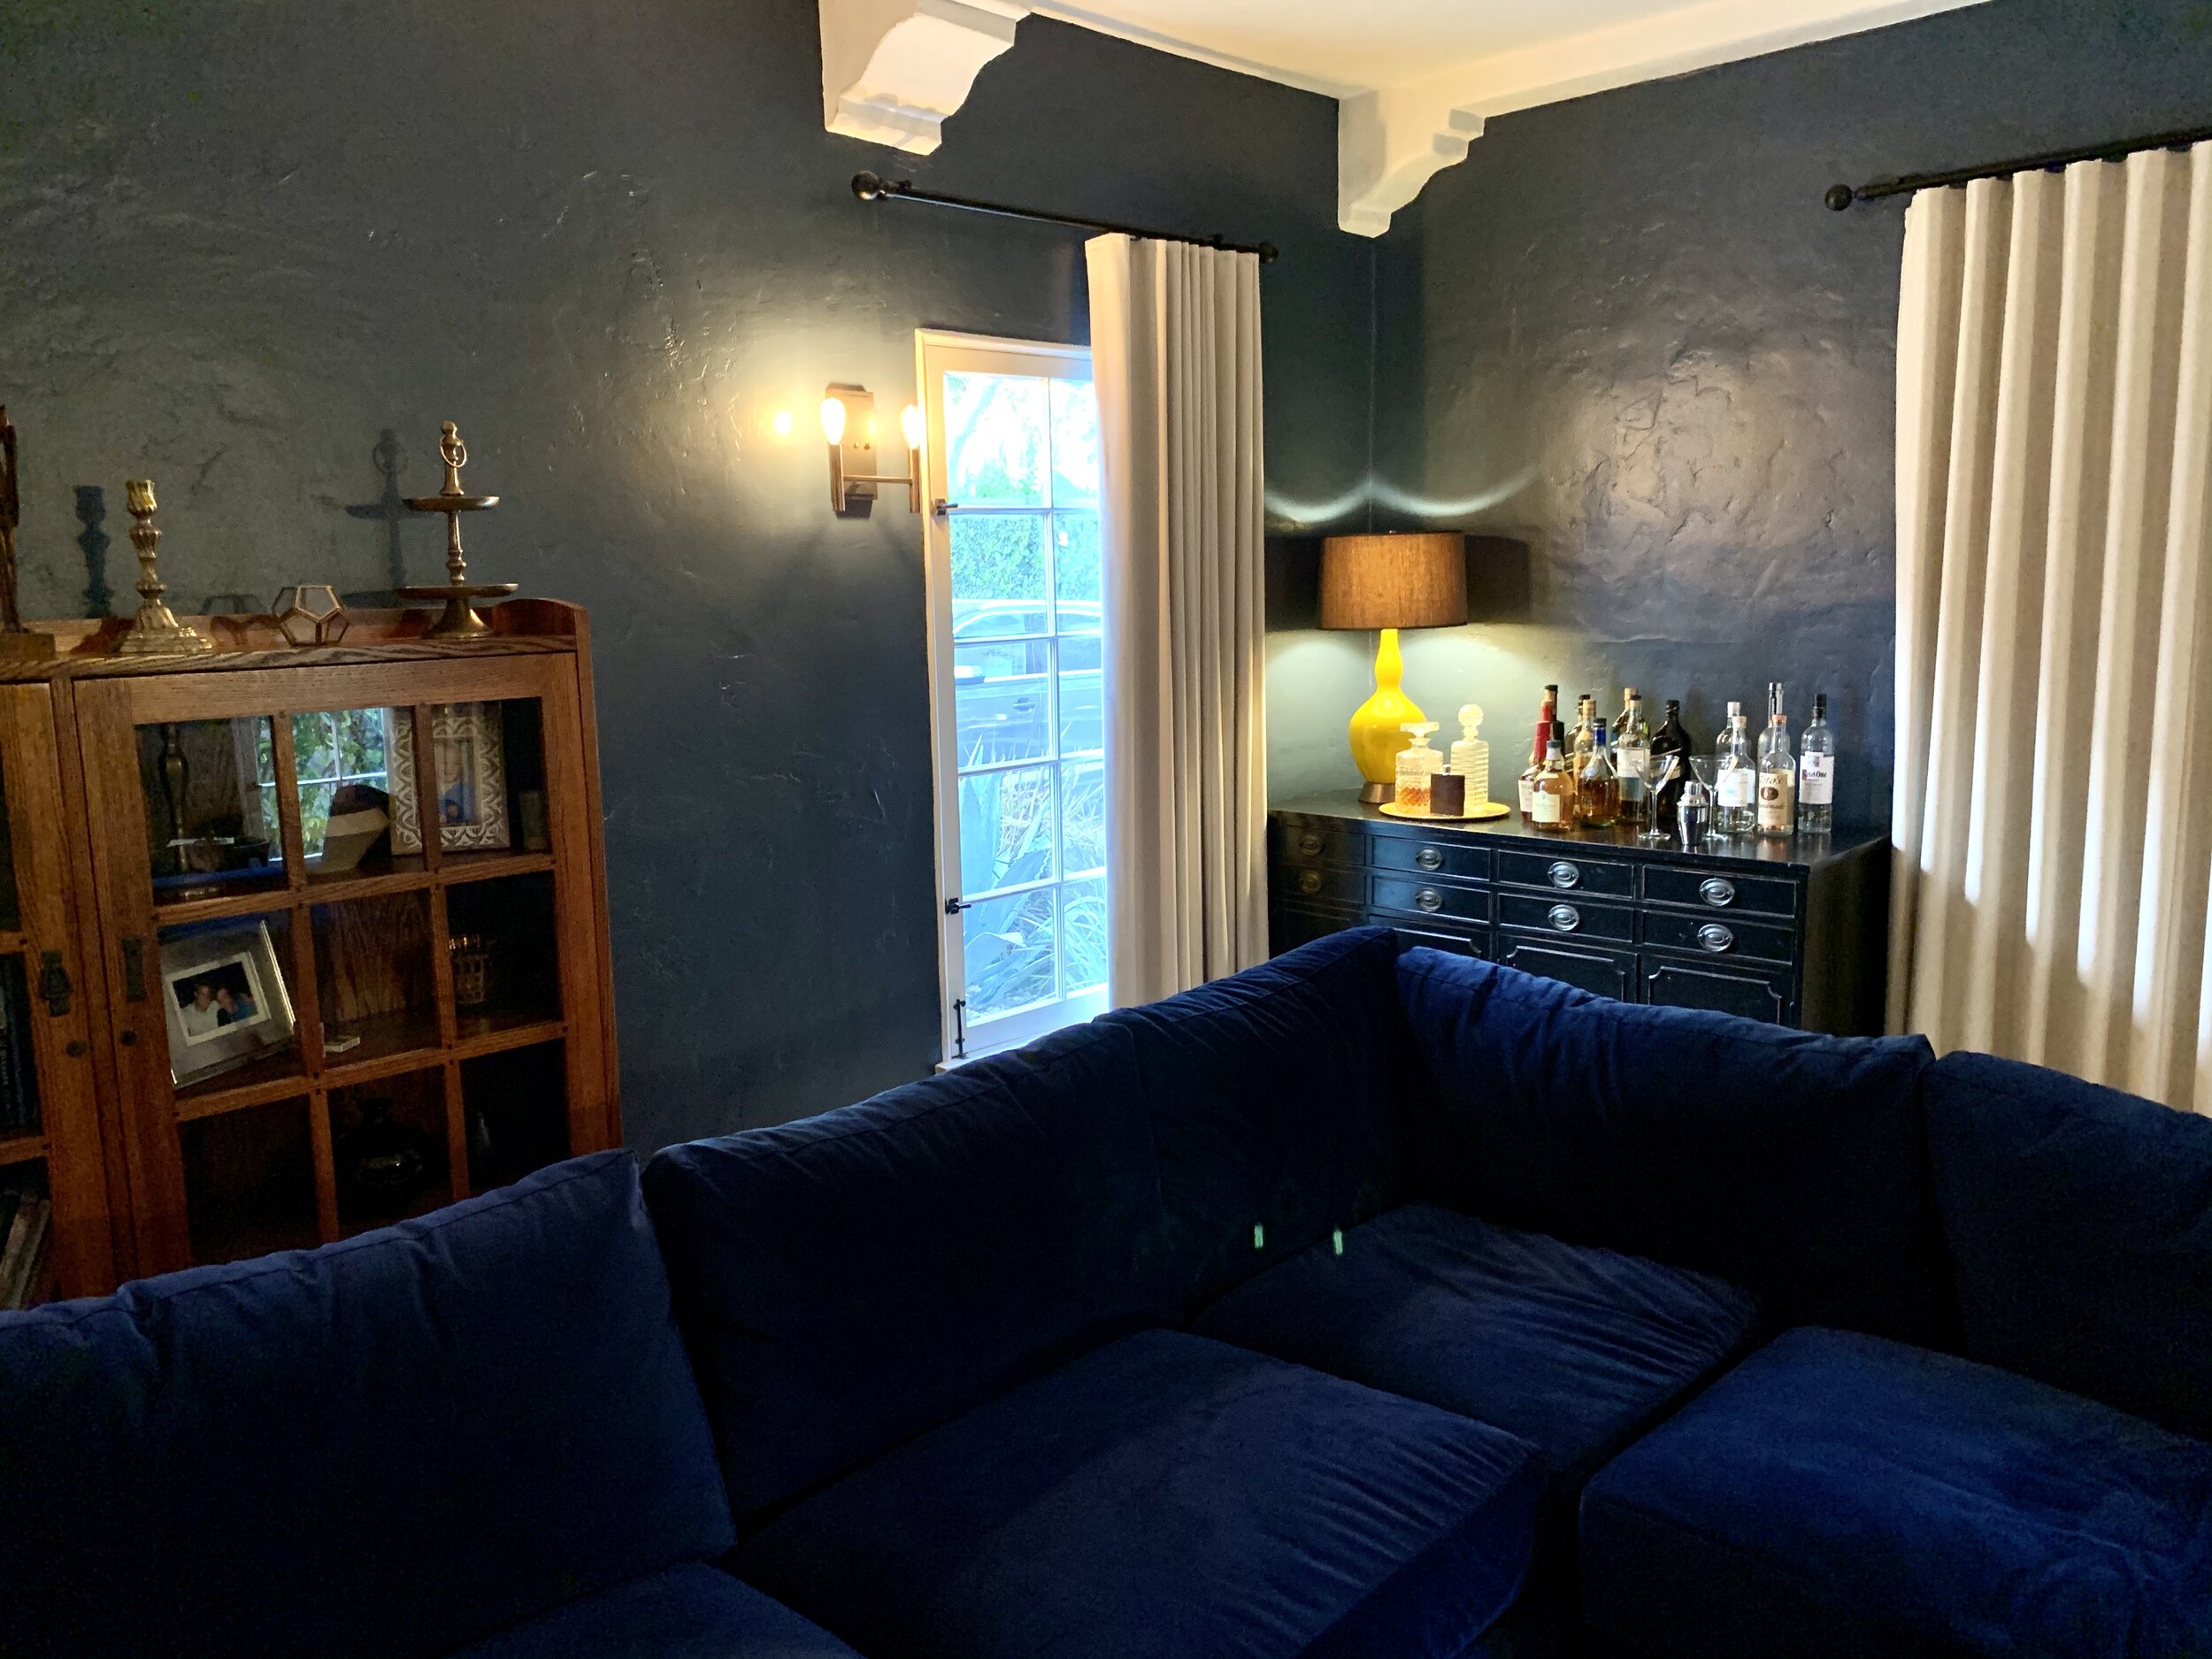
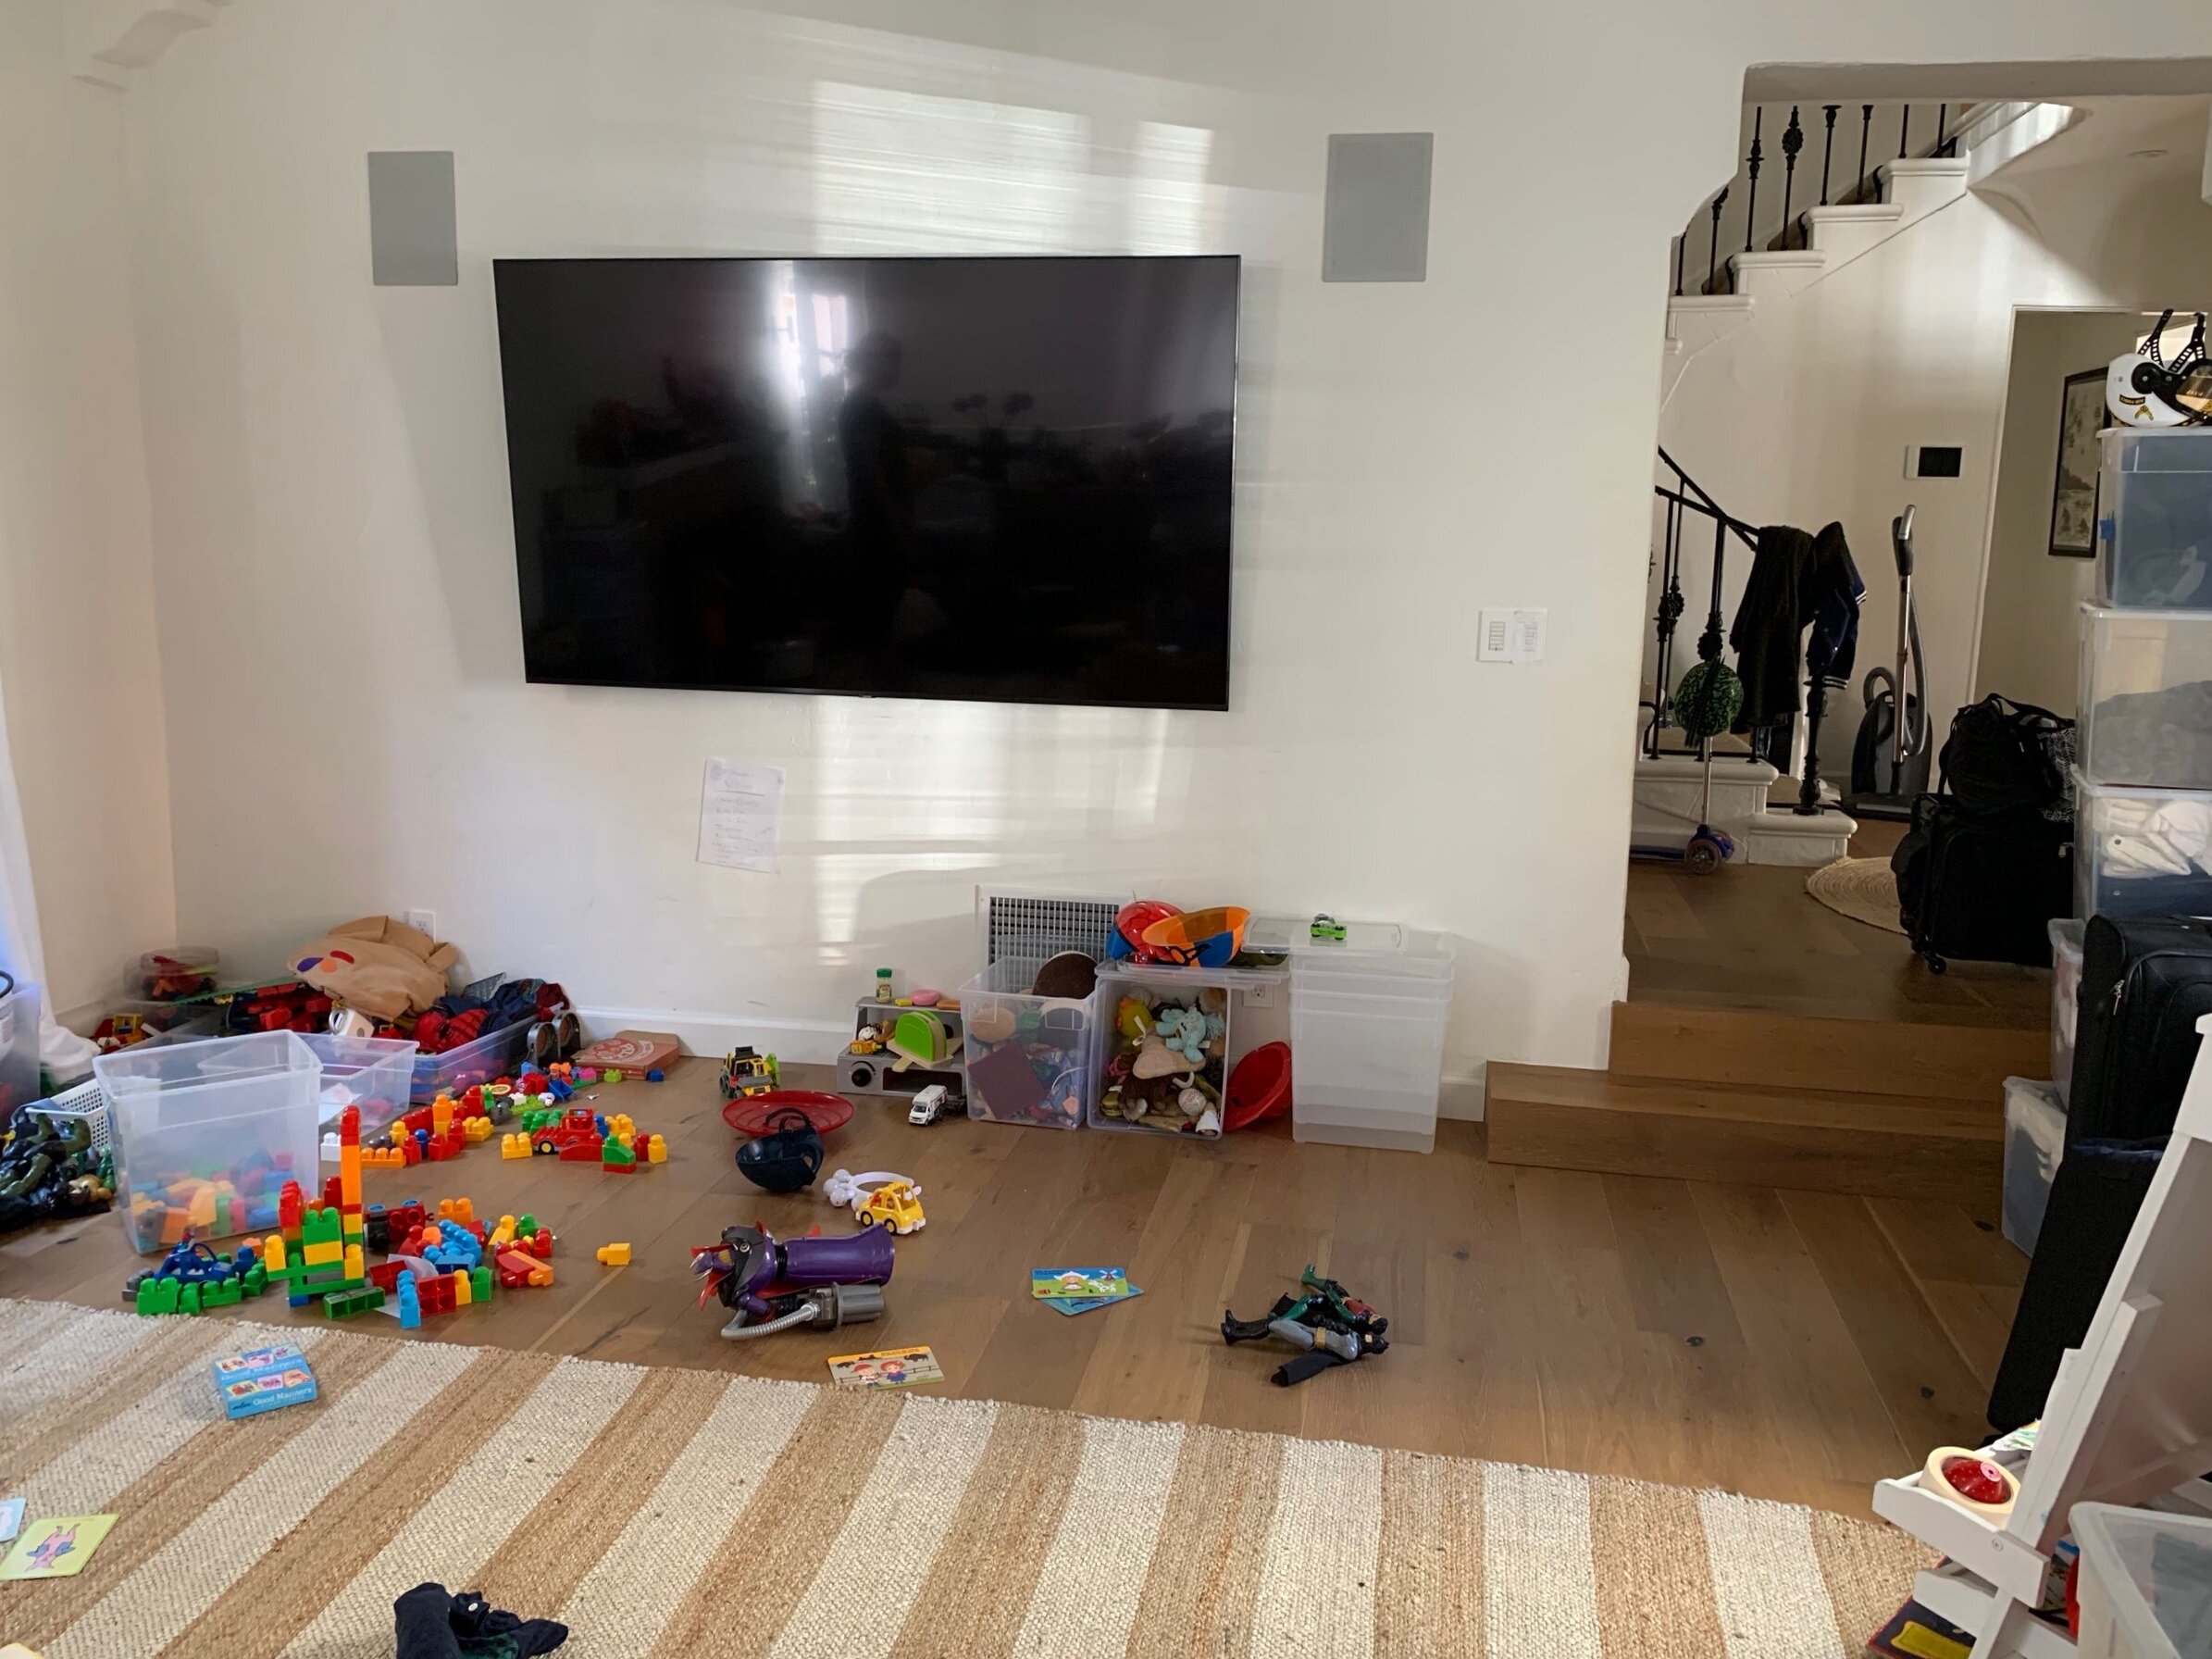
Next, we chose to use a console they already owned that worked perfectly for the bar area. As for the window treatments, we went with The Shade Store on Melrose Ave. It was a treat to be able to view all the fabrics and look at the hardware to see how they worked.
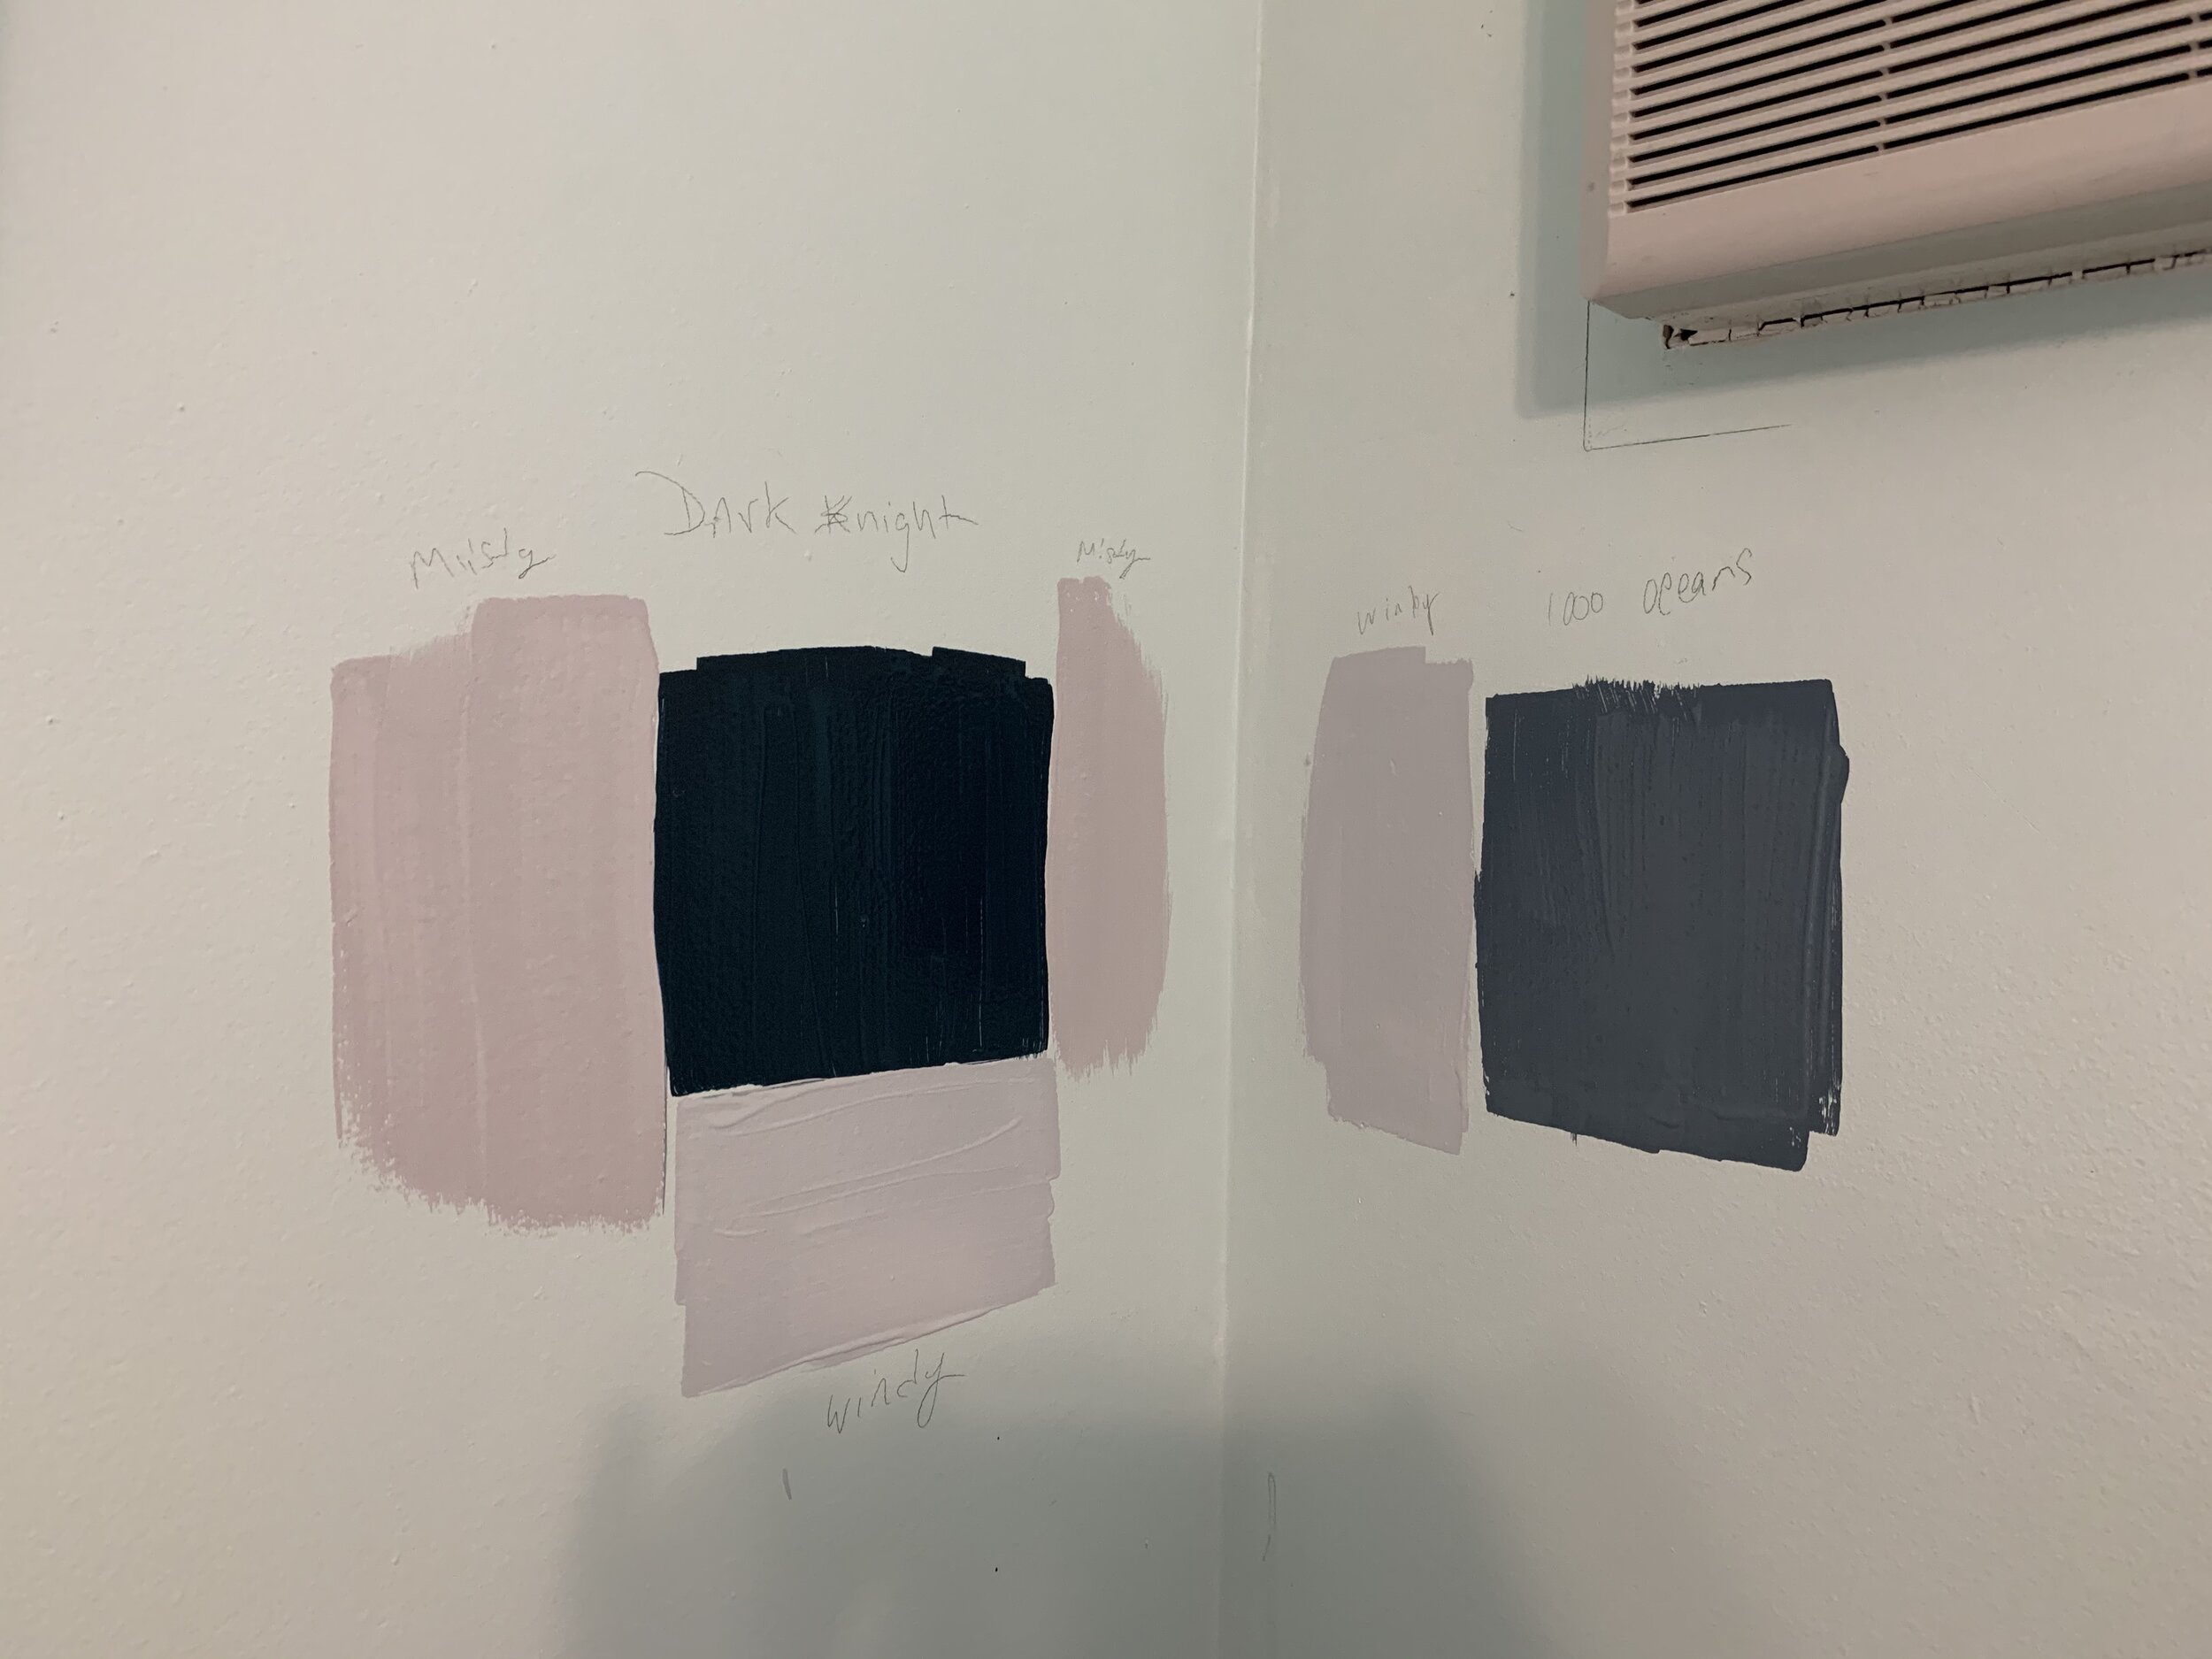
We needed to paint the room and ended up choosing this rich dark blue. This color really made a bold statement in this living room and my client fell in love with it. No more boring here.
I love the transformation of this living room. What do you think? Is there a room you would like to transform?


