Hi, Christel here from Space to Love, and it’s been a while since I have written a blog on organizing and decorating. I’m glad to be here today and share a quick tip on 3 ways to label your shoe boxes.
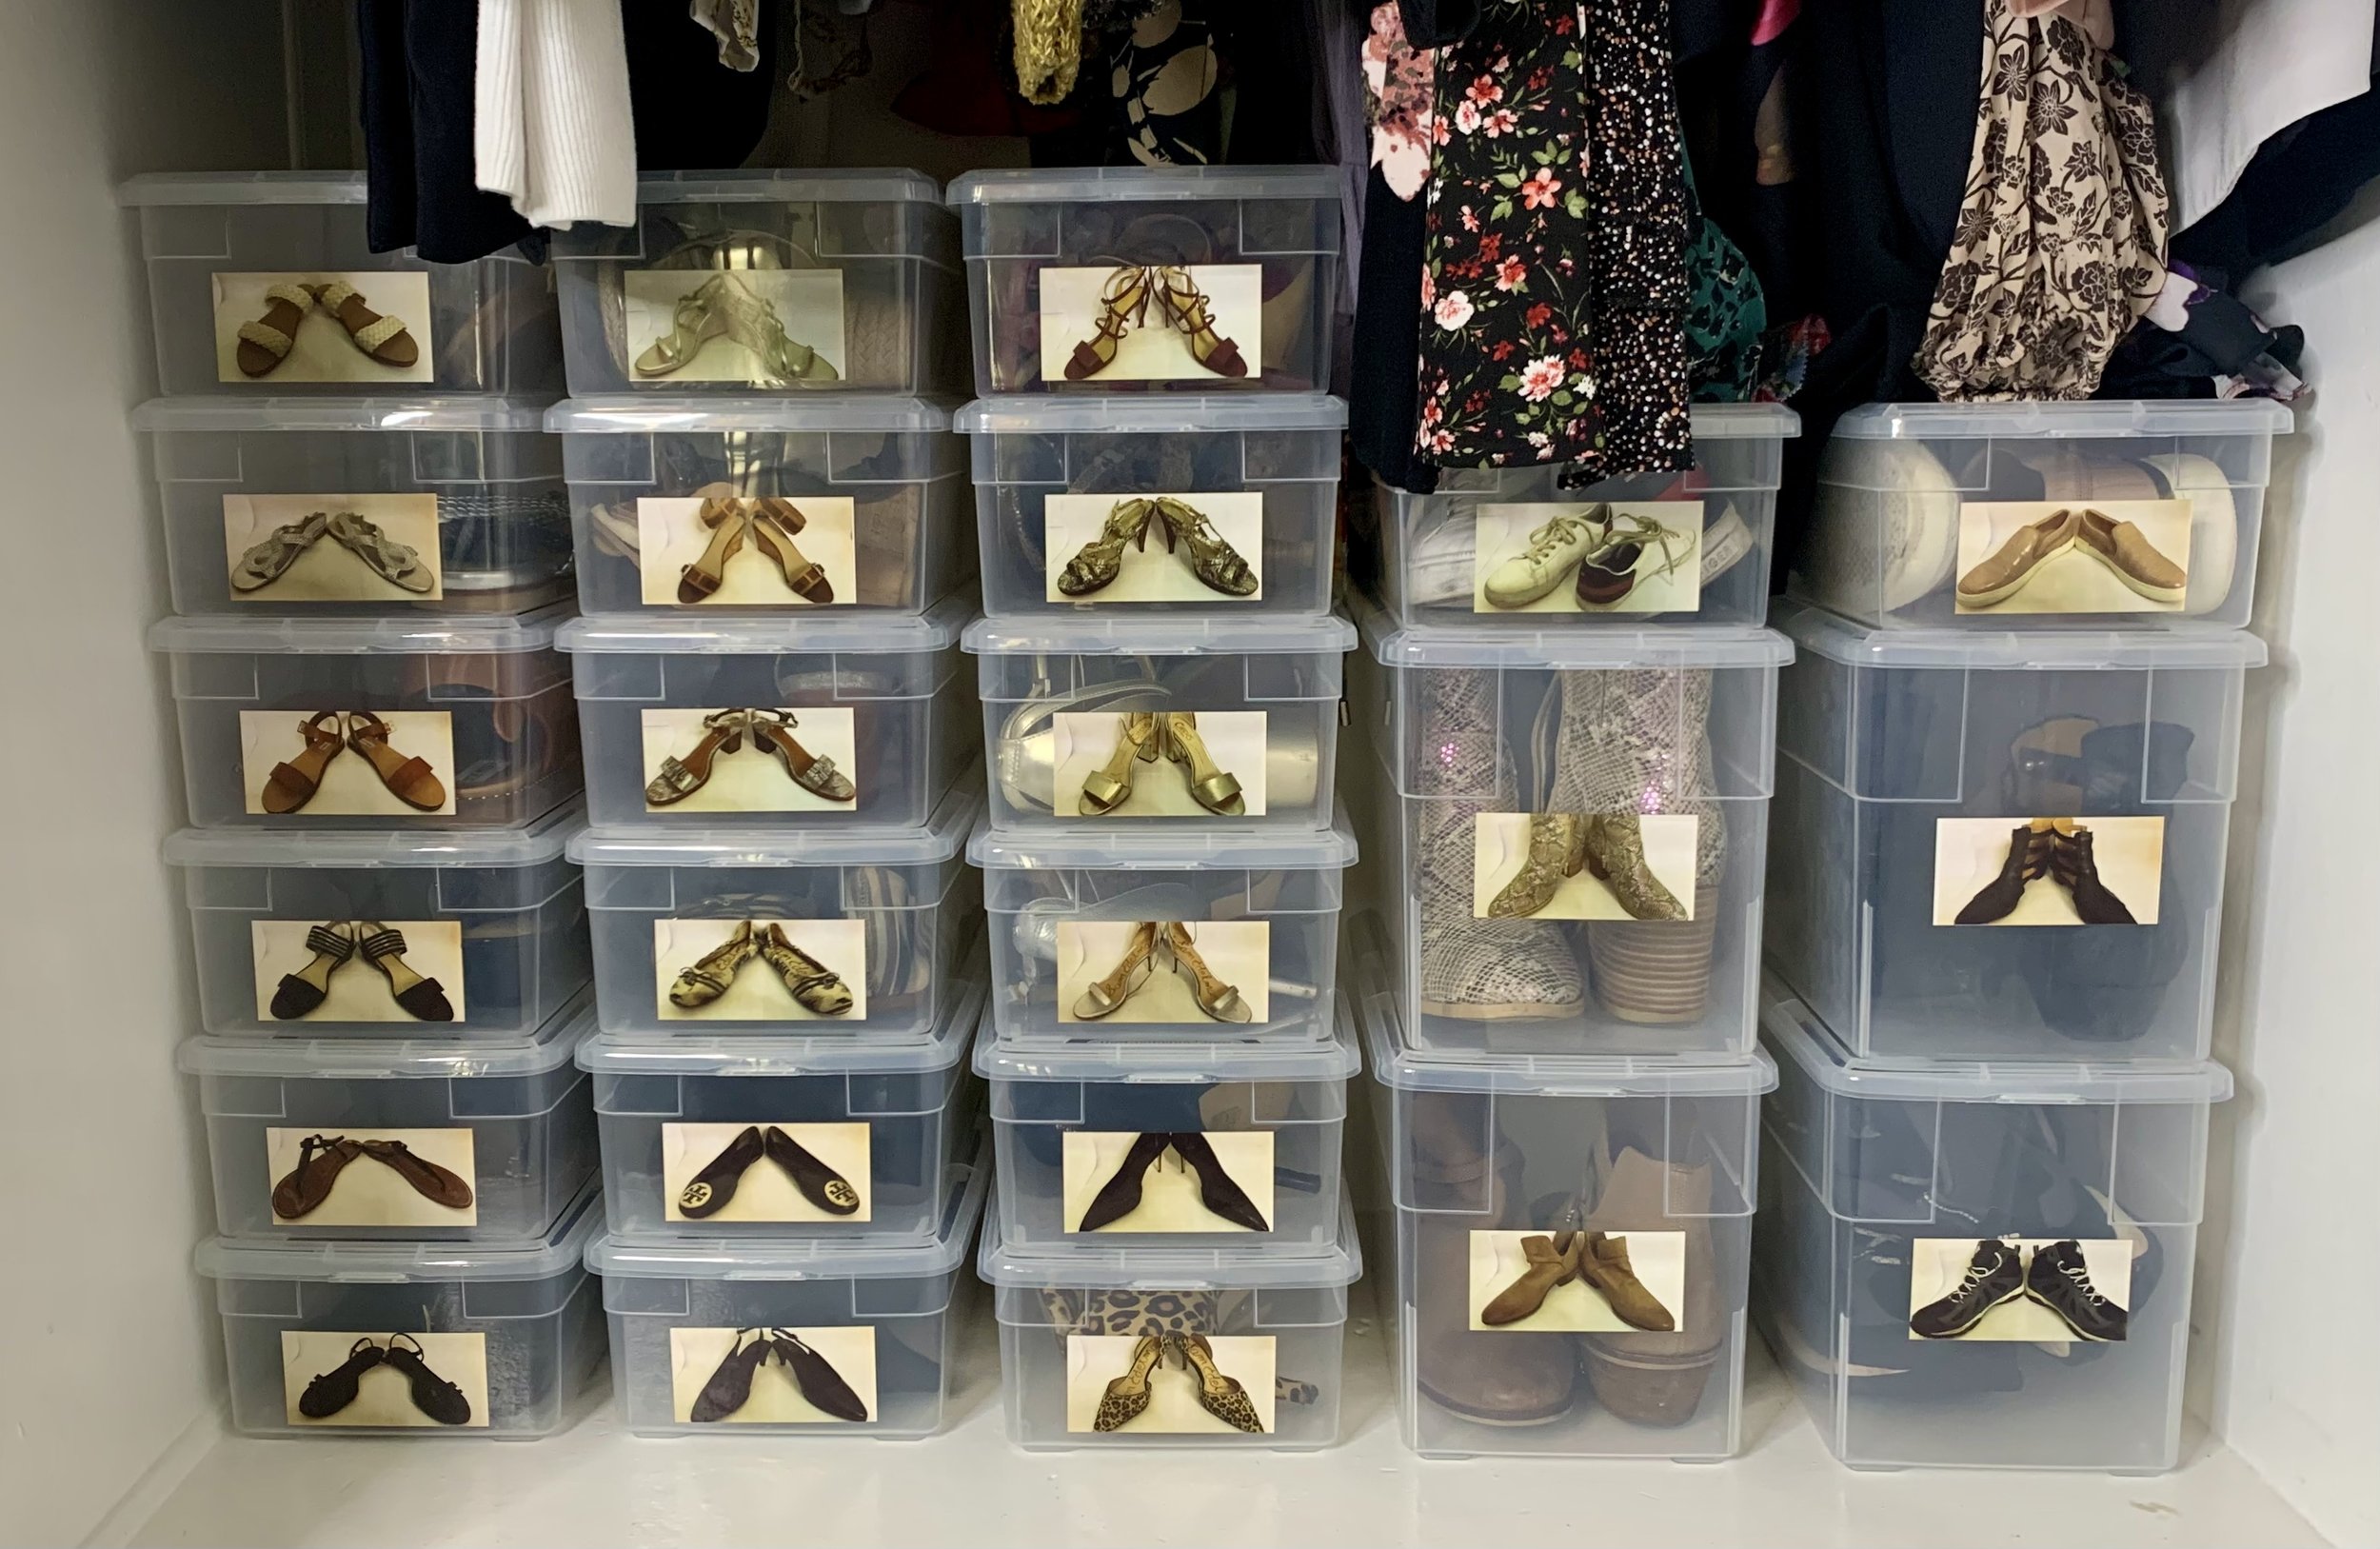
My closet is pretty organized, but I wanted to take it one step further by adding pictures of the shoes to the boxes.
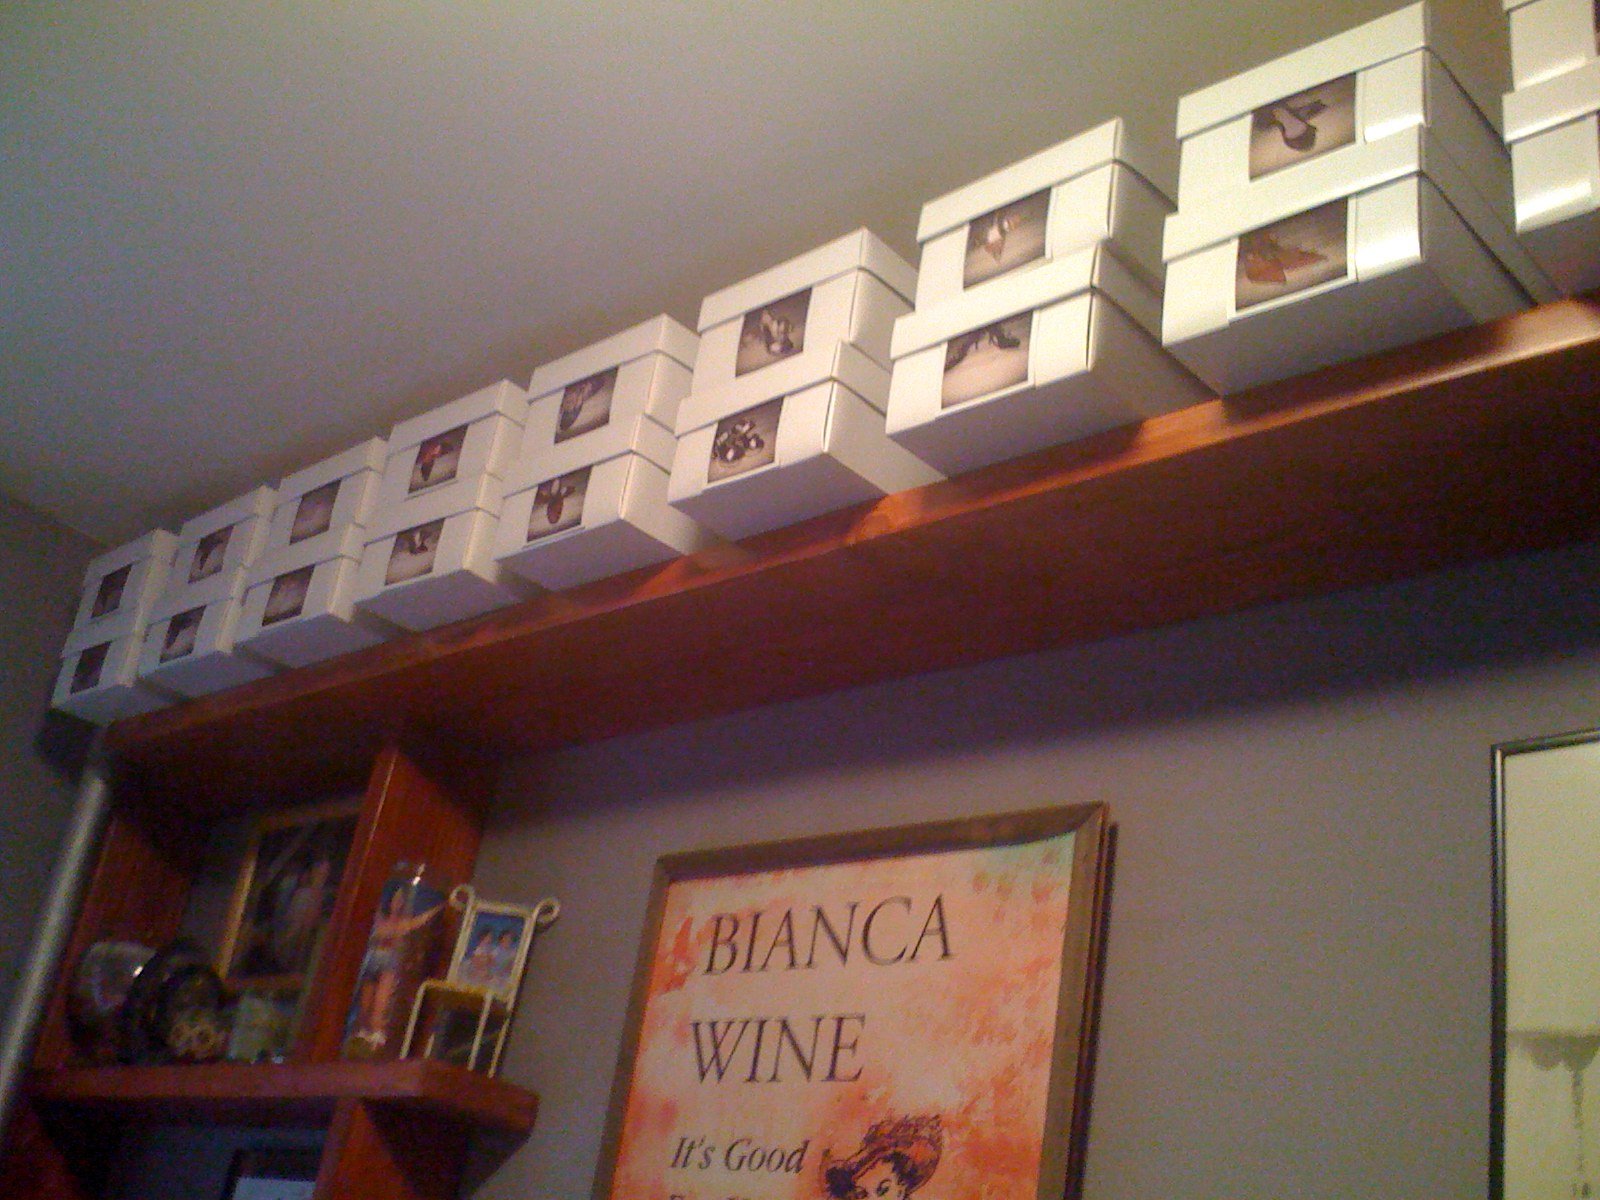
I used to live in New York, the East Village, in a really, really small apartment. My bedroom was only 6’ x 9’; it’s all about the location and not the space when living in Manhattan. Anyway, for my shoe organization, I bought white shoe boxes from Uline, then I used my roommate’s Polaroid camera to take pictures and double-sided tape to attach them to the boxes.
Fast forward to today, and living in Los Angeles, my room is a little bigger, and I actually have space in my closet for my shoes. Yay!
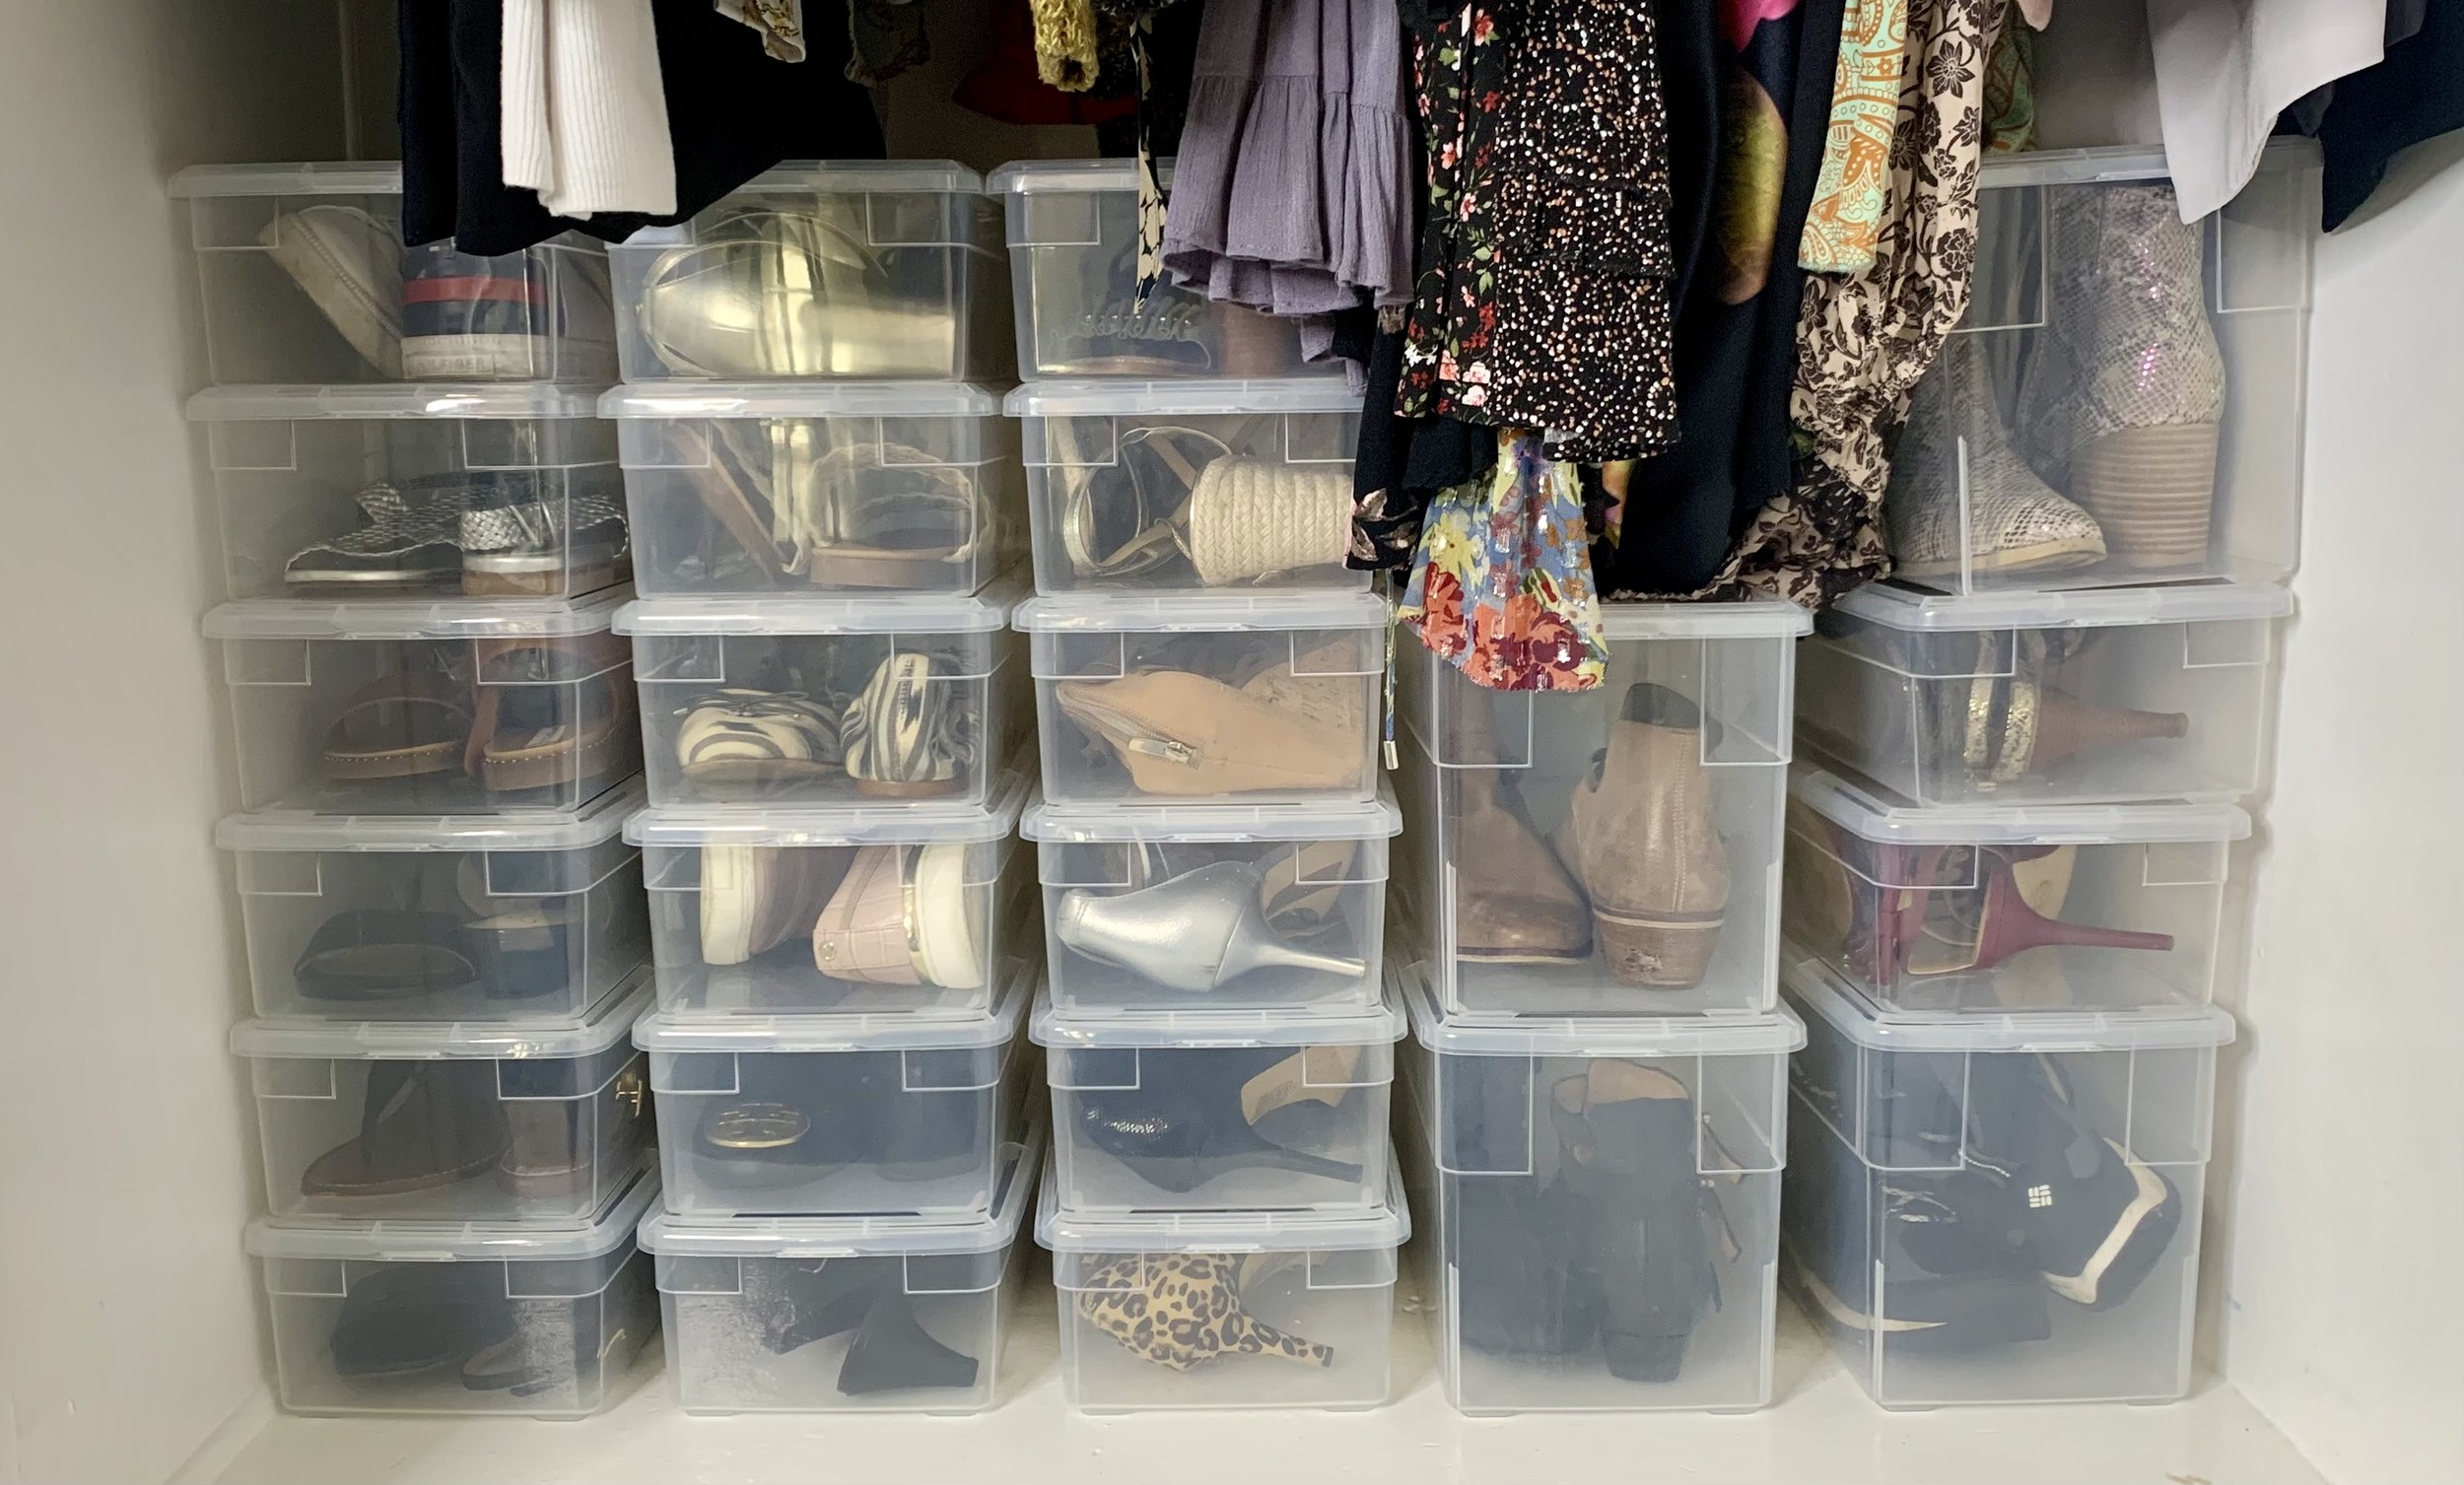
I have clear bins from the Container Store and am no longer using the white Uline boxes. However, I find it hard to see exactly what shoes are in what box when looking down in front of my closet, trying to get dressed. So, I thought I would recreate the NY shoe system here in LA.
Watch the video below, or keep on reading.
I don’t have a Polaroid camera or a roommate anymore, but I do have a mini photo printer with 2” label tape that prints sticker photos. I went ahead and took pictures of all my shoes, printed them out, and adhered them to the clear shoe boxes.
Space to Love - Before Clear Shoe Bins
Space to Love - After Clear Shoe Bins
Another way to achieve a similar look is to use a regular printer and then laminate them. I uploaded all my pictures to my computer, put them in a Word doc, made each photo 2”x3”, and then printed them out. I used a laminator and paper cutter from Amazon and double-sided tape.
Space to Love
The 3rd way is by using the old favorite, a label maker. This will make sure you know which pair of shoes go back into which box. I would print a label that says the designer’s name and then another to go underneath with the style of the shoe, i.e., Calvin Klein, Gold Wedge. This will make it clear, and you know exactly what’s in the box. Now, your shoes will always go back to where they belong, and this will help you stay organized.
No matter which way you go, make sure your labels are nice and straight:)
Keeping them in bins helps you stay organized, but also, putting them in categories in the closet will help you find what you’re looking for faster. It’s all about saving time. So instead of just randomly putting them back, put them back in categories, i.e., sandals, flats, work heels, dressy heels, boots, sneakers, and so on. Create categories that work best for you.
When I'm looking for my sandals, I know what row to look in and find them quickly. I don’t have that many shoes, so it's not crazy necessary, but when you have triple the amount of shoes or more, it's really great to make your categories and organize your shoes that way. You will thank yourself for it.
Some people ask me, “How many shoes do you have?” or “What do you think the perfect amount of shoes is?” and I think that you want to live within the means of your space. I started this project with 30 pairs of shoes. With that amount, I don't feel like I'm overflowing at all, and I think I'm living within the means of my space. I’m also not overwhelmed by having too many choices when it comes to what shoes to wear; this can be very time-consuming. There are only so many decisions you can make in a day, don’t waste them on what shoes.
All the shoes I do have, I wear and love them. However, I will never pass up an opportunity to go through and do a little decluttering if I can. As I take the pictures of the shoes, I will ask myself these questions…
1- When was the last time I wore them? If longer than six months, Do I plan on wearing them again? If not, donate.
2- Do they hurt my feet? Is it worth it…probably not, donate.
3- Are they in style and still represent who I am? If not, donate.
4- Are they too worn out and can’t be fixed? If yes, trash.
While asking yourself the questions above…feel free to try on all your shoes and walk around; this will make it easier to make those decisions.
I did get rid of two pairs of shoes. I actually liked both of them, but I wore them out too much, so they have definitely seen better days, and I had to let them go. I'm now down to 28 pairs of shoes. I just made some room for new things to come into my life:)
I hope you found this helpful and inspiring. Do you have any shoe-organizing tips that you'd like to share with us at the Space to Love community? Please comment below; we would love to hear from you. Happy organizing!!


