Spring is a great time to take a fresh look at how our homes function. Many people think spring cleaning means tackling the entire house, but often the most effective organizing solutions come from small changes that make everyday routines easier.
Recently, while looking through a Williams Sonoma catalog, I noticed a clever way to store pot lids that immediately caught my attention. After working as a professional organizer for more than a decade, I was surprised I had never seen this before.
Instead of storing pot lids separately in a cabinet or drawer, the lids were hanging directly with the pots.
It was such a simple idea that I decided to try it in my own kitchen.
In my kitchen, I already have a wall-mounted rod with hooks where I hang my pots and pans. Previously, the lids were stored in a separate organizer. After hanging the lids directly on the pots, I had an open space where the lids had been stored.
New found space, how exciting! I measured the area and added a few clear storage bins to organize snacks, pasta, and pantry items. Since my kitchen does not have a traditional pantry, this small adjustment created a much more functional storage system.
The change itself was simple, but the kitchen instantly felt cleaner and more organized.
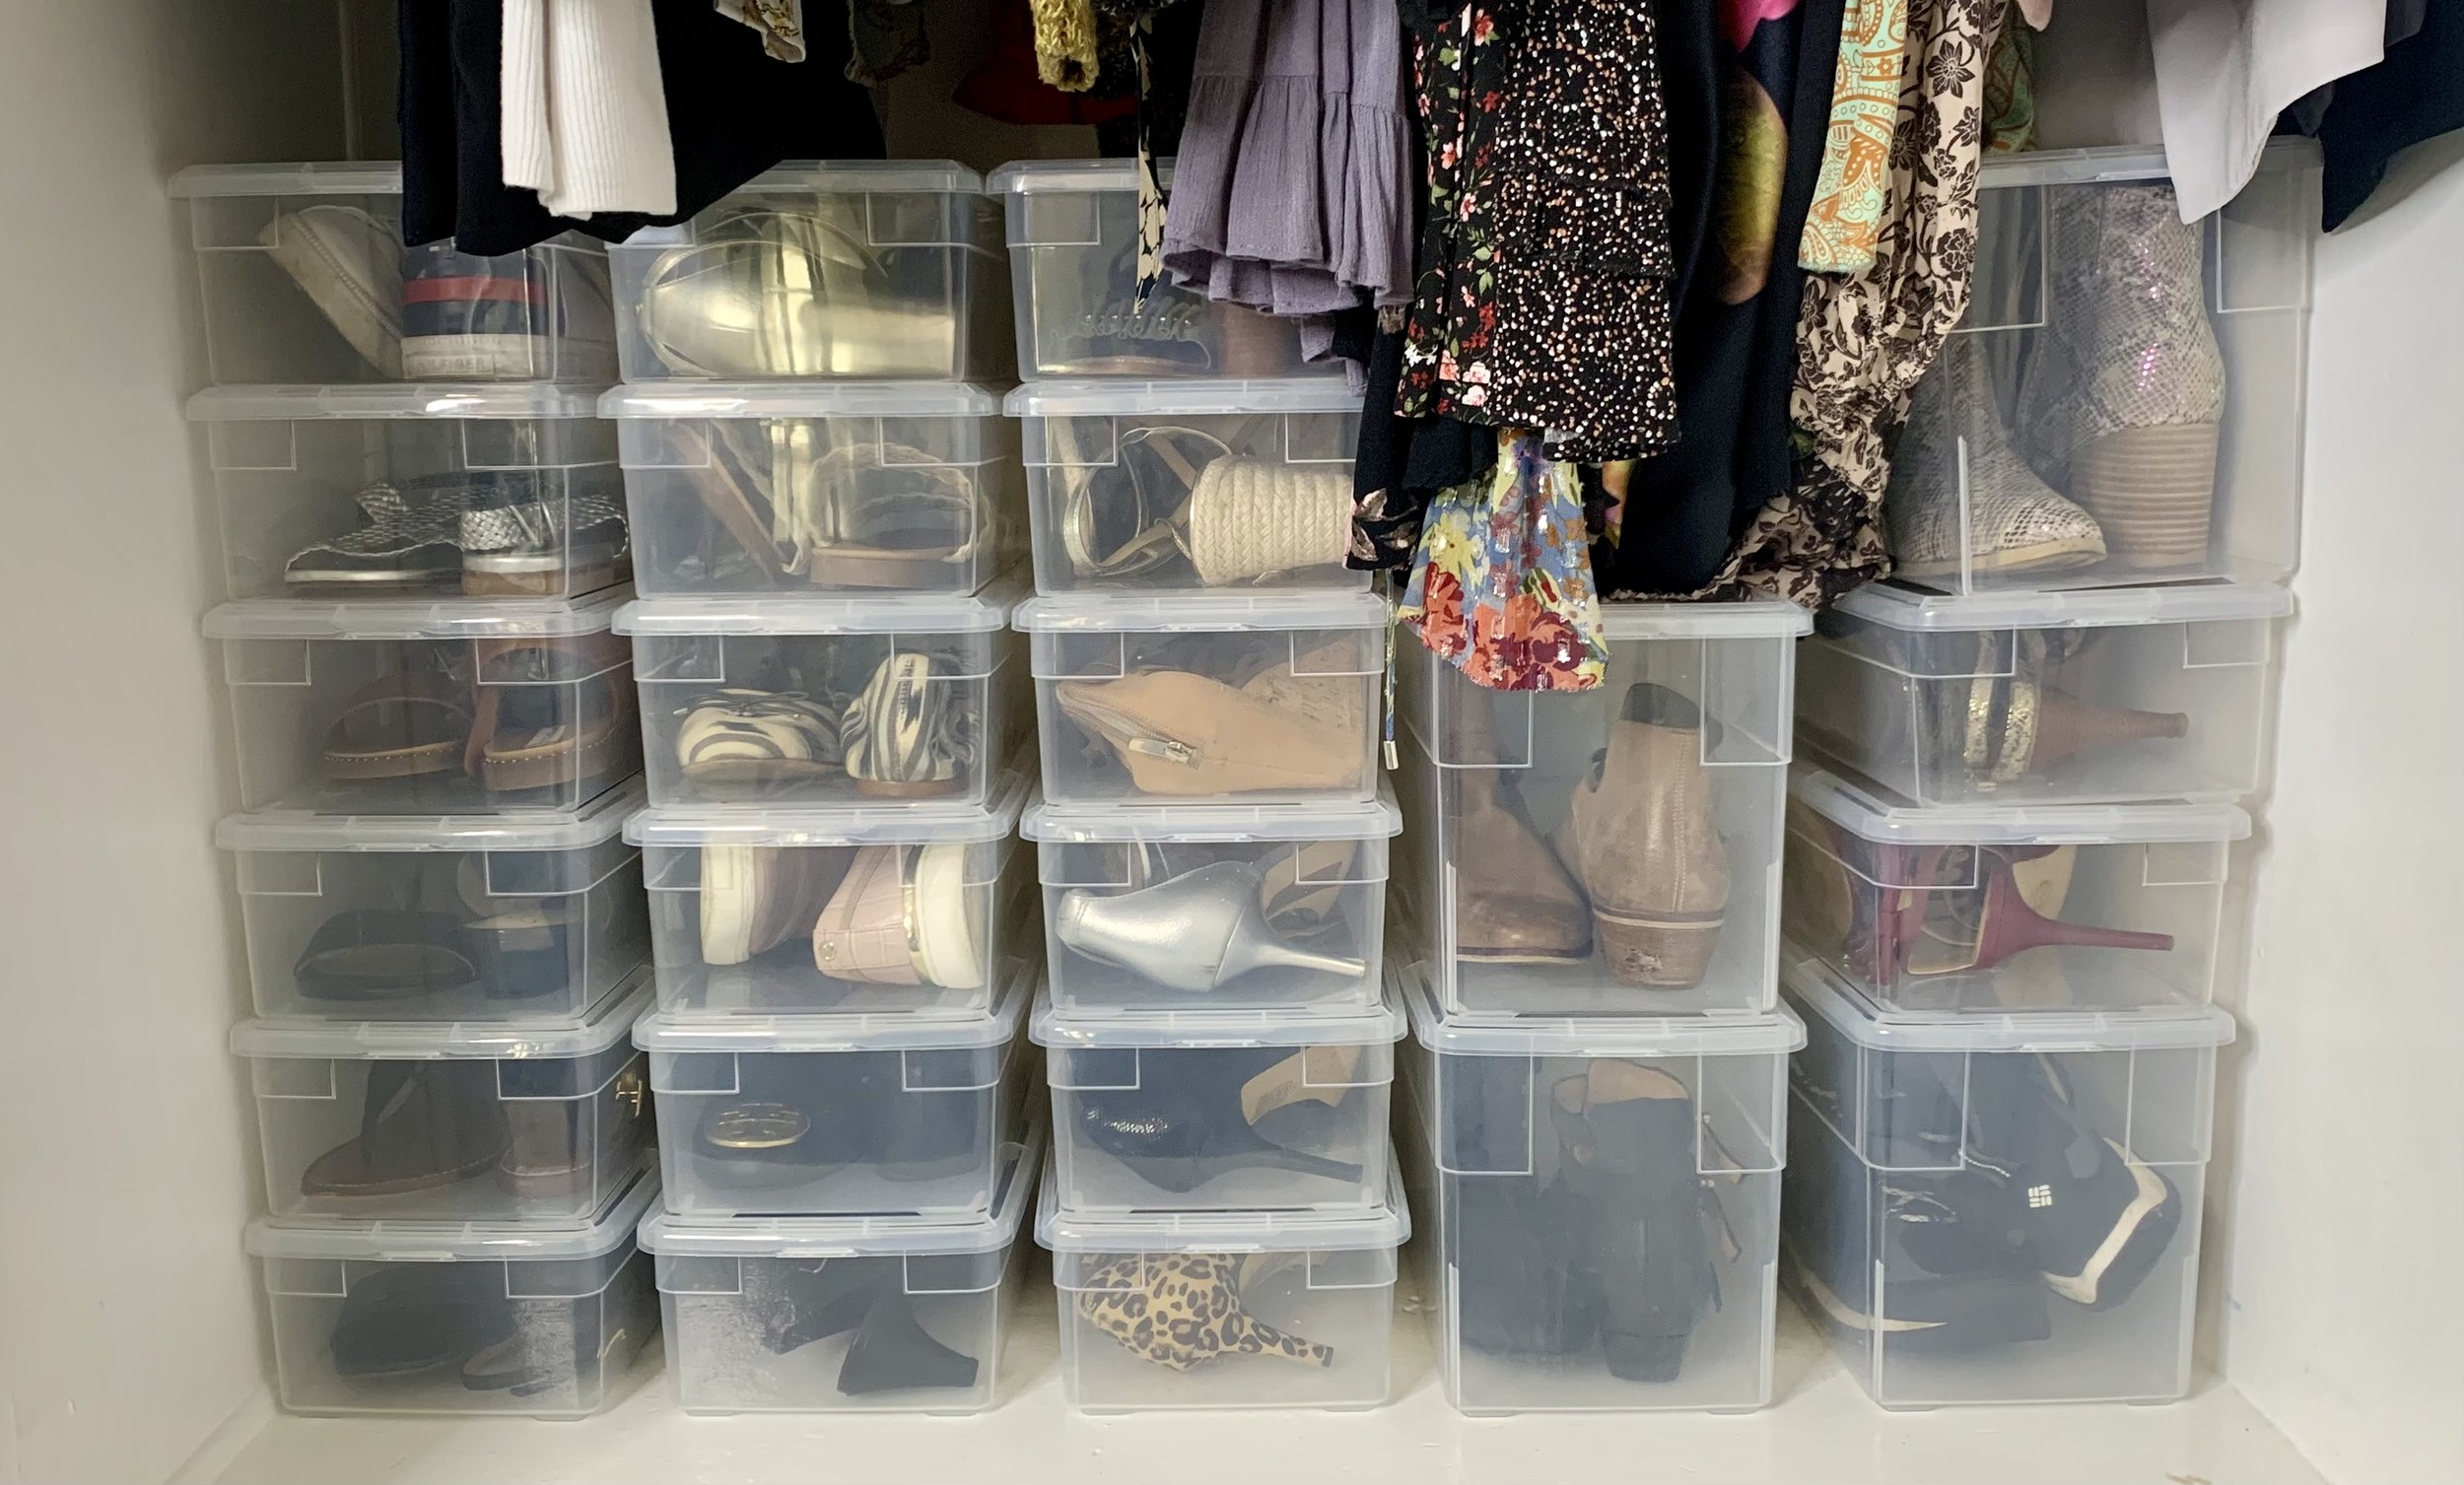
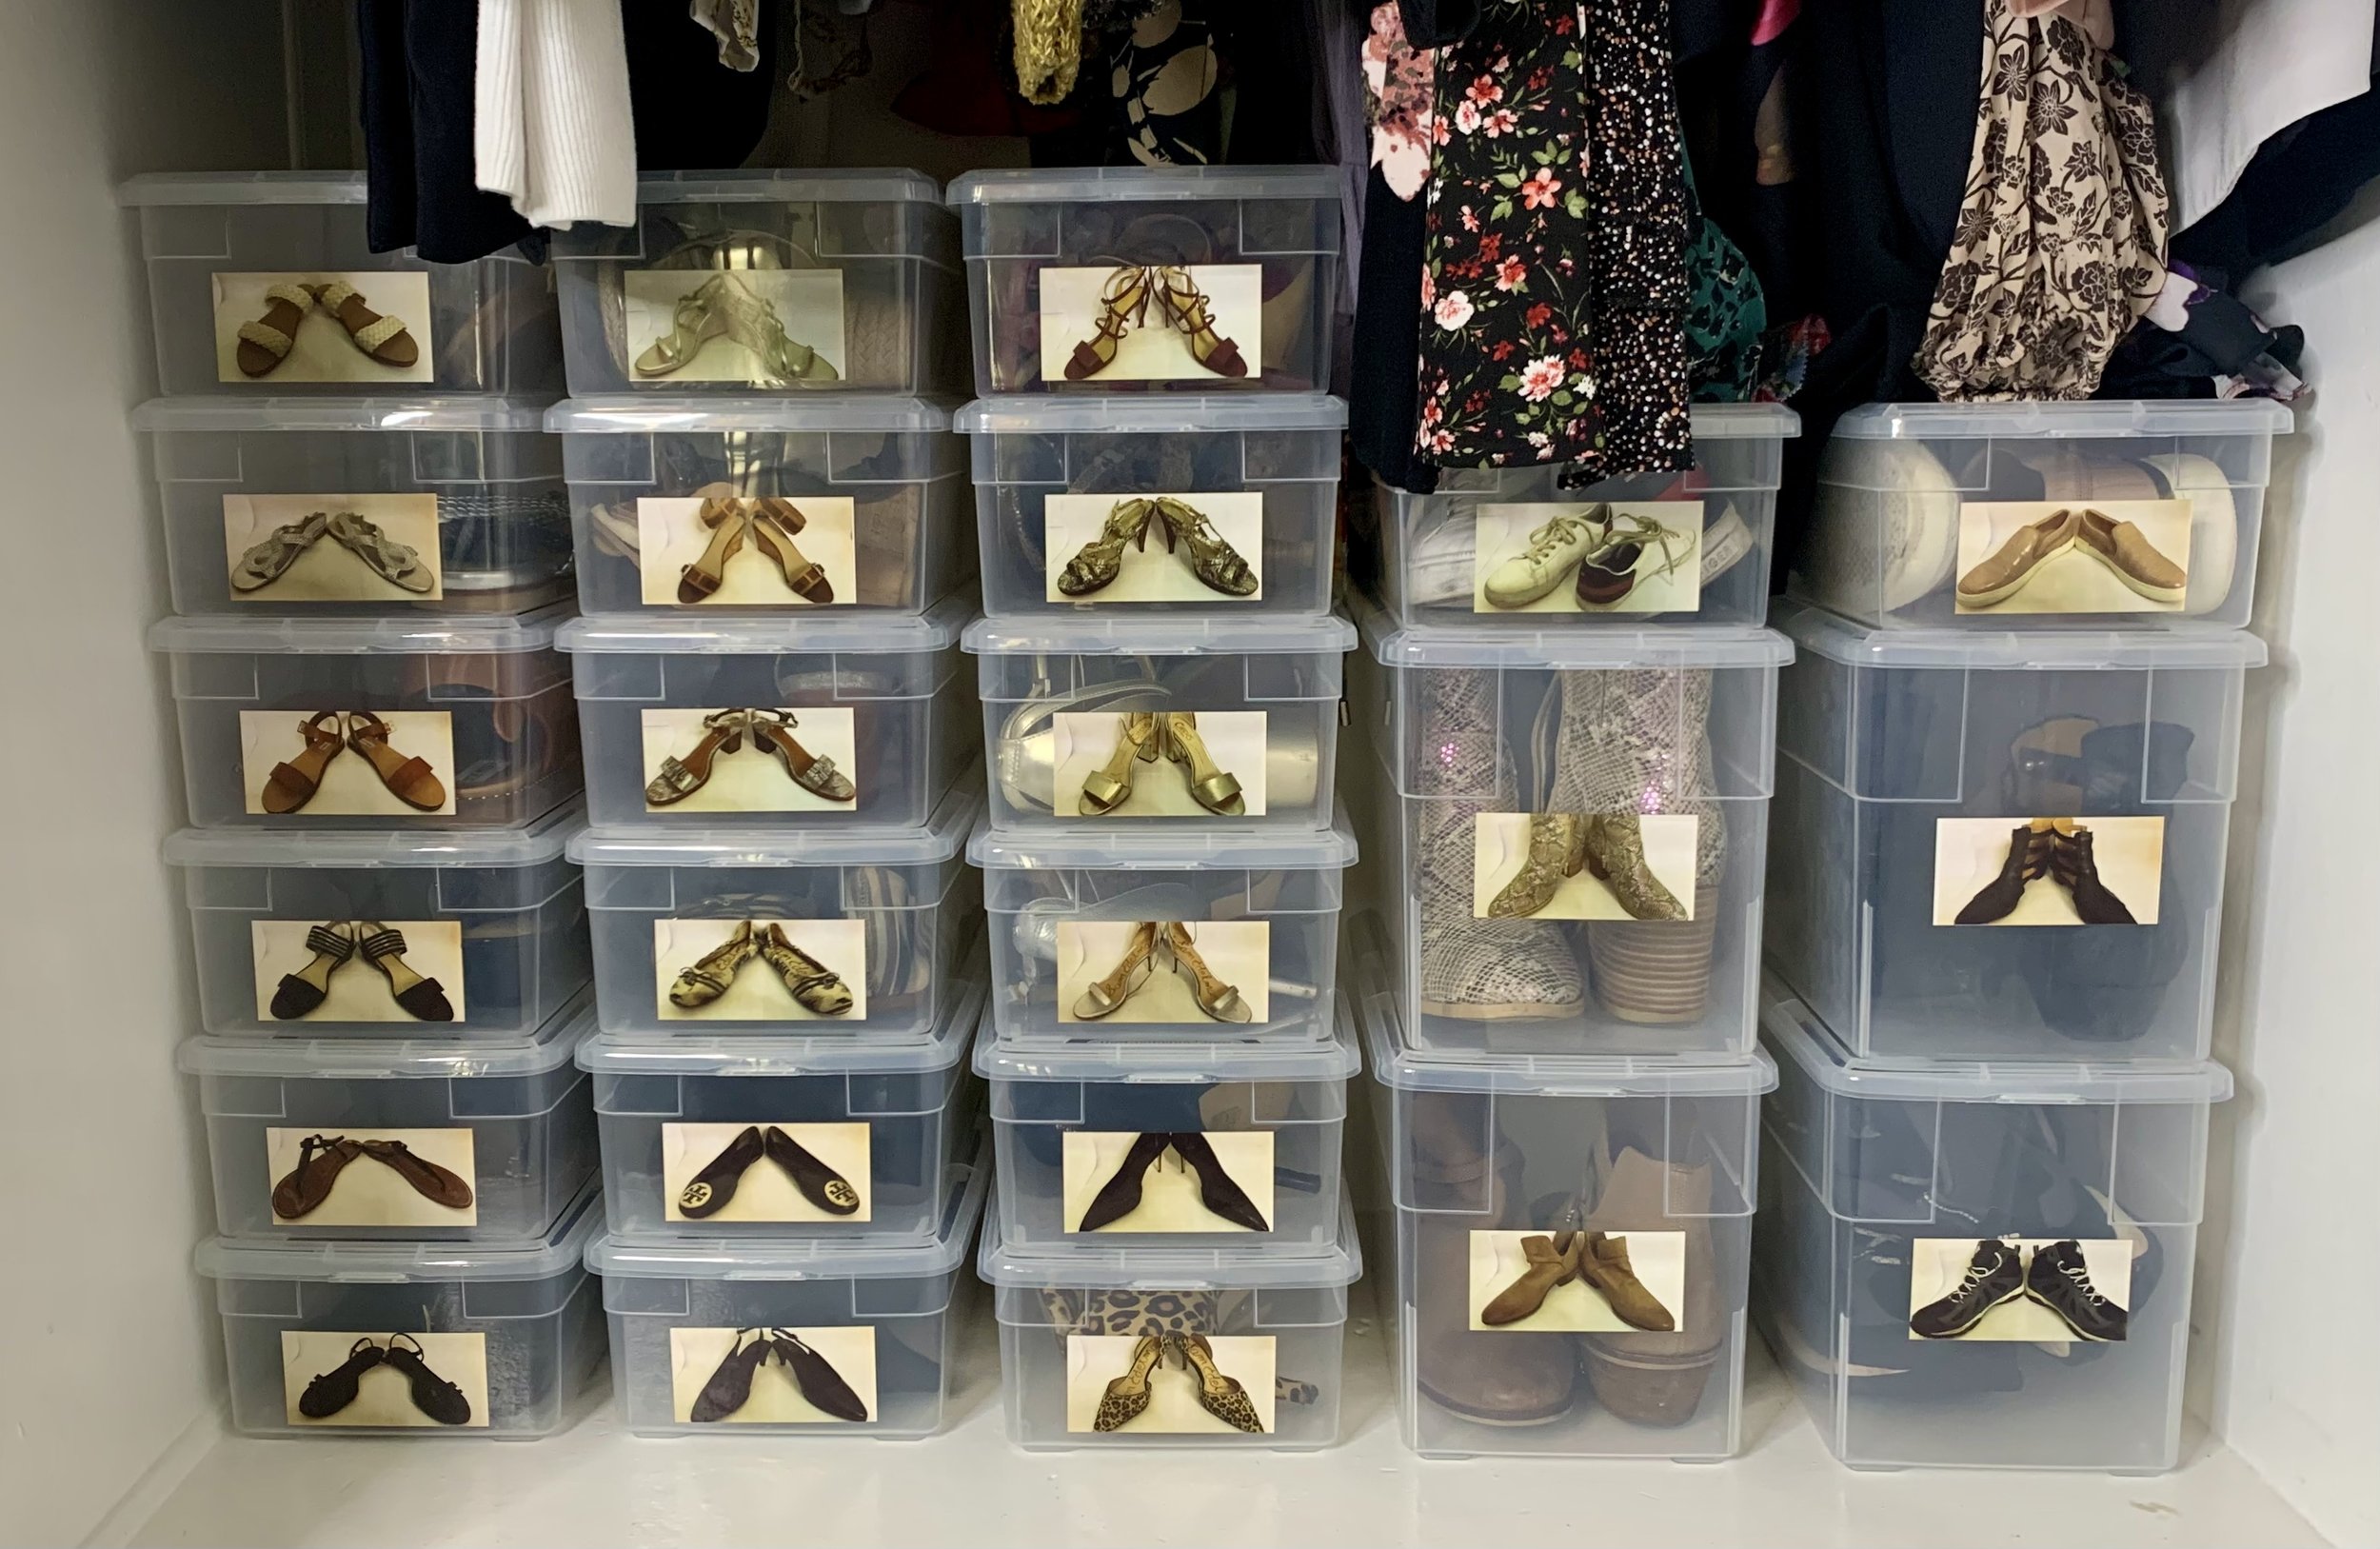
One of the principles I’m often sharing with clients is that organizing works best when systems are simple and visible. When items are easy to see and easy to access, they are also much easier to maintain. Clear containers with labels help keep similar items grouped together and prevent things from getting lost in the back of a cabinet.
If you are starting your own spring refresh, here are a few simple strategies to try.
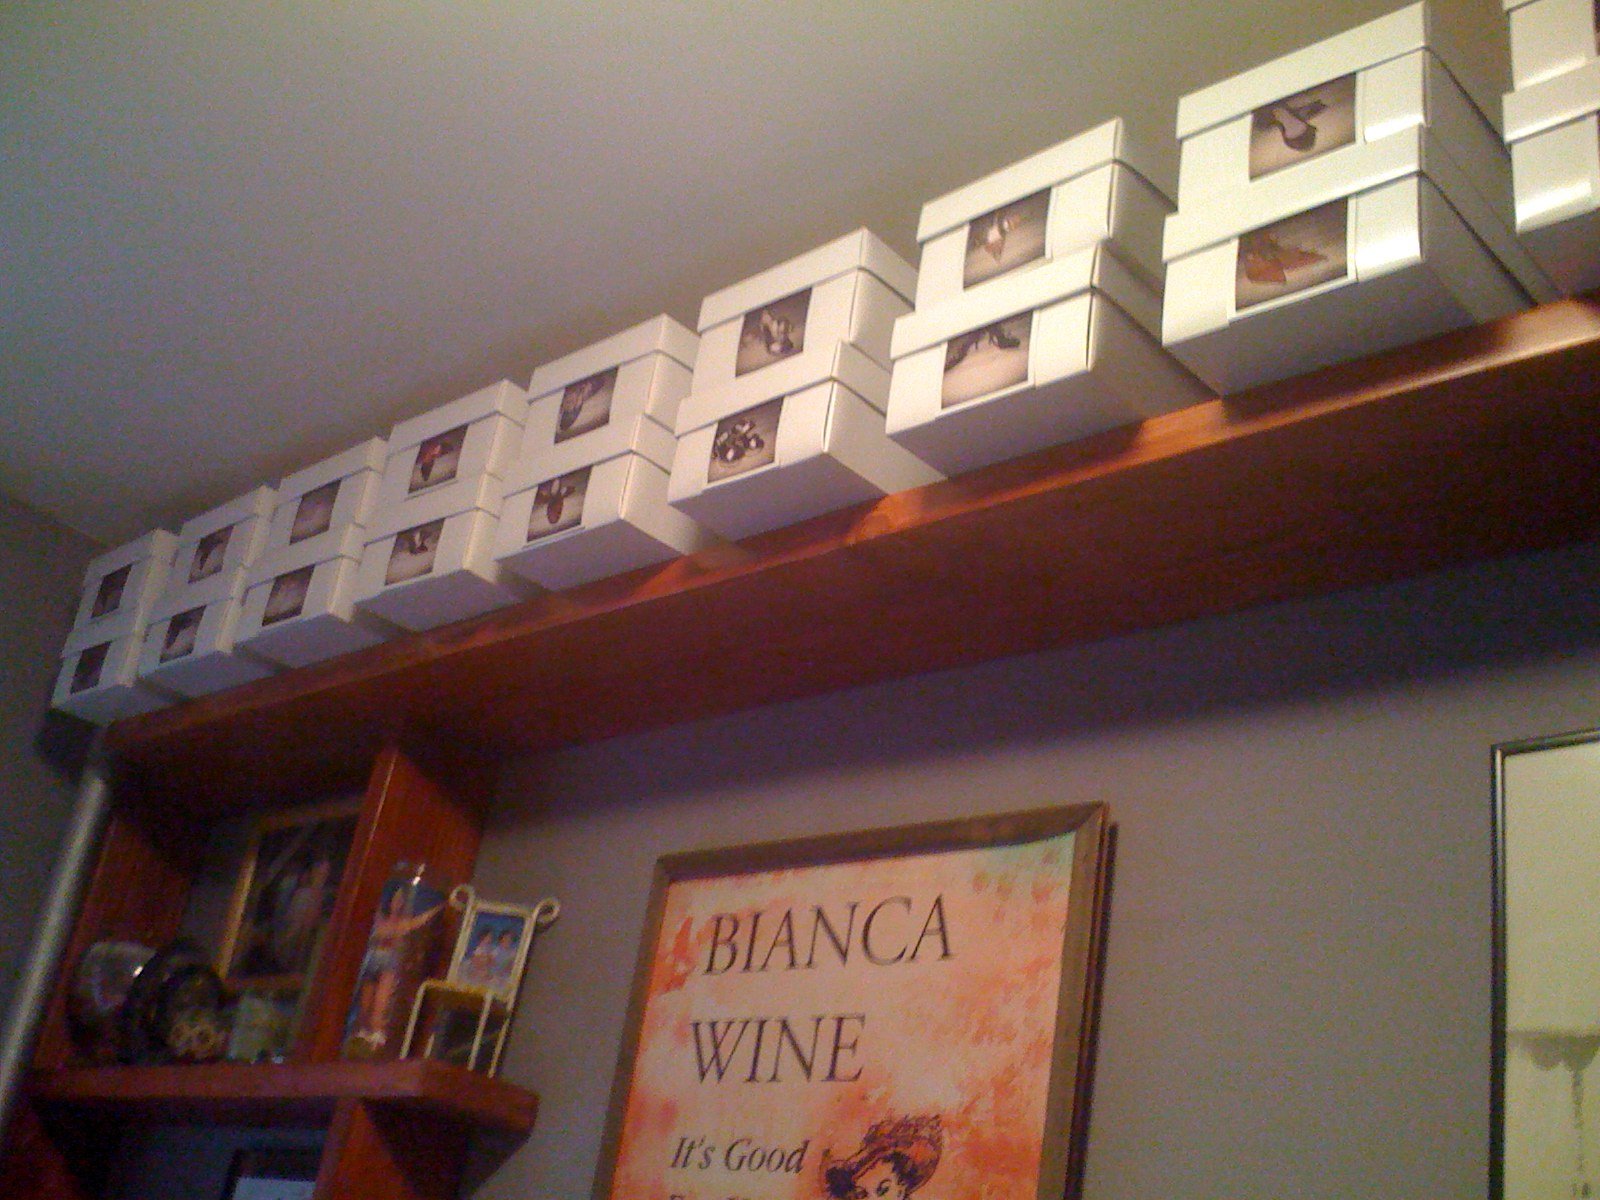
Look for areas where you can use vertical space.
Store items near where you use them most often.
Use clear containers with labels so you can quickly see what you have.
Measure your space before purchasing organizing products.
Even small changes can make a noticeable difference in how your home functions.
If you would like to see how this system works in my kitchen, including the before and after, you can watch the video below.
Spring is a wonderful time to reset your home and let go of items that are no longer serving you. If you would like help creating simple organizing systems that support the way you live, Space to Love would be happy to help.
Hope this was helpful. Let us know what you think. Comment below, we would love to hear from you.